Are you looking to build a WooCommerce store but don’t know where to start?
Let’s make it easy!
In this WooCommerce tutorial, we’ll take you through the basics of setting up your own WooCommerce store and show you just how simple it is to get started.
So put on your entrepreneurial hat and let’s get started!
Disclosure: Our website is reader-supported. If you purchase any product through our partner links, we may earn a commission at no extra cost to you.
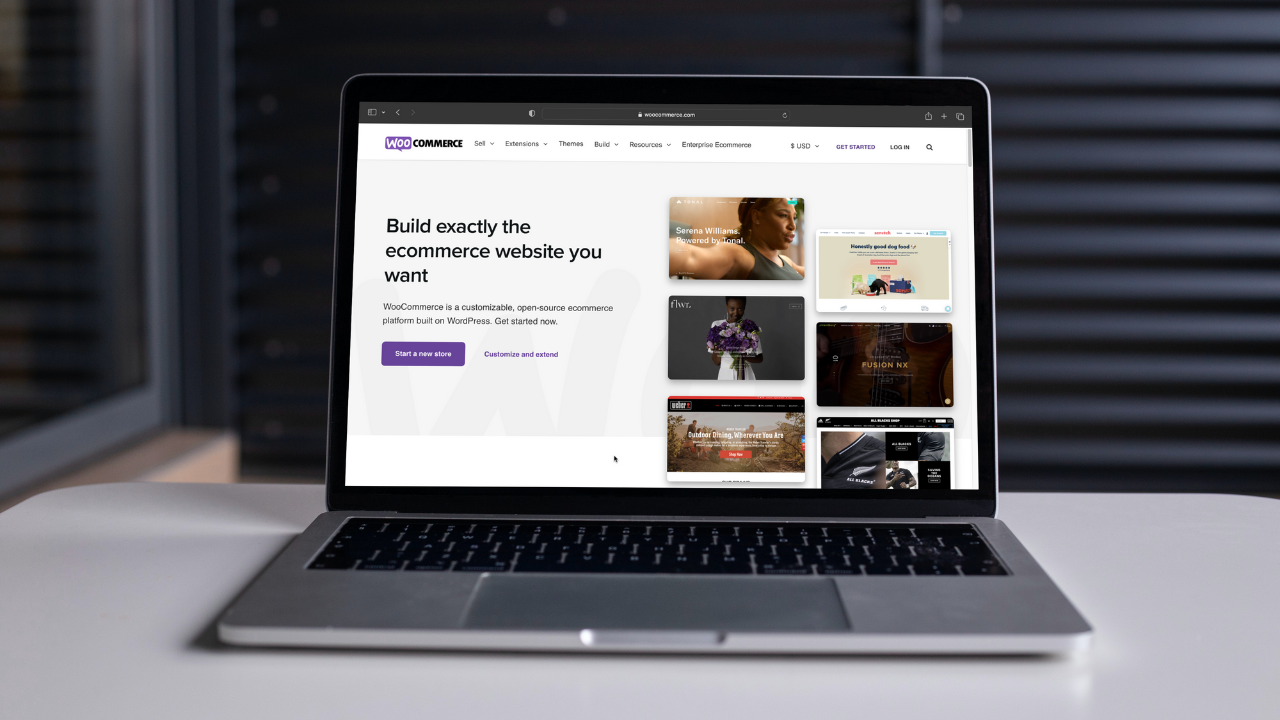
What is WooCommerce?
WooCommerce is an open-source eCommerce solution that has revolutionized the way businesses sell online. It’s a WordPress plugin that enables you to quickly create an online store for your products and services.
The plugin comes with a wide range of features and options, making it easy to customize your store to meet your specific needs. With WooCommerce, you can add products, manage orders and payments, and much more.
For those who are just getting started, WooCommerce makes it easy to get up and running quickly. There are a number of themes available to choose from, so you can make sure your store looks exactly the way you want it to.
Plus, with the help of plugins and extensions, you can easily extend and customize your store’s functionality even further.
What Do You Need to Build a WooCommerce Store?
You’ve decided to join the eCommerce wave and have taken a great first step. But before you launch your store, you’ll need a few things.
- Domain Name: This is your store’s address and what customers will type into their browsers to access your website.
- Web Hosting Service: This is where your website’s files and data will be stored. A good hosting service will allow you to easily manage and update your website.
- SSL Certificate: This is a security measure that encrypts the data exchanged between your website and your customers. It’s essential for securely accepting your customers’ online payments.
So there you have it.
These are the 3 key elements you’ll need to build a WooCommerce store.
It’s important to remember that these things are not free and cost you some money.
But you may be wondering, if WooCommerce is free, why do I need to pay for anything?
The truth is, while WooCommerce is free, there are several things you’ll need to purchase to make your website successful. These include web hosting, a domain name, and an SSL certificate.
These items are essential for any website, not just WooCommerce stores.
Without them, your website won’t be secure, won’t be visible on the web, and won’t be able to accept payments securely.
However, this can cost an arm and a leg if you don’t know where to look.
Thankfully, Cloudways, a powerful managed cloud hosting provider, has agreed to offer TalkBitz readers an exclusive discount of 15% off for 3 months.
Plus, you get a free SSL certificate with every plan.
And that’s not all – you also get a 3-day trial.
All you have to do is pay to register your domain name today, which is about $1 to $20.
Ready?
Let’s get down to business and get your store up and running!
1. Getting Started With WooCommerce
Whether you’re a budding entrepreneur or an experienced business owner, launching an eCommerce store can be an overwhelming process.
Thankfully, it’s also something you can do on your own, with the right guidance and resources.
Registering a Domain Name
The first step is to register your domain name.
Namecheap has one of the best prices when it comes to domain names, so you’ll be sure to get the best deal.
If you don’t already have a domain name, don’t worry. We’ve got your back!
Simply, enter your desired domain name below and hit the “Search” button to check if it’s available and to buy it from Namecheap.
Check if your domain name is available:
powered by Namecheap
If that is too heavy for you, read our guide on how to register a domain name to get one quickly and easily.
Once you’ve chosen and registered your domain name, it’s time to get web hosting.
Setting up Web Hosting
There are many different types of web hosting to choose from, but one of the most popular and economical choices is shared hosting.
Shared hosting is great for smaller sites and blogs, but if you’re looking for something more robust and secure for your eCommerce store, then you’ll need a powerful web hosting provider.
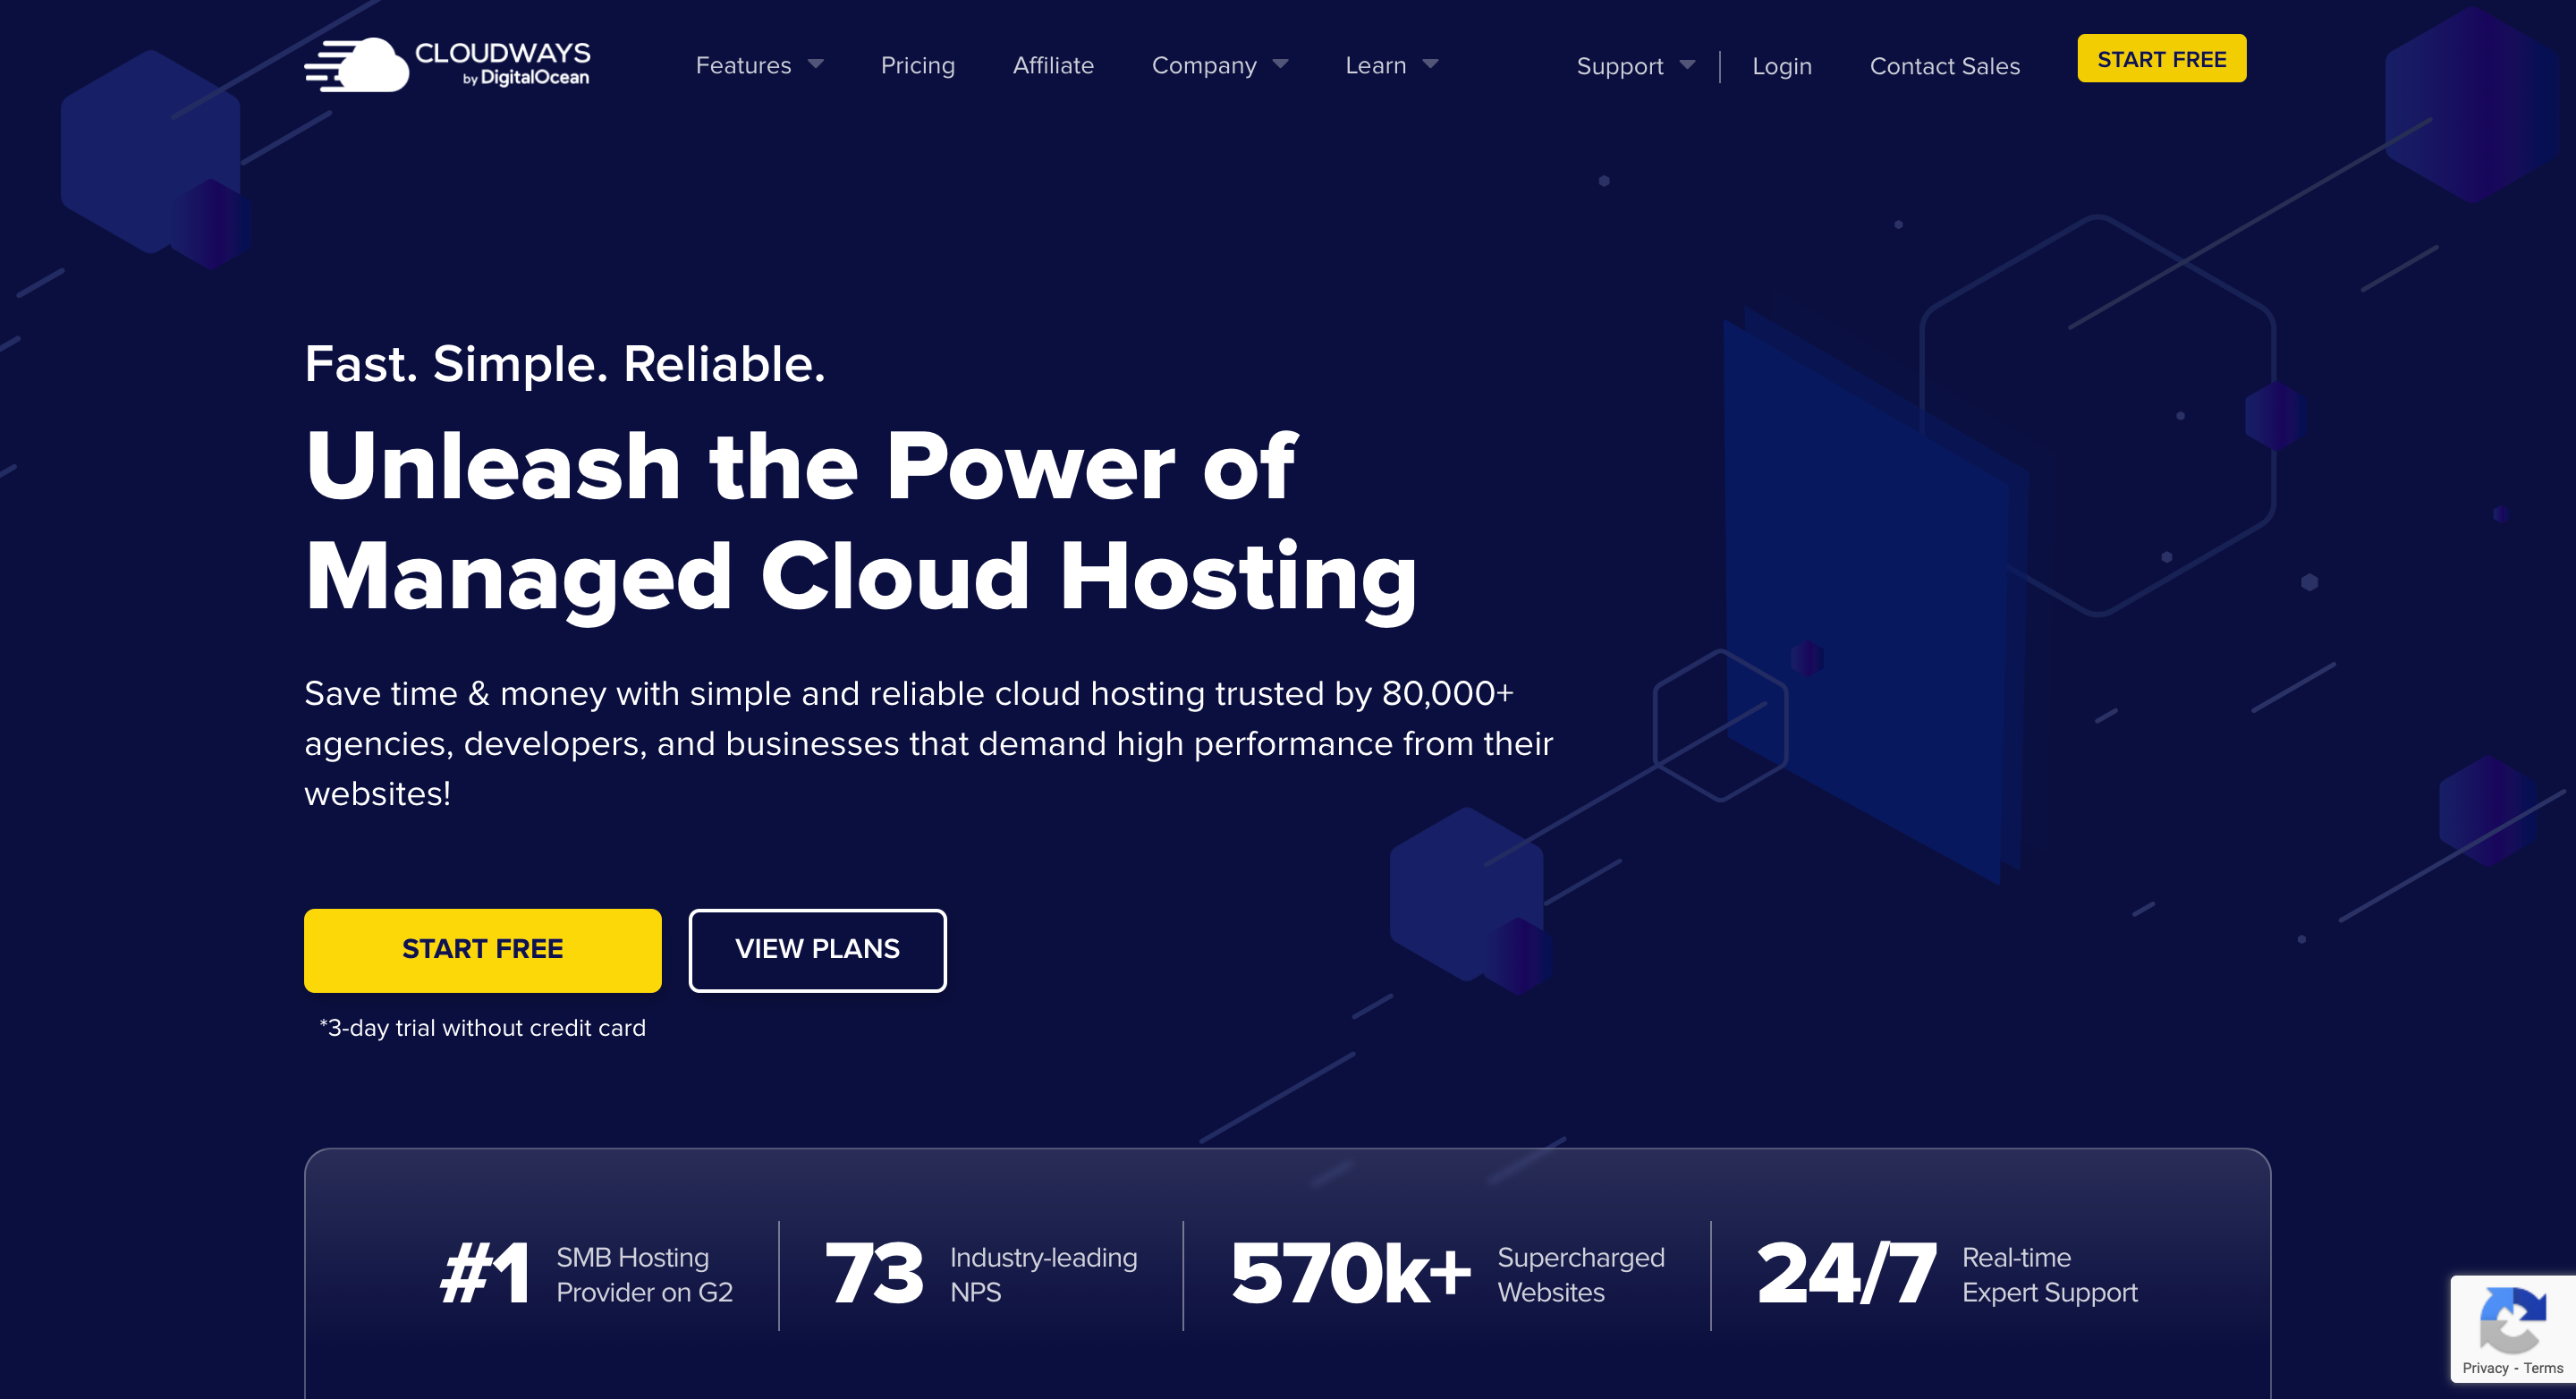
Cloudways is a managed cloud hosting provider that offers a range of features specifically designed to help power your eCommerce store.
→ Click here to head over to Cloudways and hit the “Start Free” button to start your 3-day trial
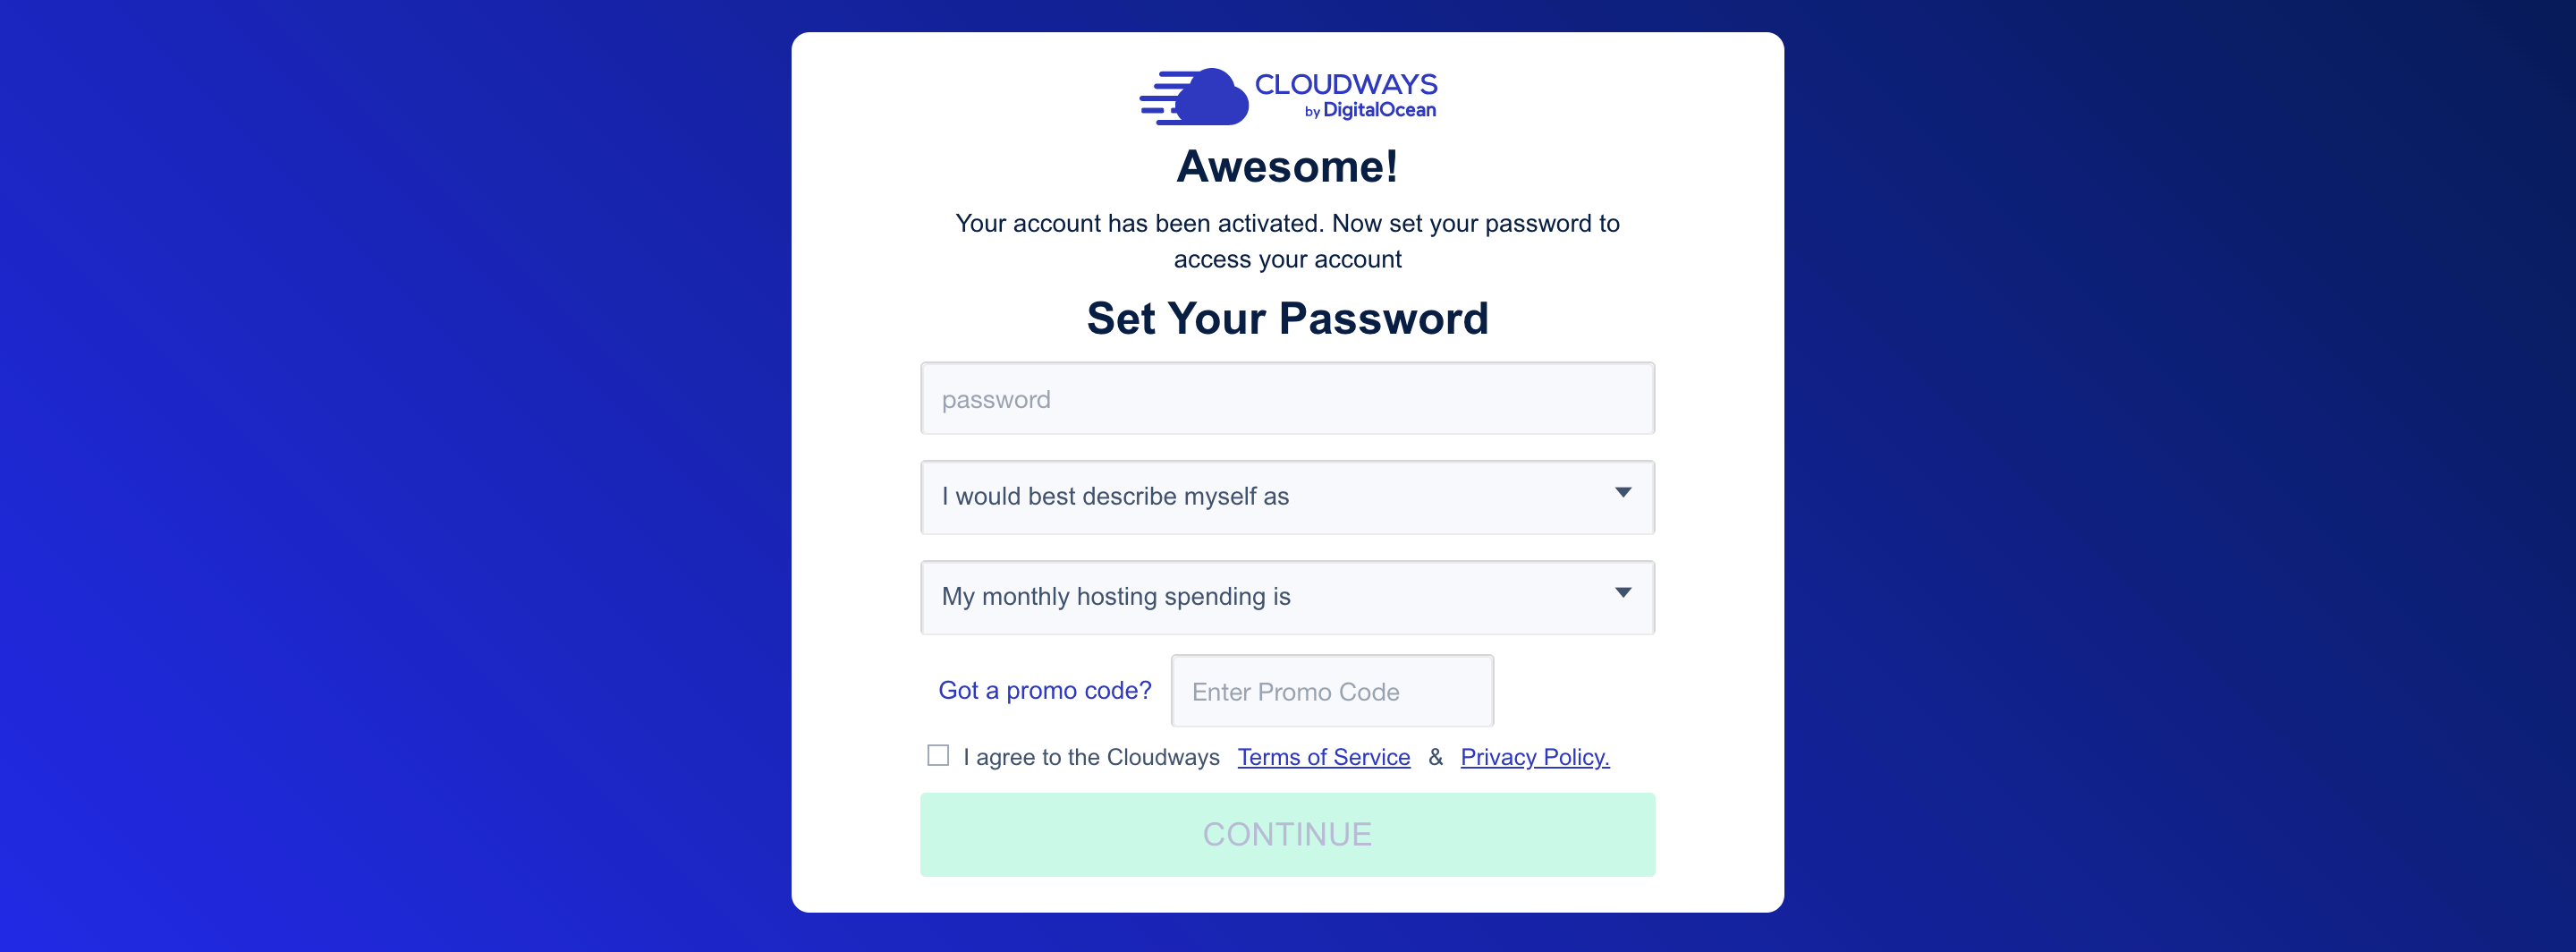
Next, you will be asked to create and hosting account with them. Enter your information and click “Continue.”
What’s more, don’t forget to use our special promo code TALKBITZ to avail 15% off for three months.
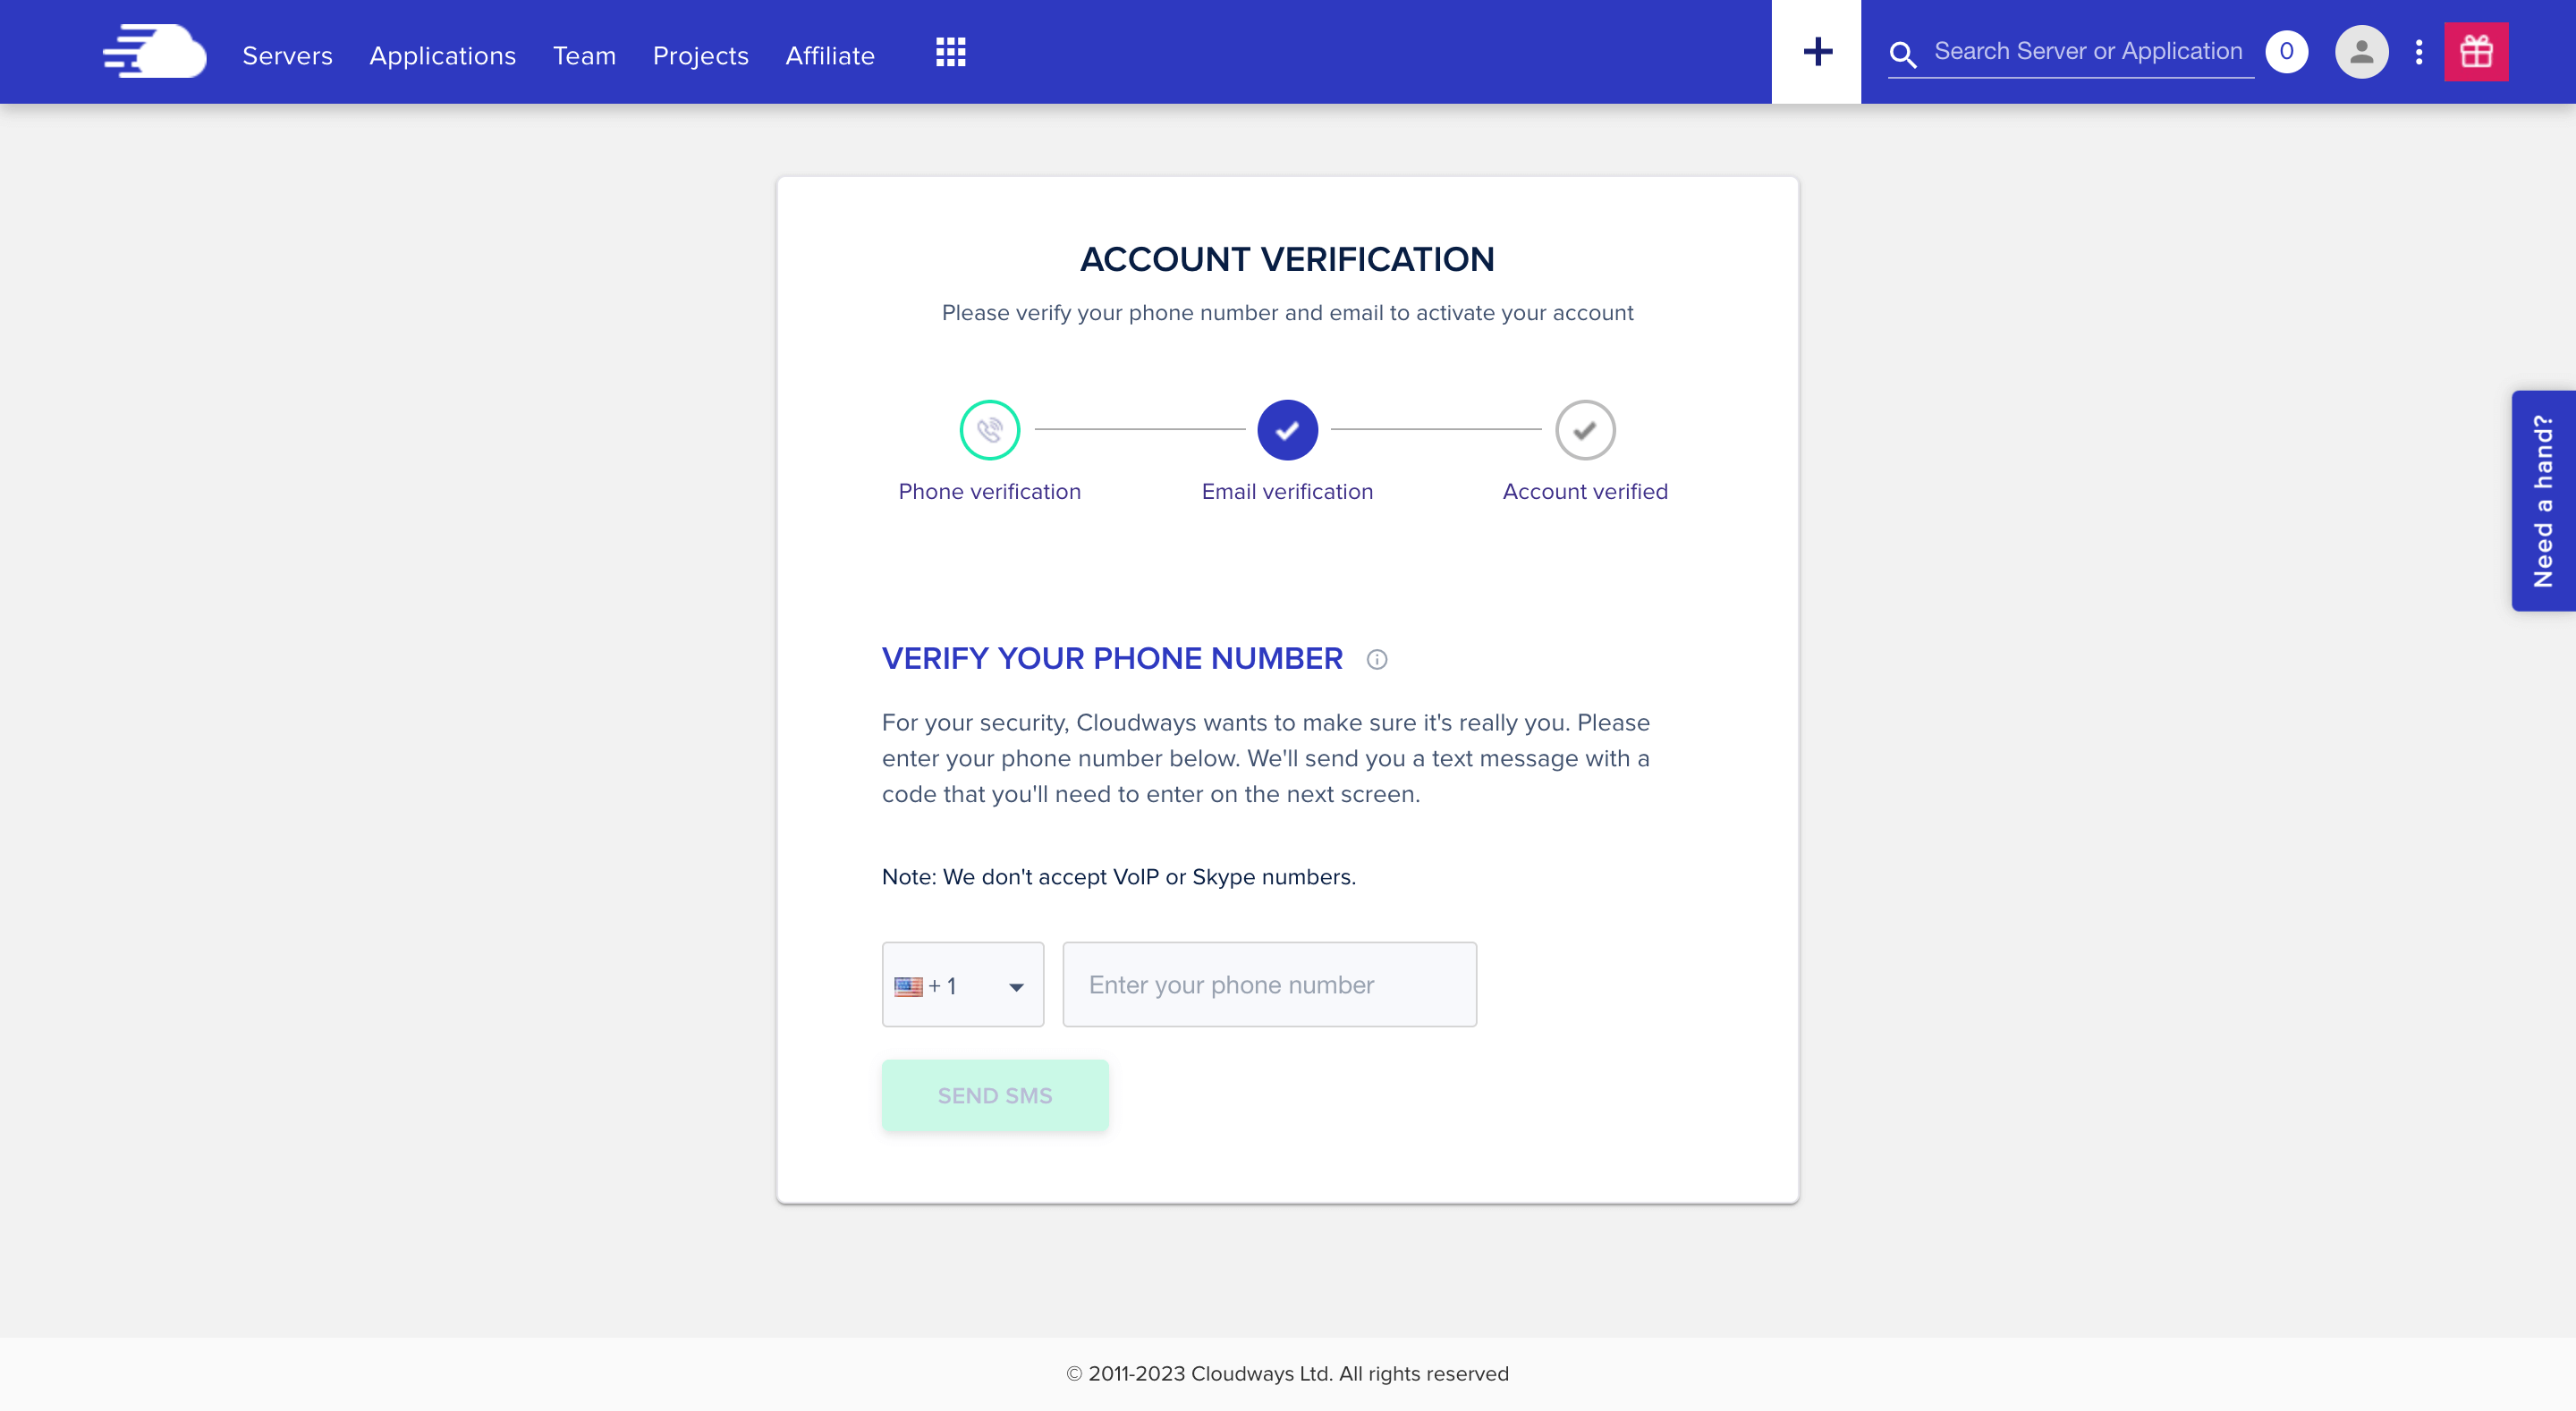
After you create an account, they’ll ask you to verify it. Click, the “Verify your account” button, and follow the on-screen instructions to verify your account.
Next, you’ll see the Cloudways server configuration wizard to get your app up and running. You’ll be able to pick an app, select your server, and select the server location. Once you’ve done that, you’ll be able to configure your server settings and launch your app.
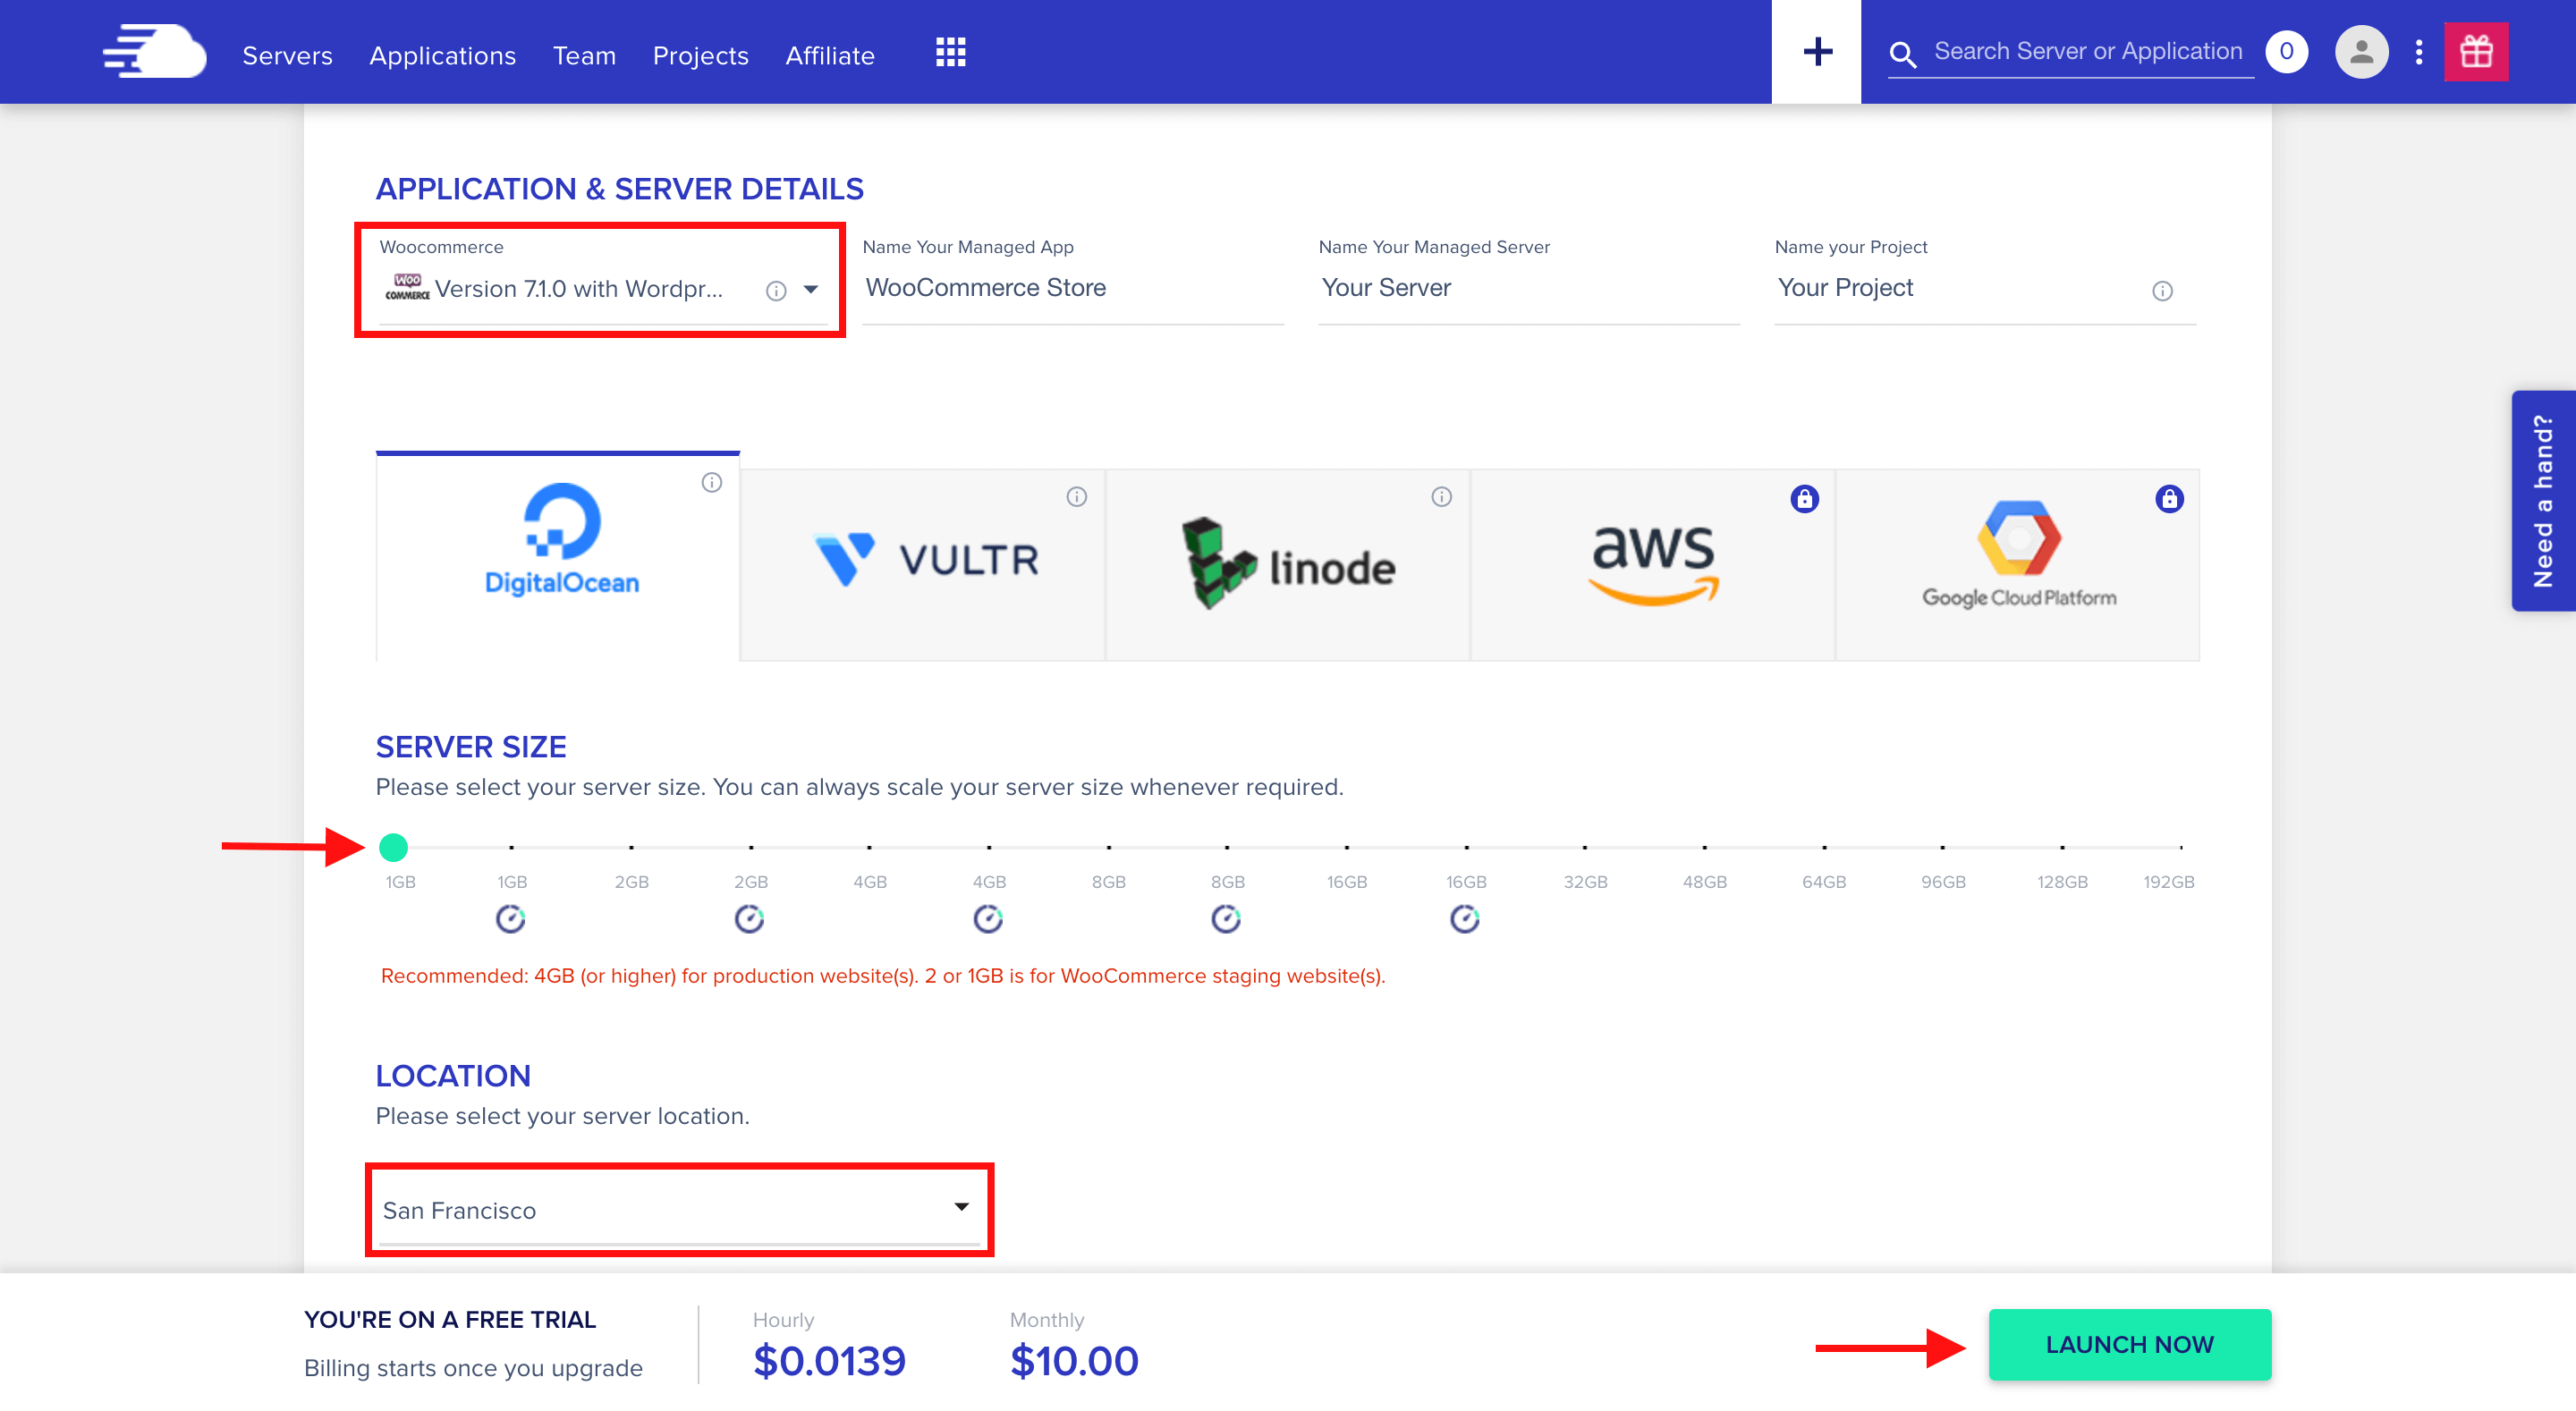
In our case, we’re setting up an eCommerce store, so go ahead and select the configurations as follows:
- Application & Server Details: Select Woocmmerce from the dropdown list. For the App, Server, and Project, give them names related to your website. This will help you easily locate each website in the future, especially if you want to create multiple websites or servers.
- Cloud Provider and Server Size: They offer five different cloud infrastructure providers to choose from. You’ll need to select one provider. If you’re just starting out, Digital Ocean’s 1GB server (1 Core Processor, 25GB Storage, and 1TB Bandwidth) should be good enough and you can always scale up your server as your store grows.
- Server Location: For the best results, pick a server that’s close to your customers. That way, your eCommerce store will load faster.
Once you’ve finished setting up your Cloudways server, click the “Launch Now” button to proceed.
Once your server is ready, it’s time to log in to your WooCommerce store!
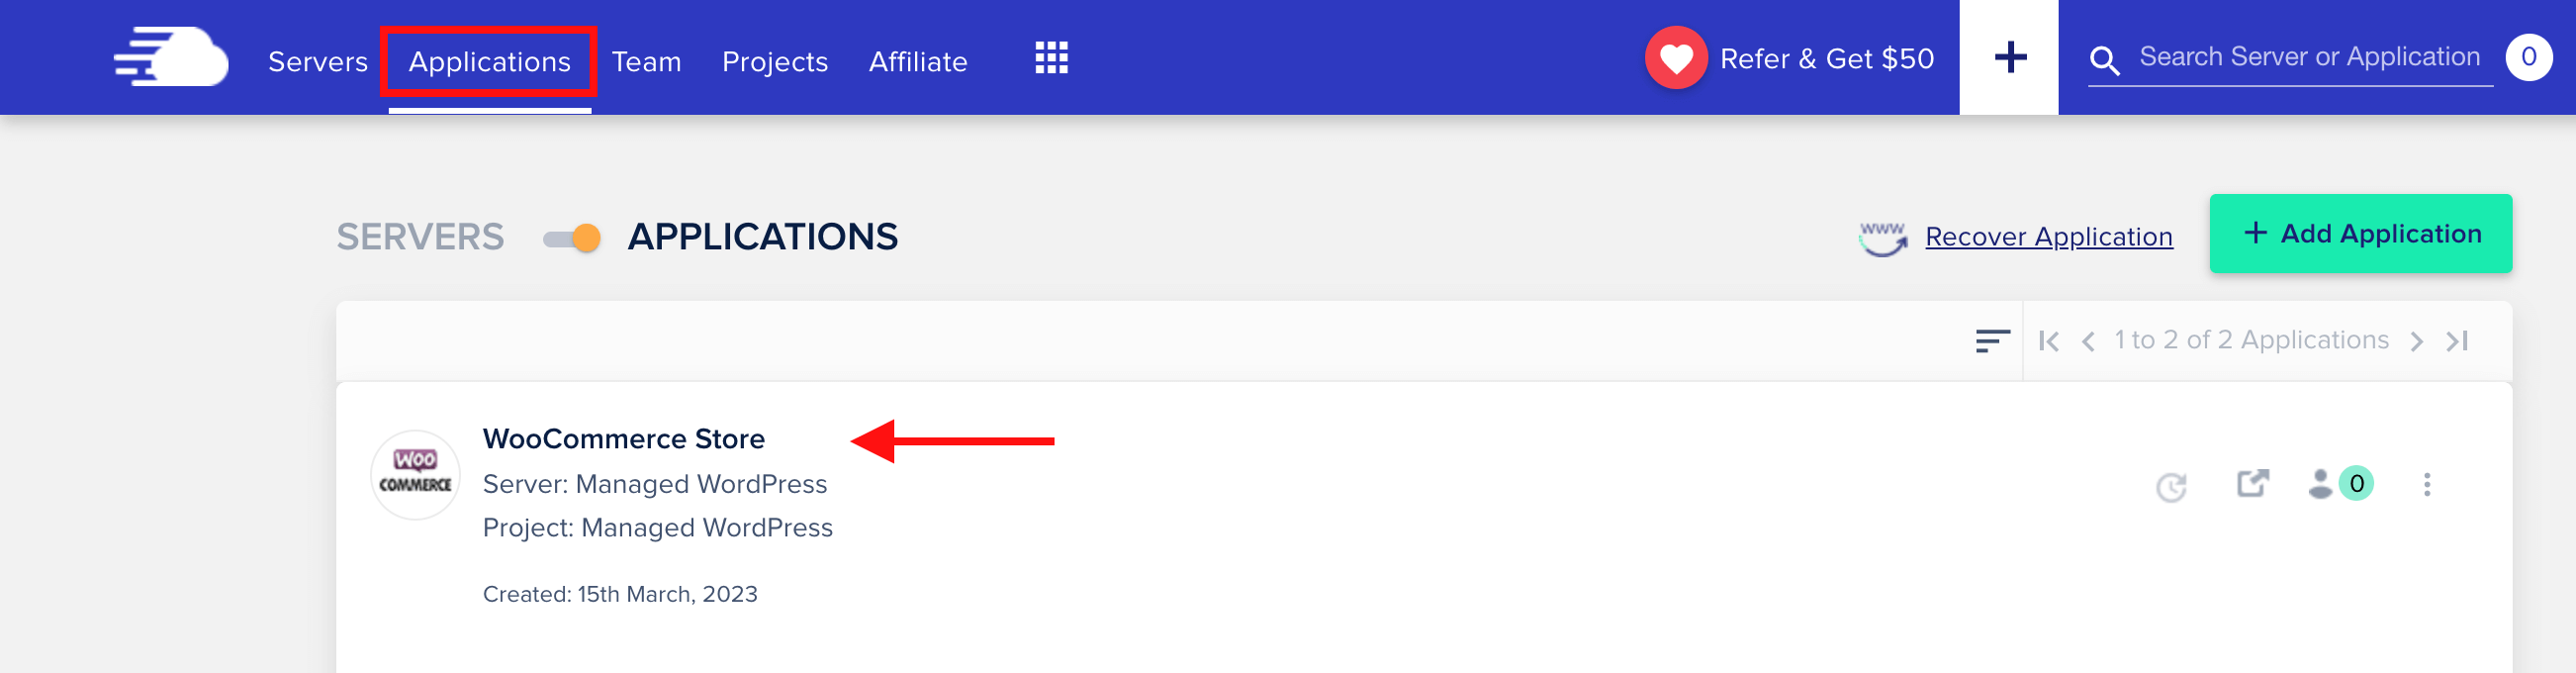
To get started, head to the Cloudways Platform and click Applications in the top-left menu. From there, you’ll see a list of all your apps – click on your WooCommerce store to enter the application area.
Once you’re in the application area, you’ll find the credentials you need to log in to your WooCommerce Dashboard – the URL for your admin panel, as well as your username and password.
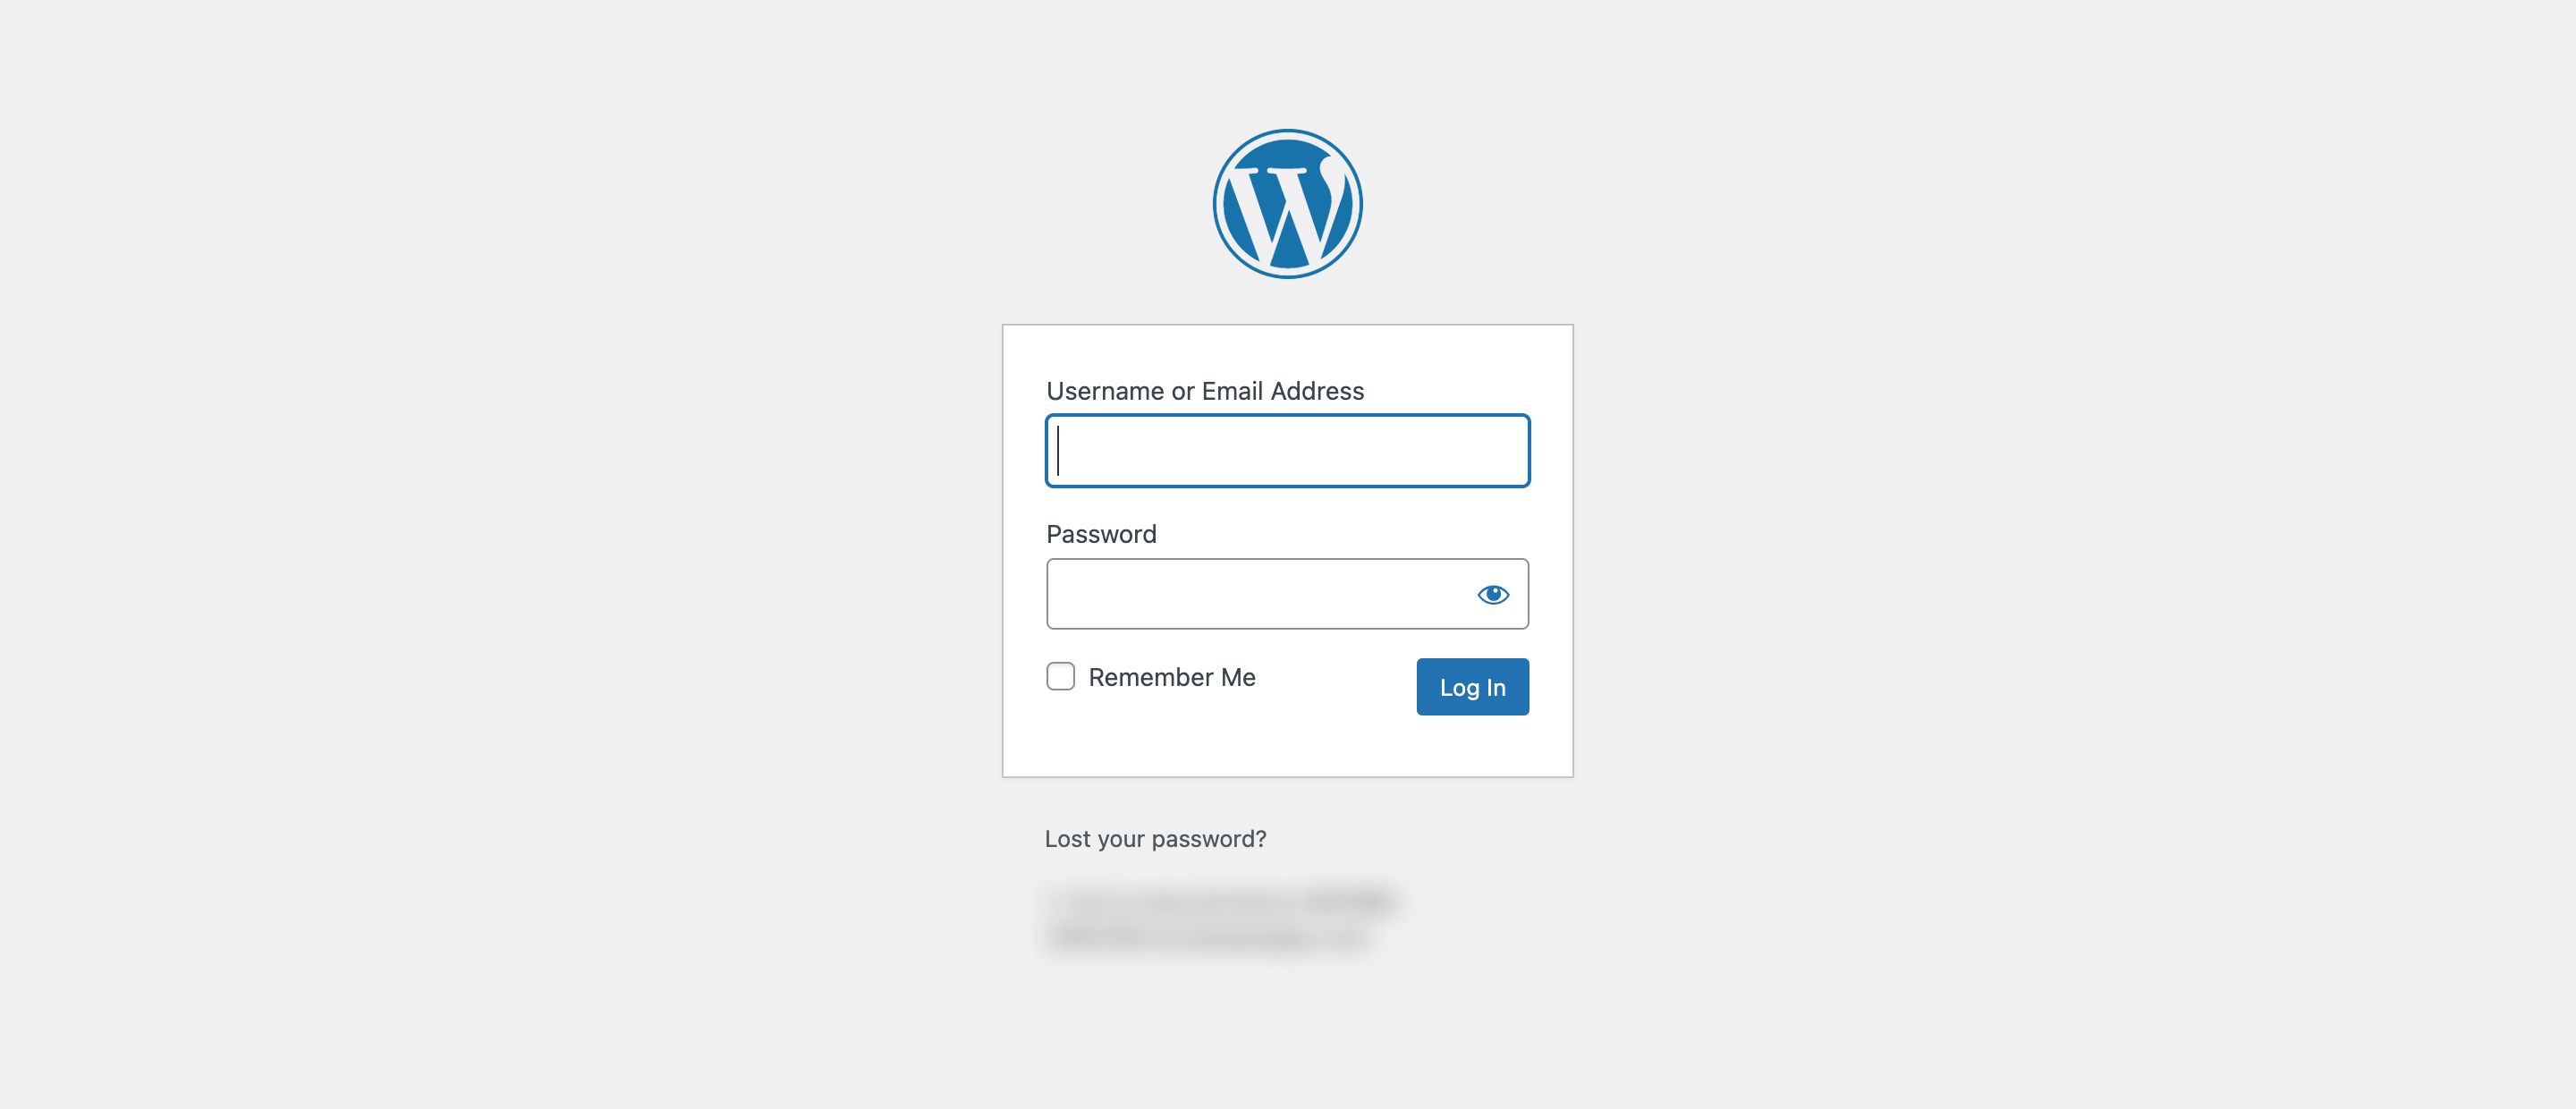
With the URL and your credentials at hand, click the URL and log in to the WooCommerce Dashboard.
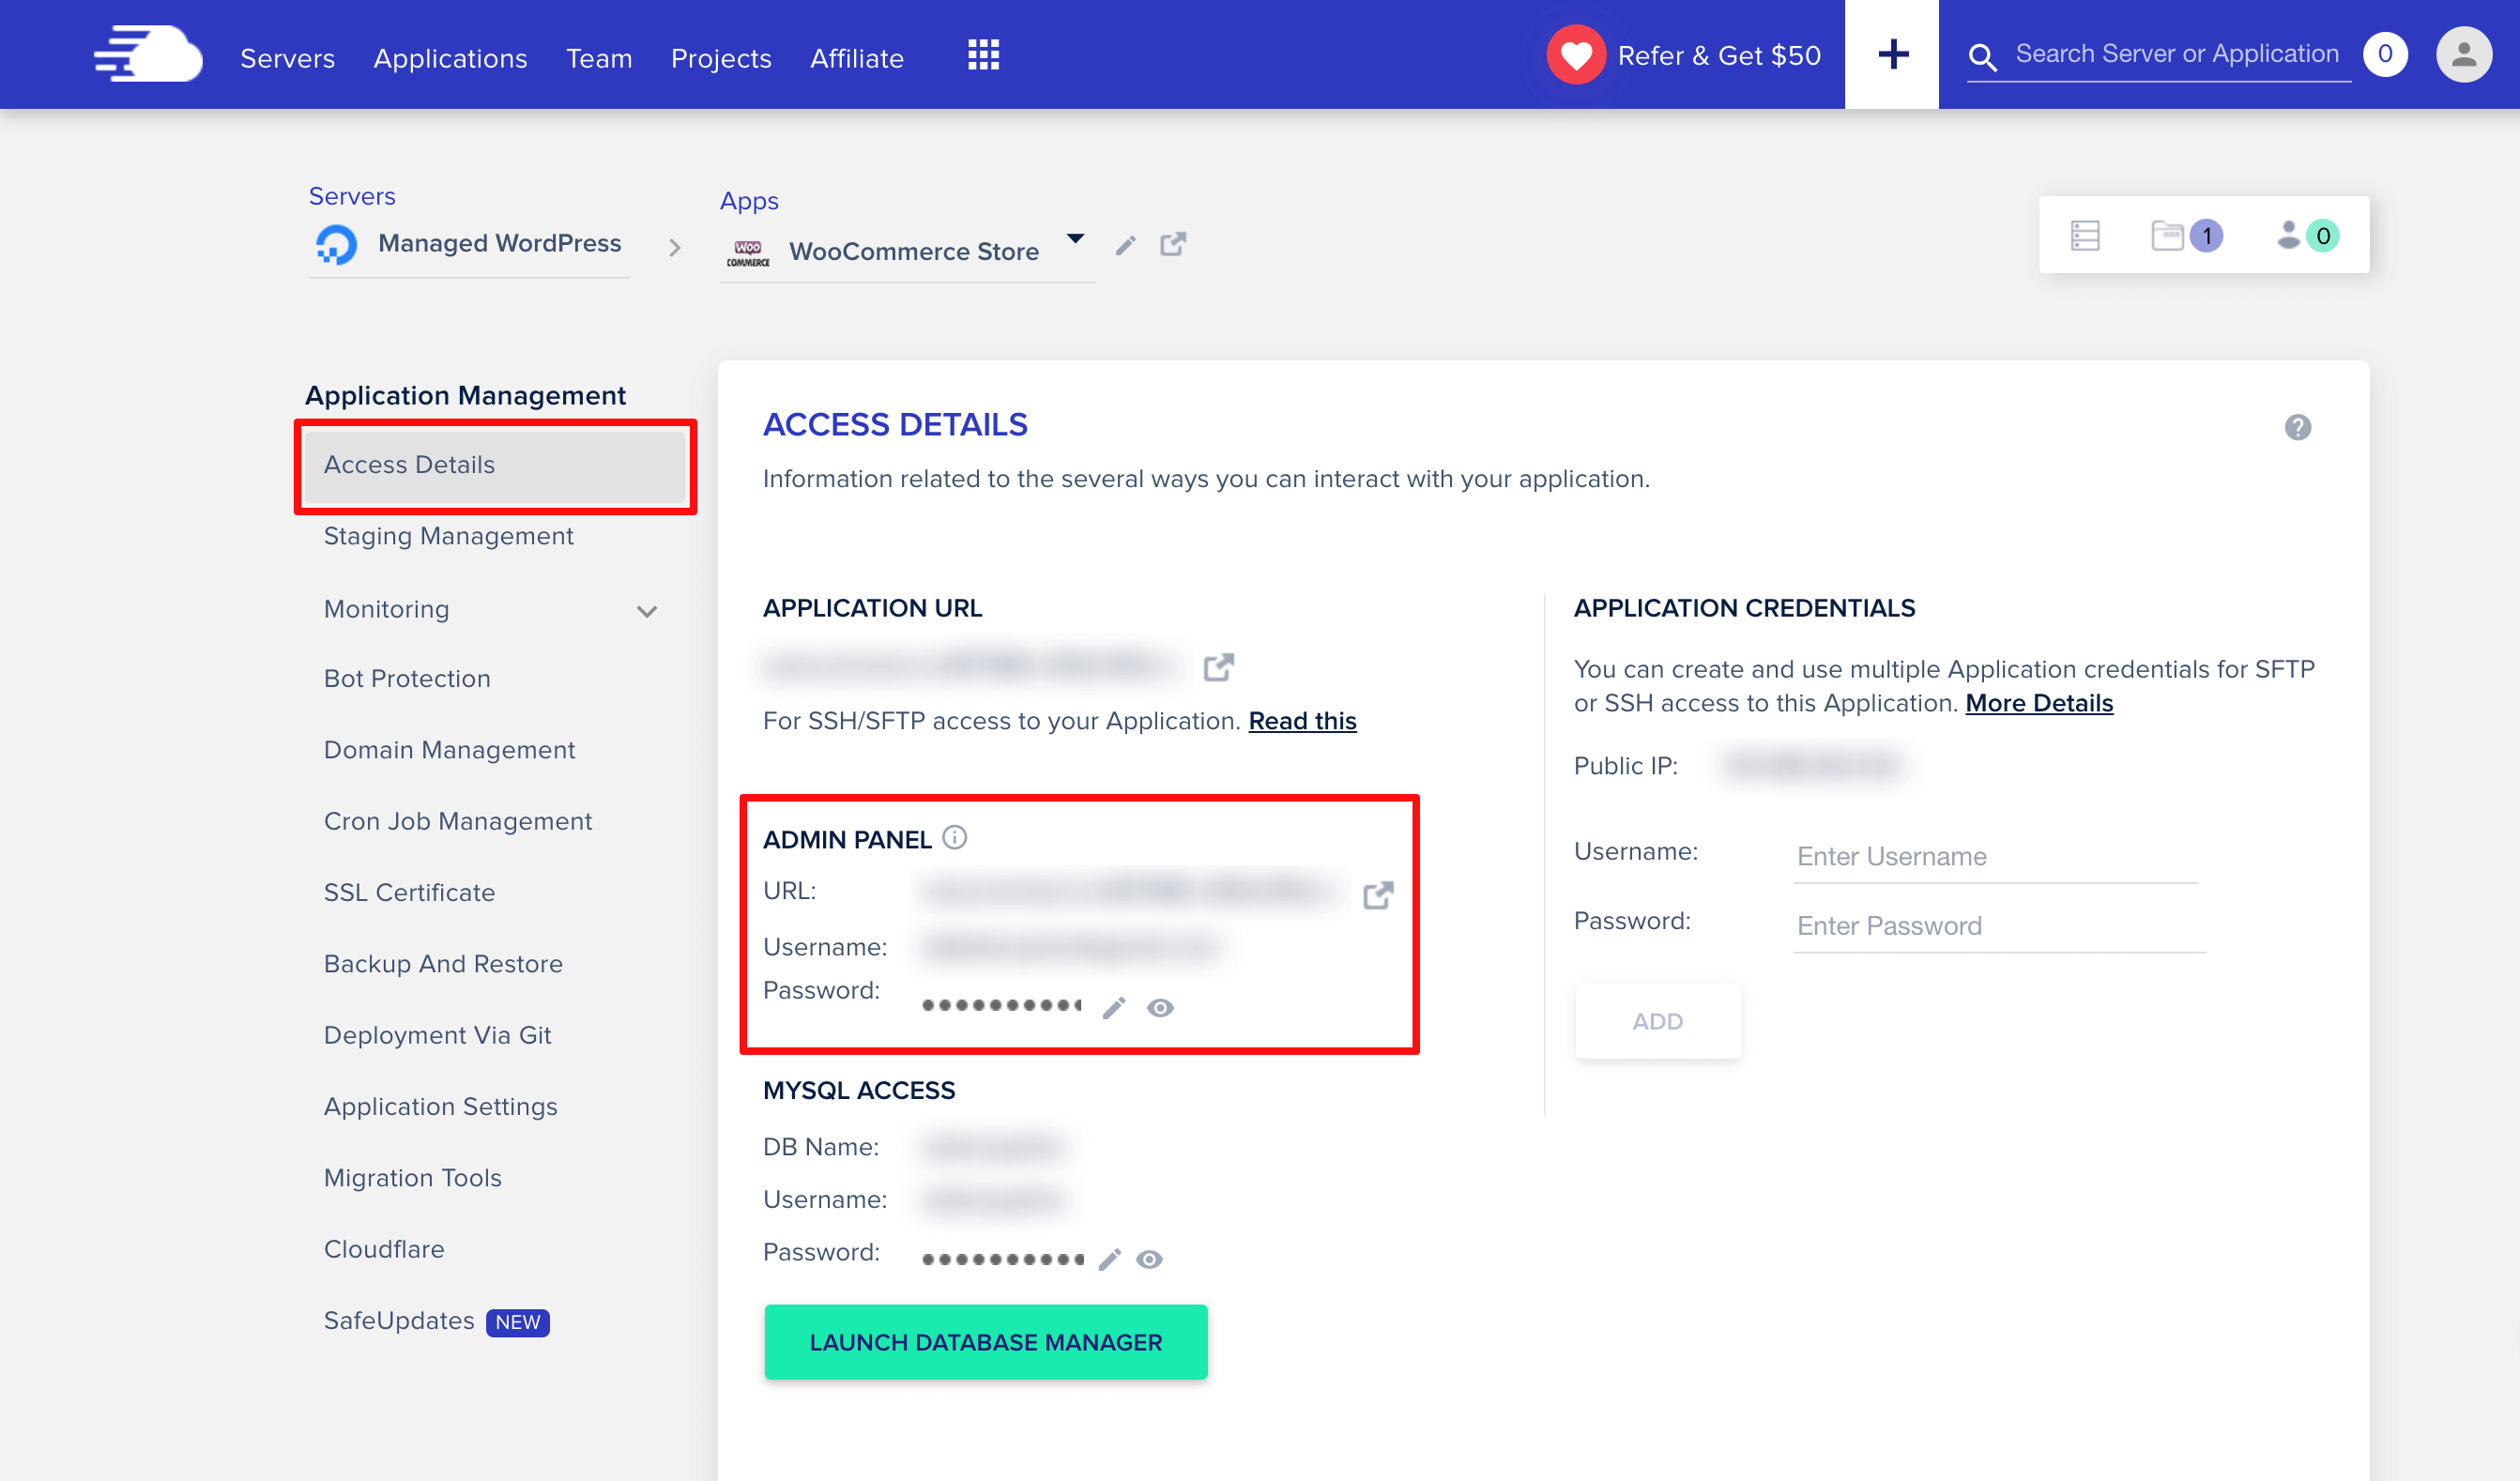
Next, copy your Username and Password from the Admin Panel, and paste them into the WooCommerce Login Page.
You can also click “remember me” if you don’t want to have to enter your credentials every time you log in. With that done, click the “Log in” button and you’ll be taken to the WooCommerce dashboard.
Now that you’re logged in, you should be able to start customizing your store, adding products, and setting up payment methods. It’s that simple!
2. Setting up the WooCommerce Store
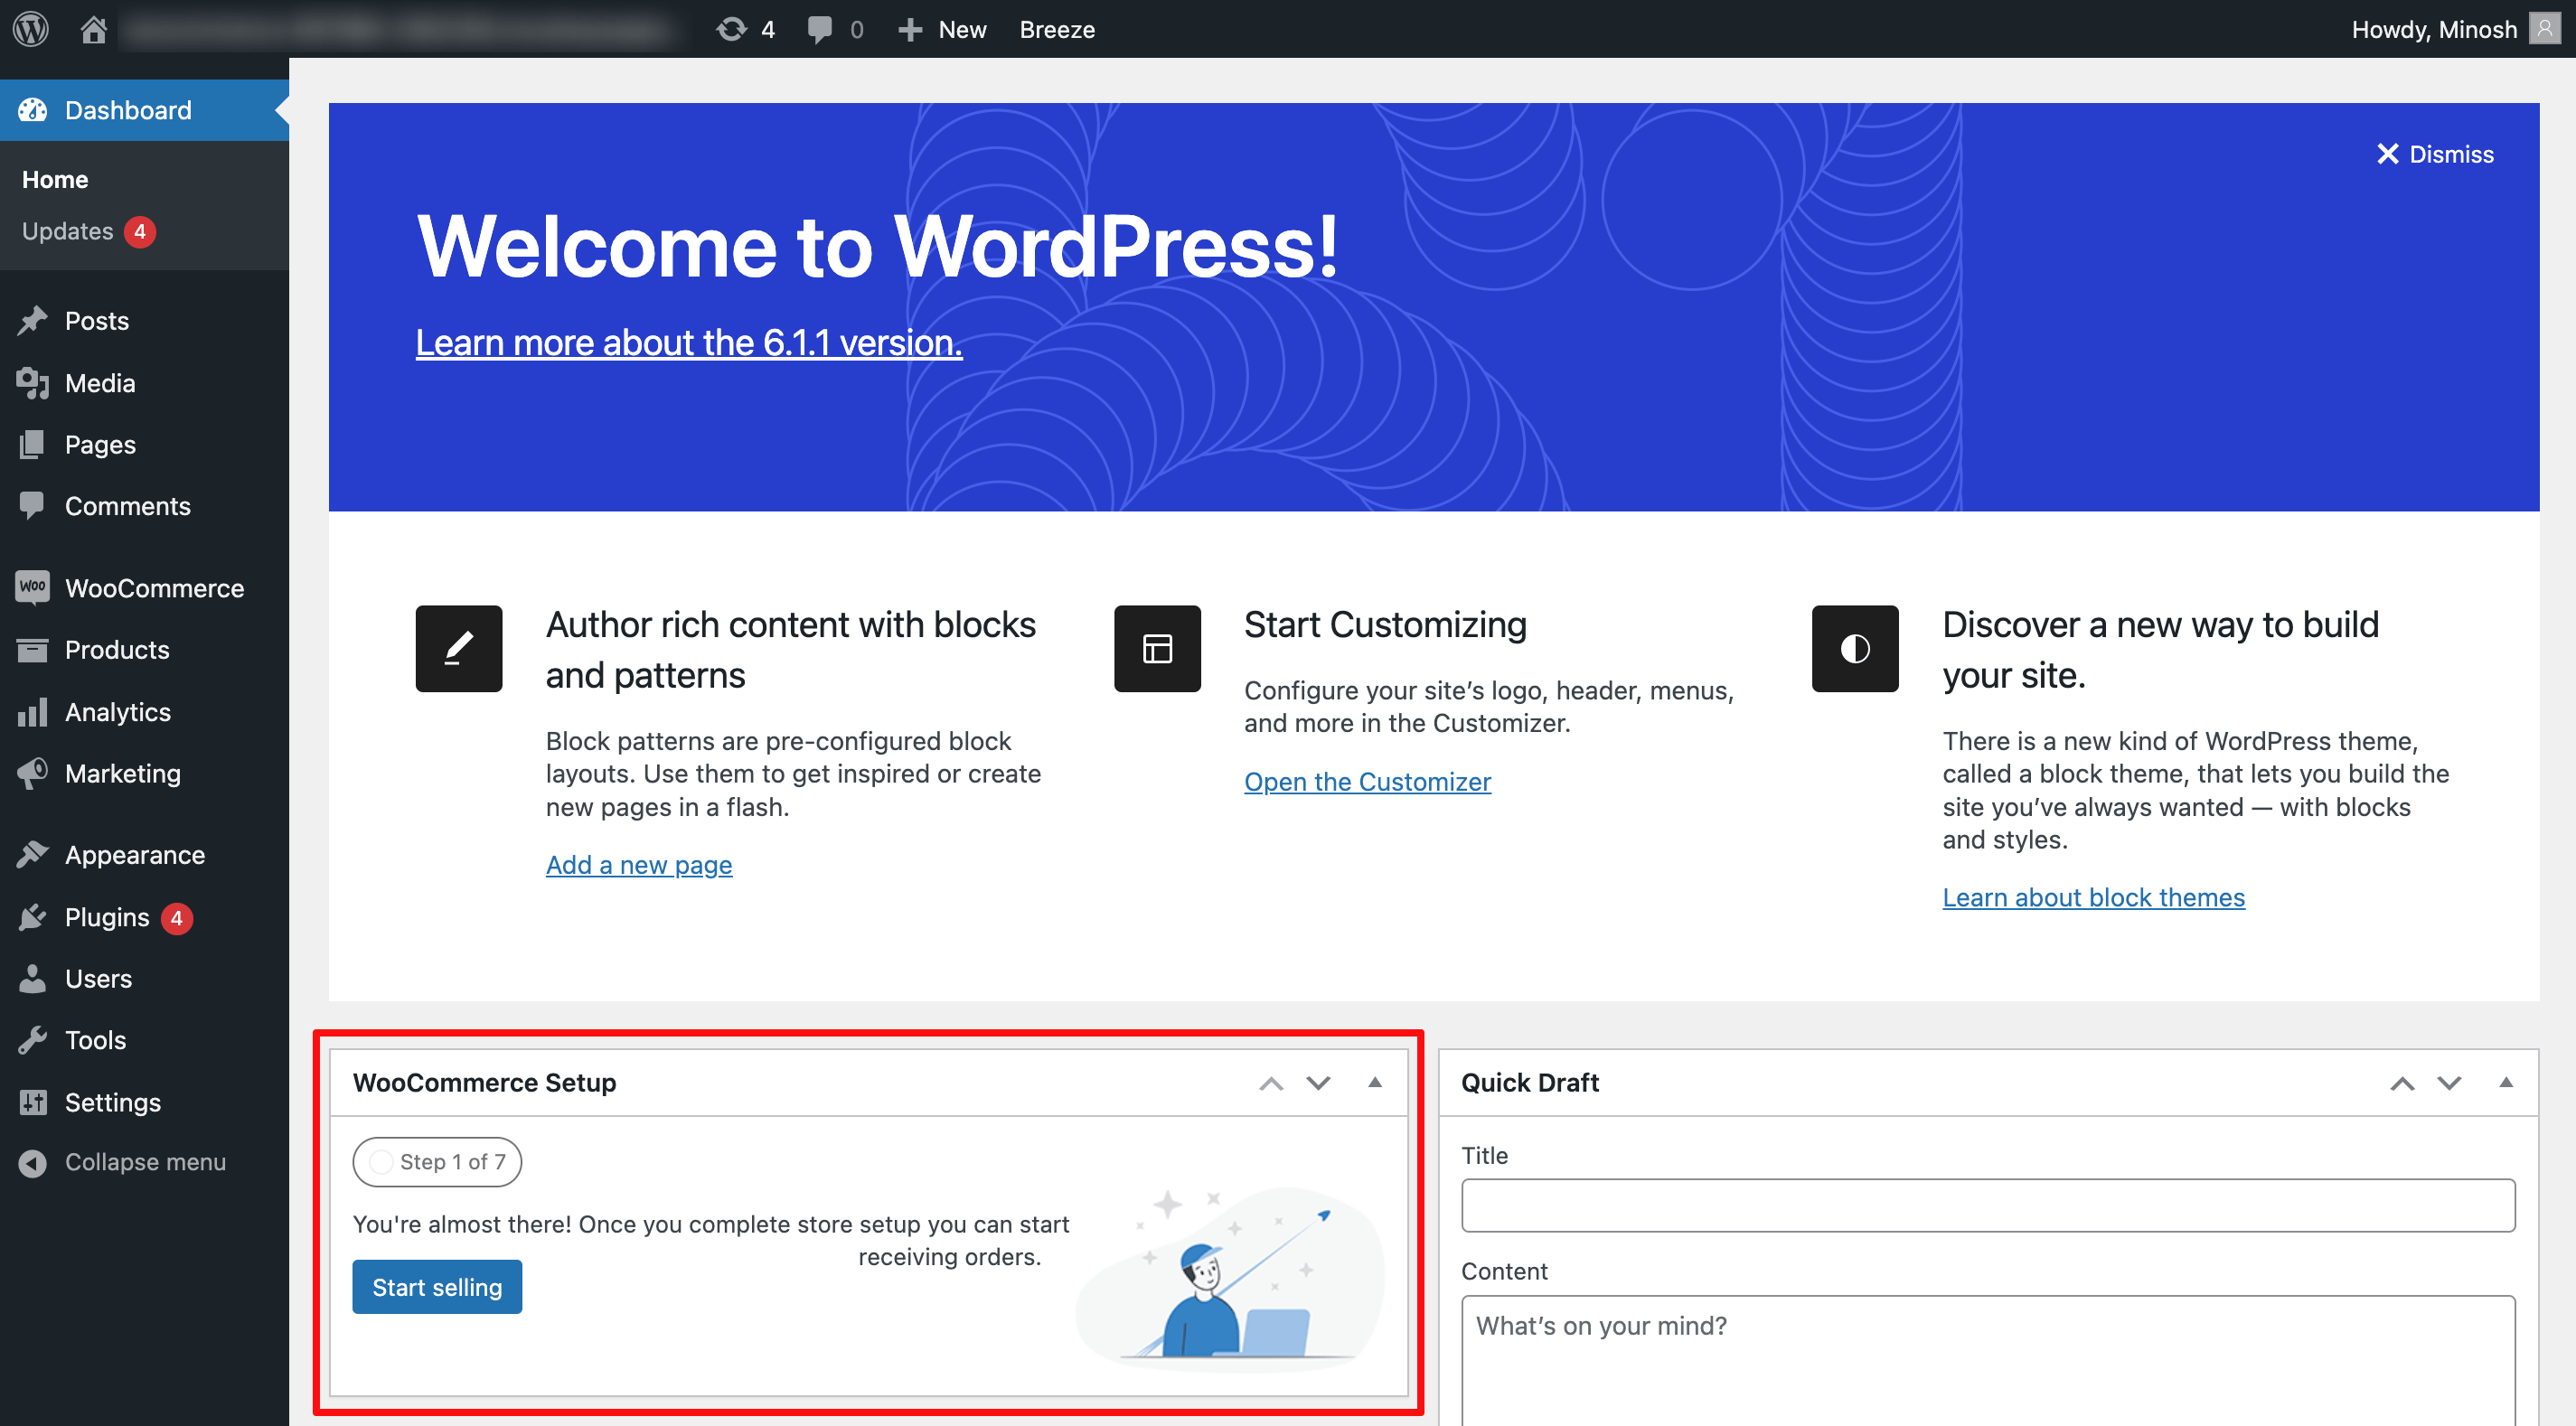
Now that you have WooCommerce installed on your WordPress setup, it’s time to start setting up your online store!
First, click the “Start Selling” button to launch the WooCommerce setup wizard. This wizard will guide you through the process of setting up your store, step-by-step.
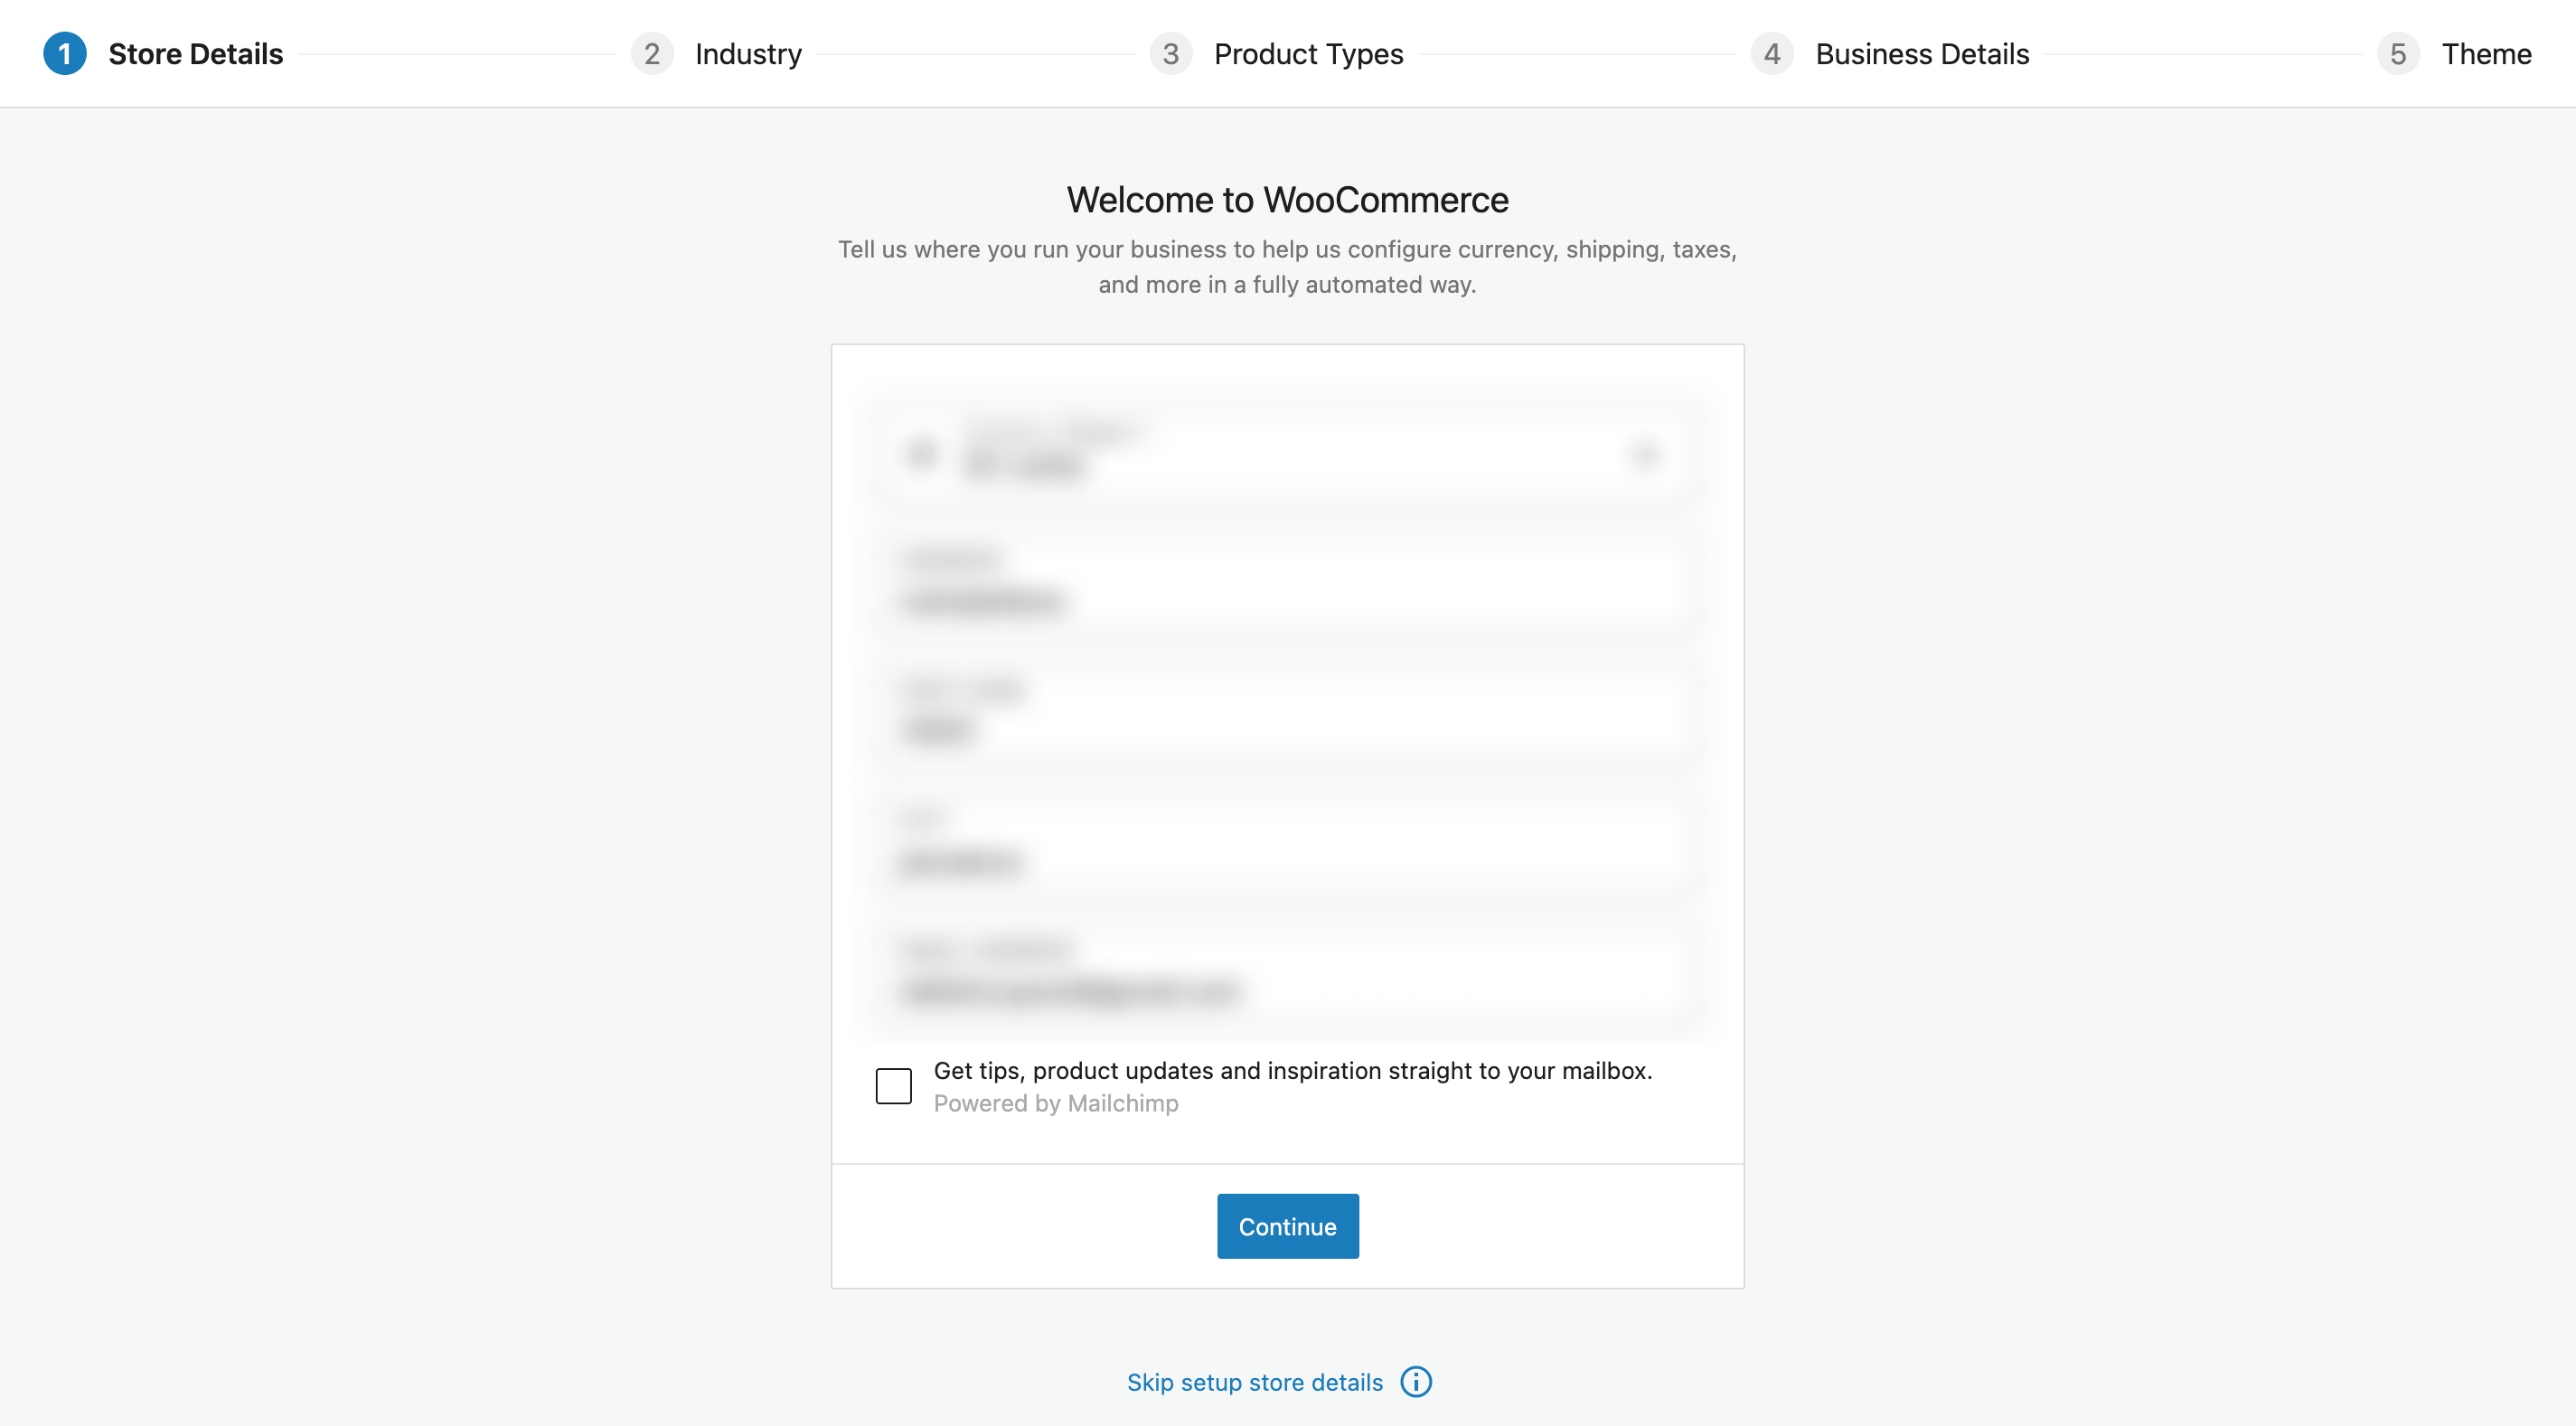
The setup wizard will guide you through the process of setting up your store, starting with entering your store details. Here, you’ll enter basic information such as your store’s address and selling and shipping locations, as well as the currency you’d like to use.
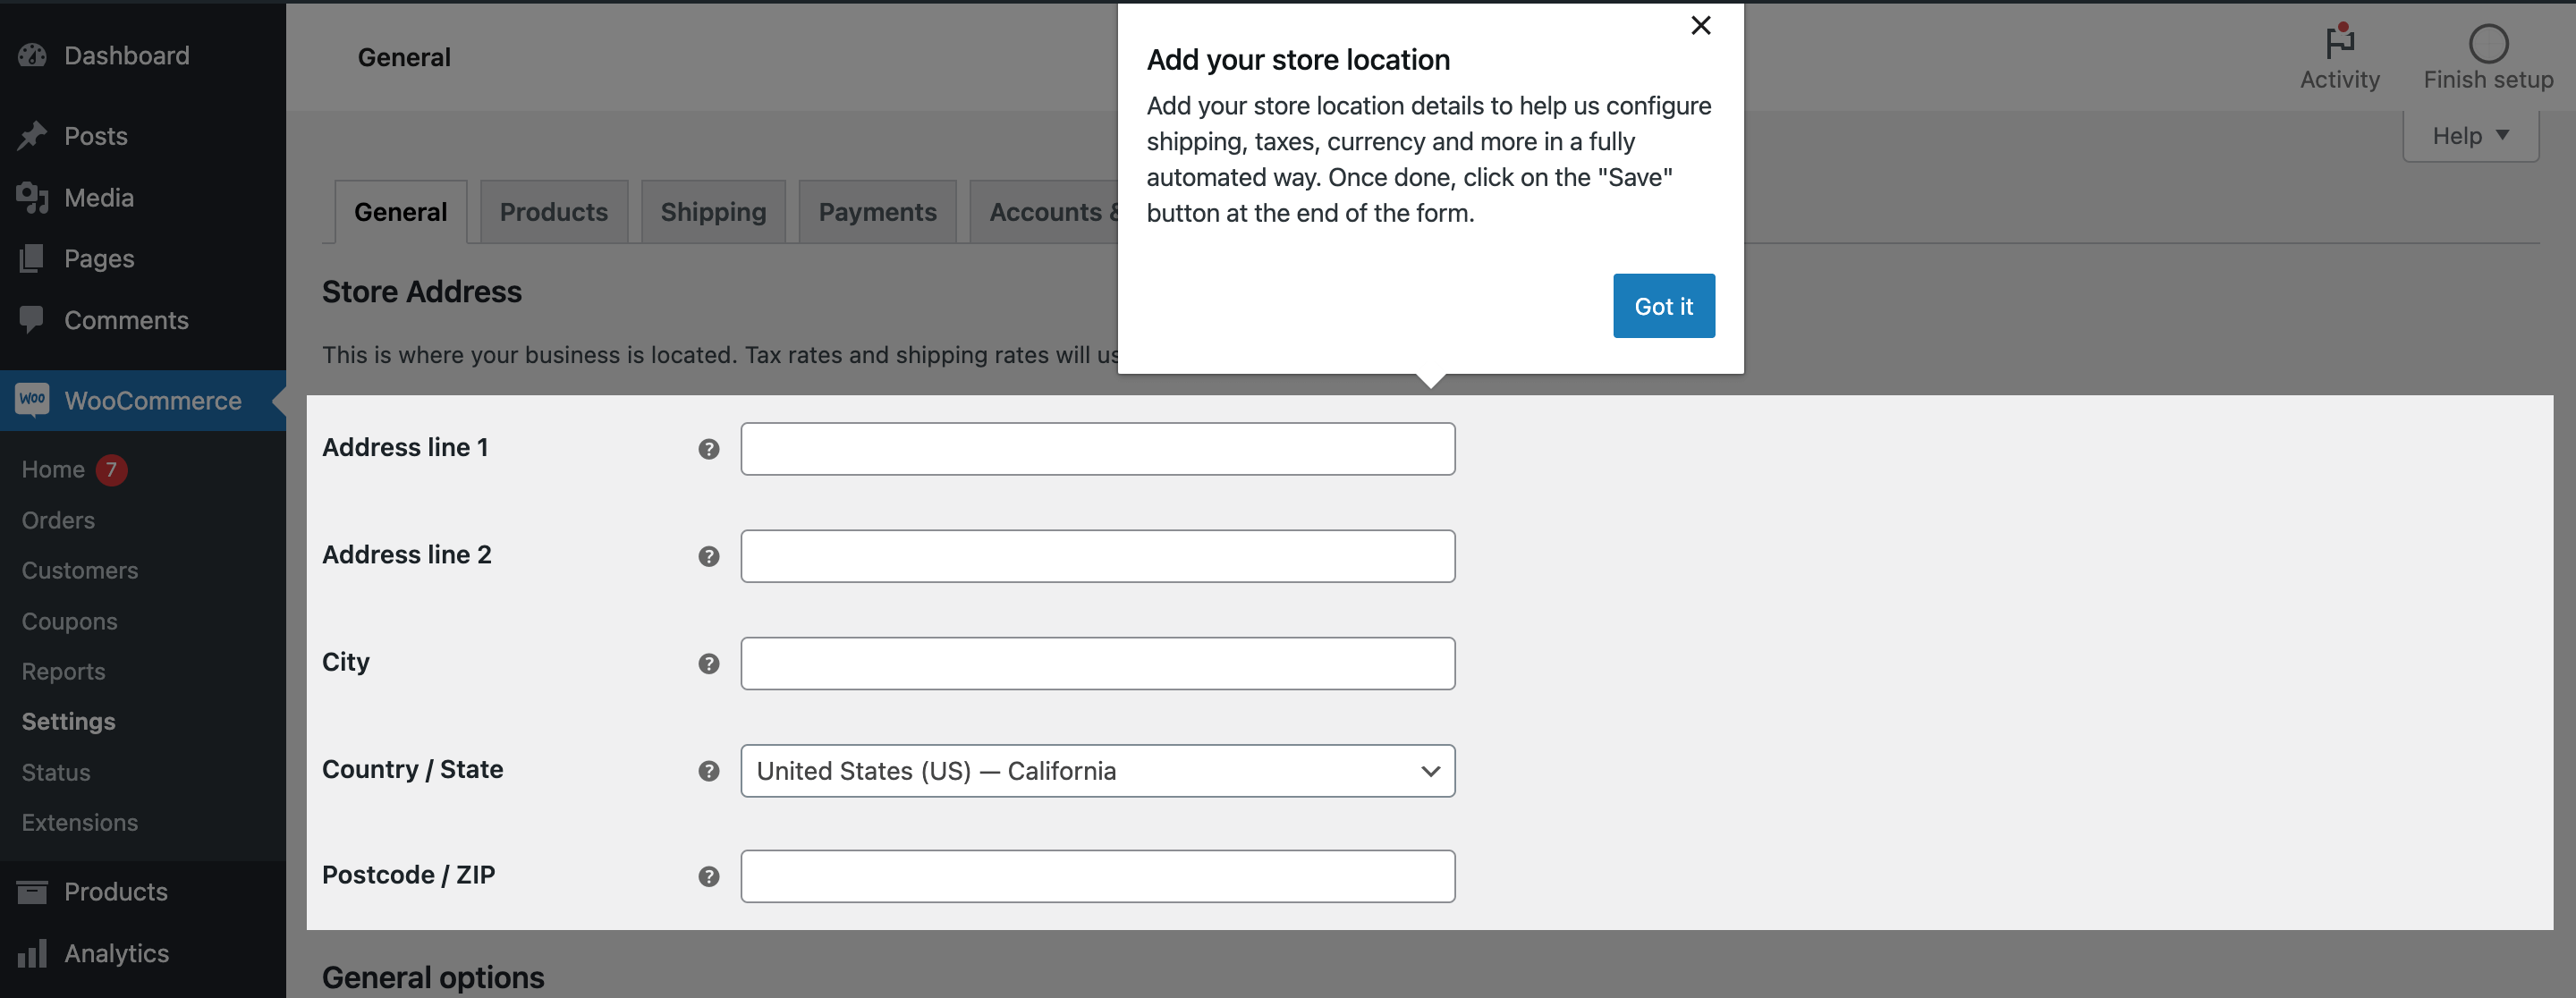
It’s important that you enter this information correctly and thoroughly, so take your time and double-check it before you move on.
Once you’ve finished, don’t forget the save them.
After that, it’s time to move on to the next step of the setup wizard. Simply click the “Continue Setup” button at the top right corner and it will take you to the next page of the setup process.
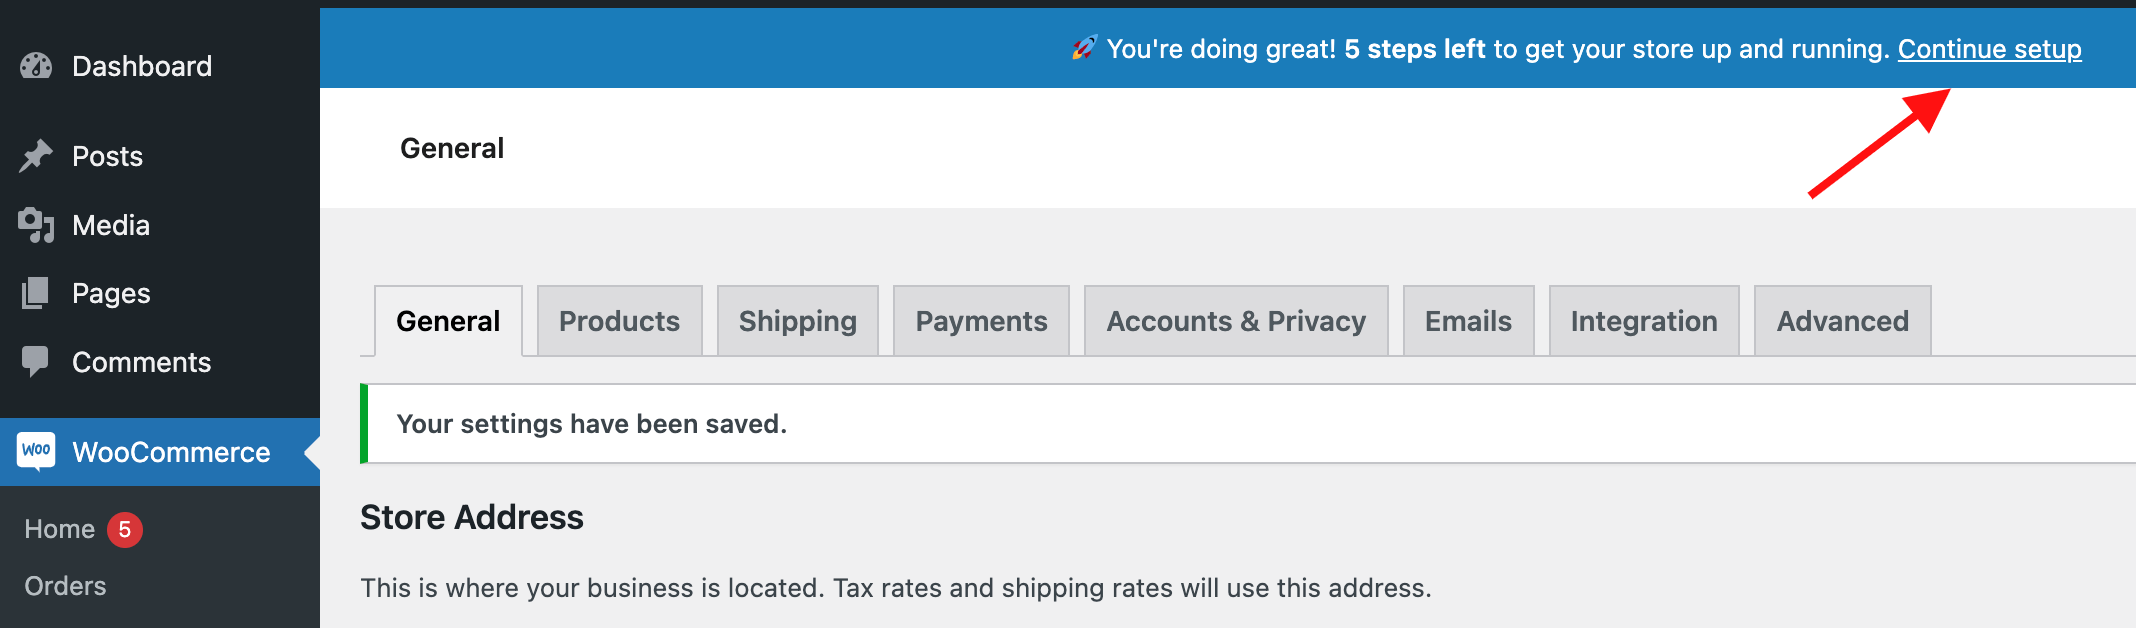
On this page, you will be able to review the address you have entered and make sure everything is in order. Once you have verified all the details, you can click the “Continue” button to move on to the next step.
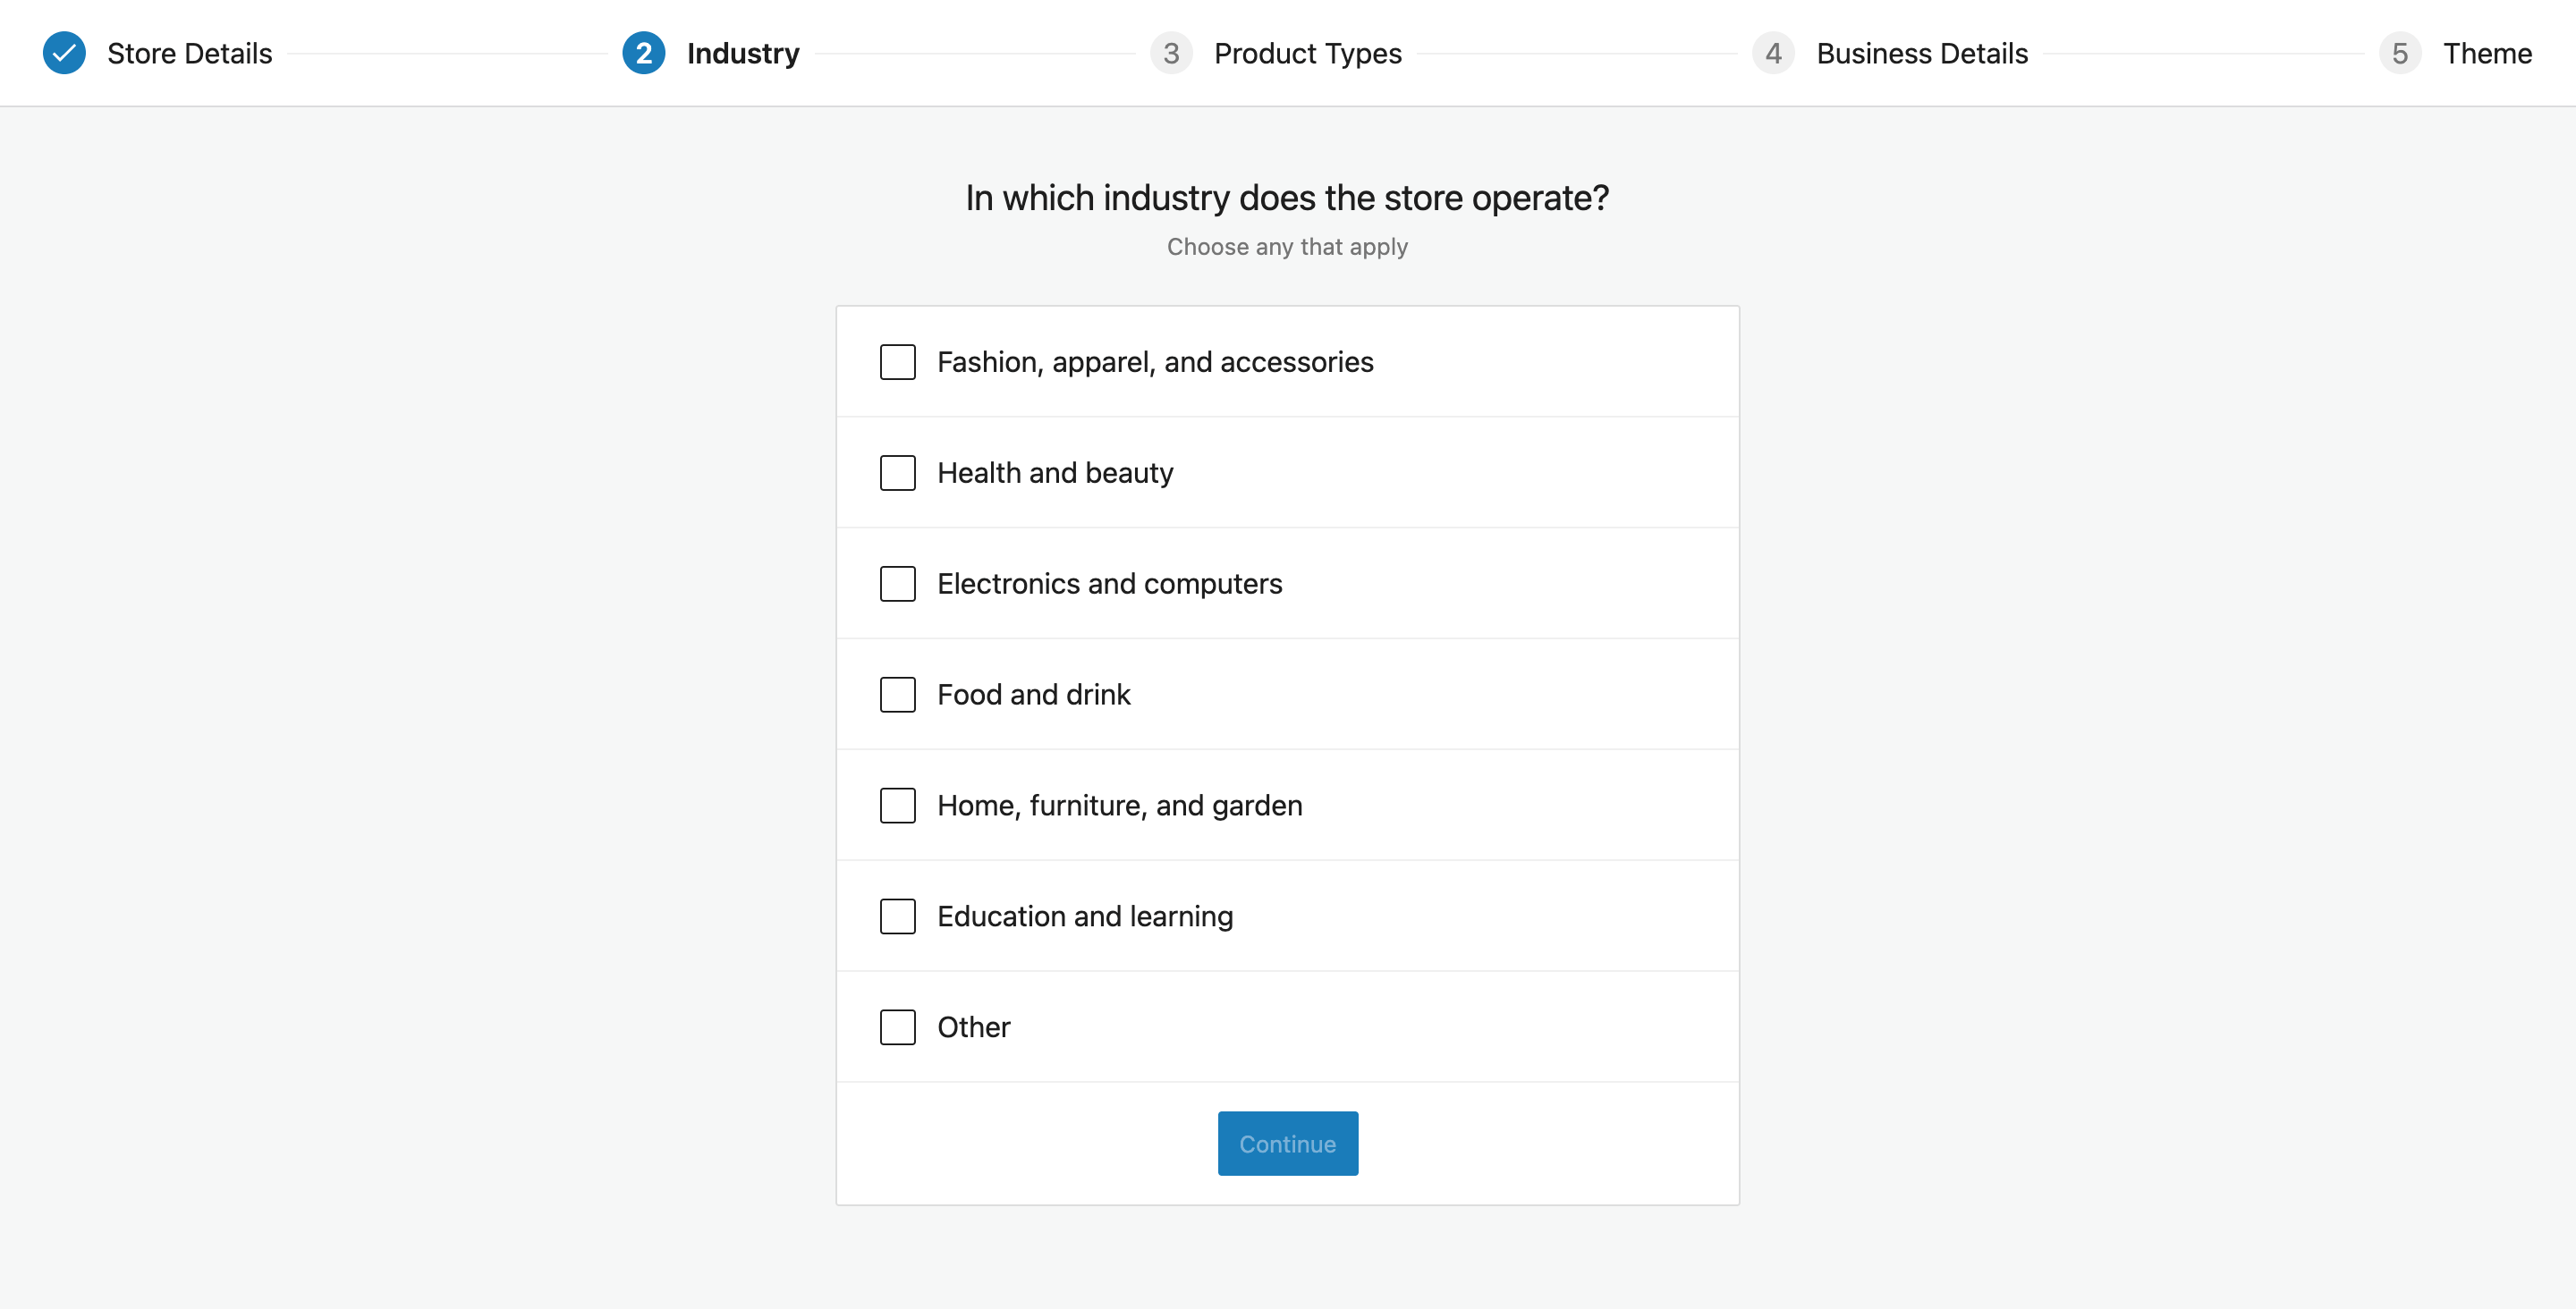
Next, you’ll be asked about the industry you’re in. You have a variety of options to choose from, from clothing and fashion to electronics and education. Just select the ones that apply to your business and you’re good to go.
The next step in the setup wizard is to decide what type of products you’ll be listing on your store.
Whether you’re selling physical goods, digital downloads, subscriptions, appointments, or services, WooCommerce has you covered.
One thing to note is that some product types require additional plugins or extensions. If you want to list customizable products, for example, you’ll need to purchase an extension to enable this feature.
Similarly, if you’re thinking of running a subscription-based store, you’ll need an extension to set up that kind of store. This could cost you a few extra bucks, but it’s worth it in the long run.
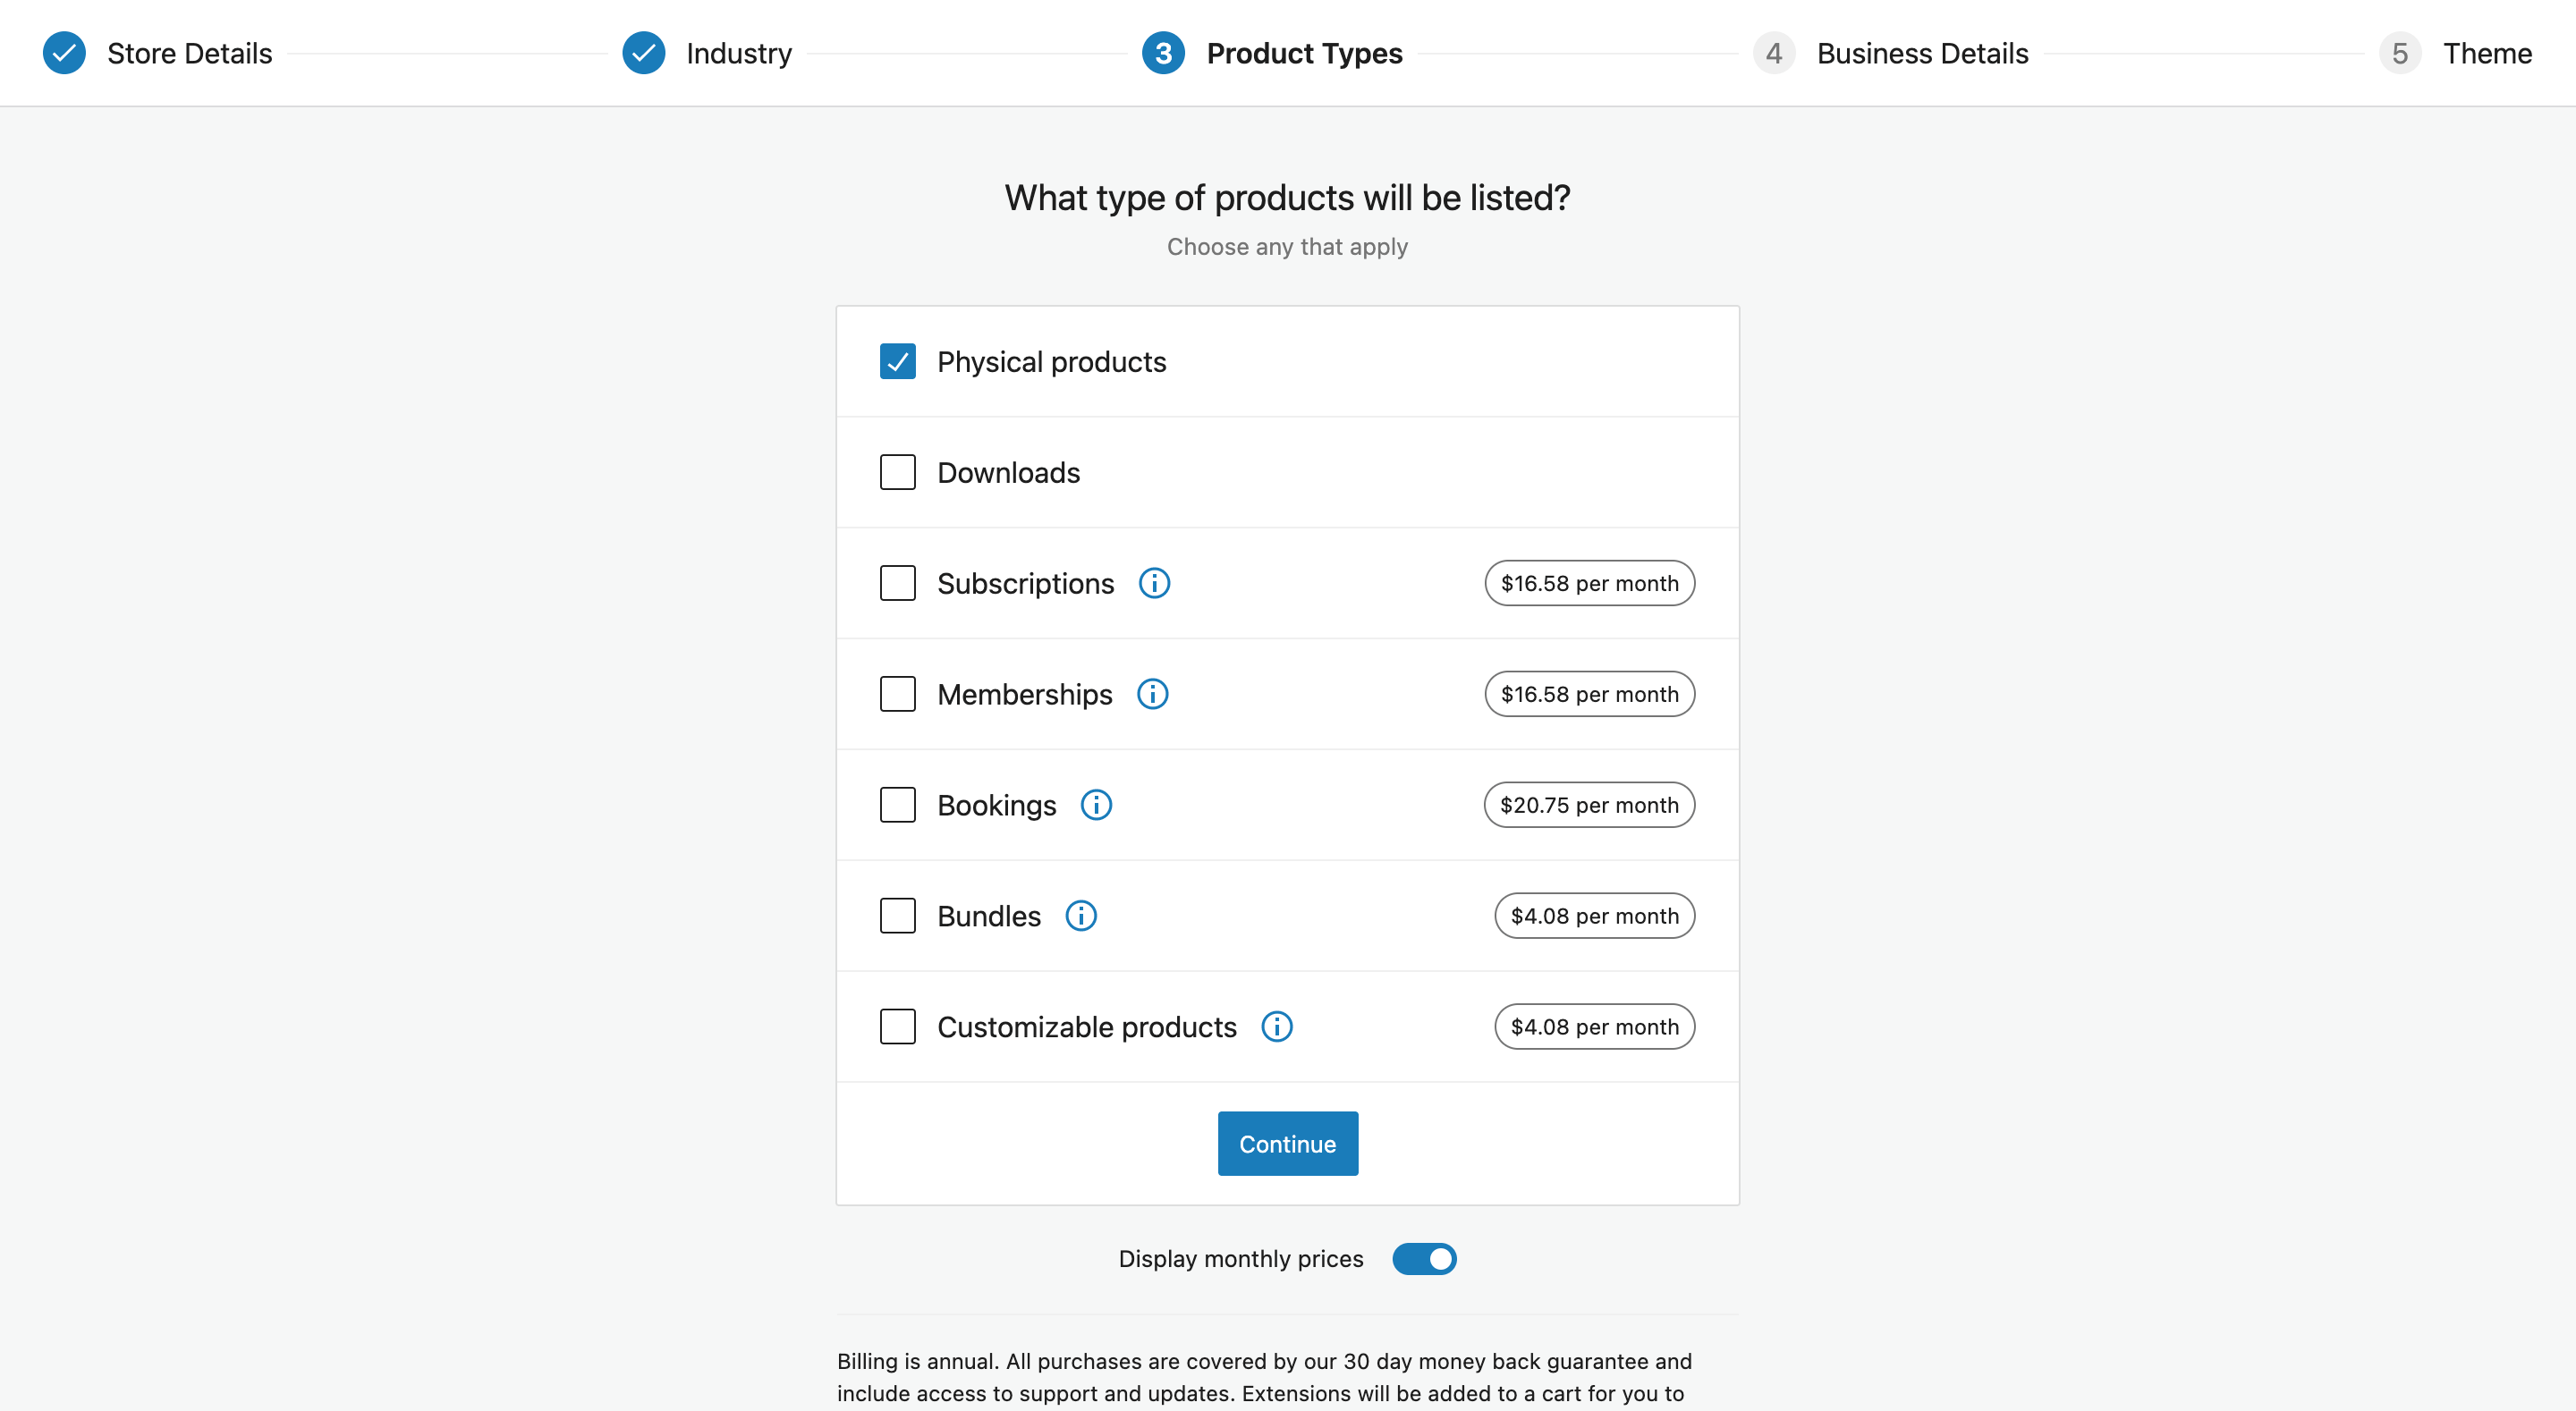
Once you have chosen the types of products that you want to list on your store, you can move forward with the setup.
Now, the setup wizard will ask you a few simple questions about your business. It will ask how many products you’re planning to display, where your business is located, and how you will be selling your products, and so on.
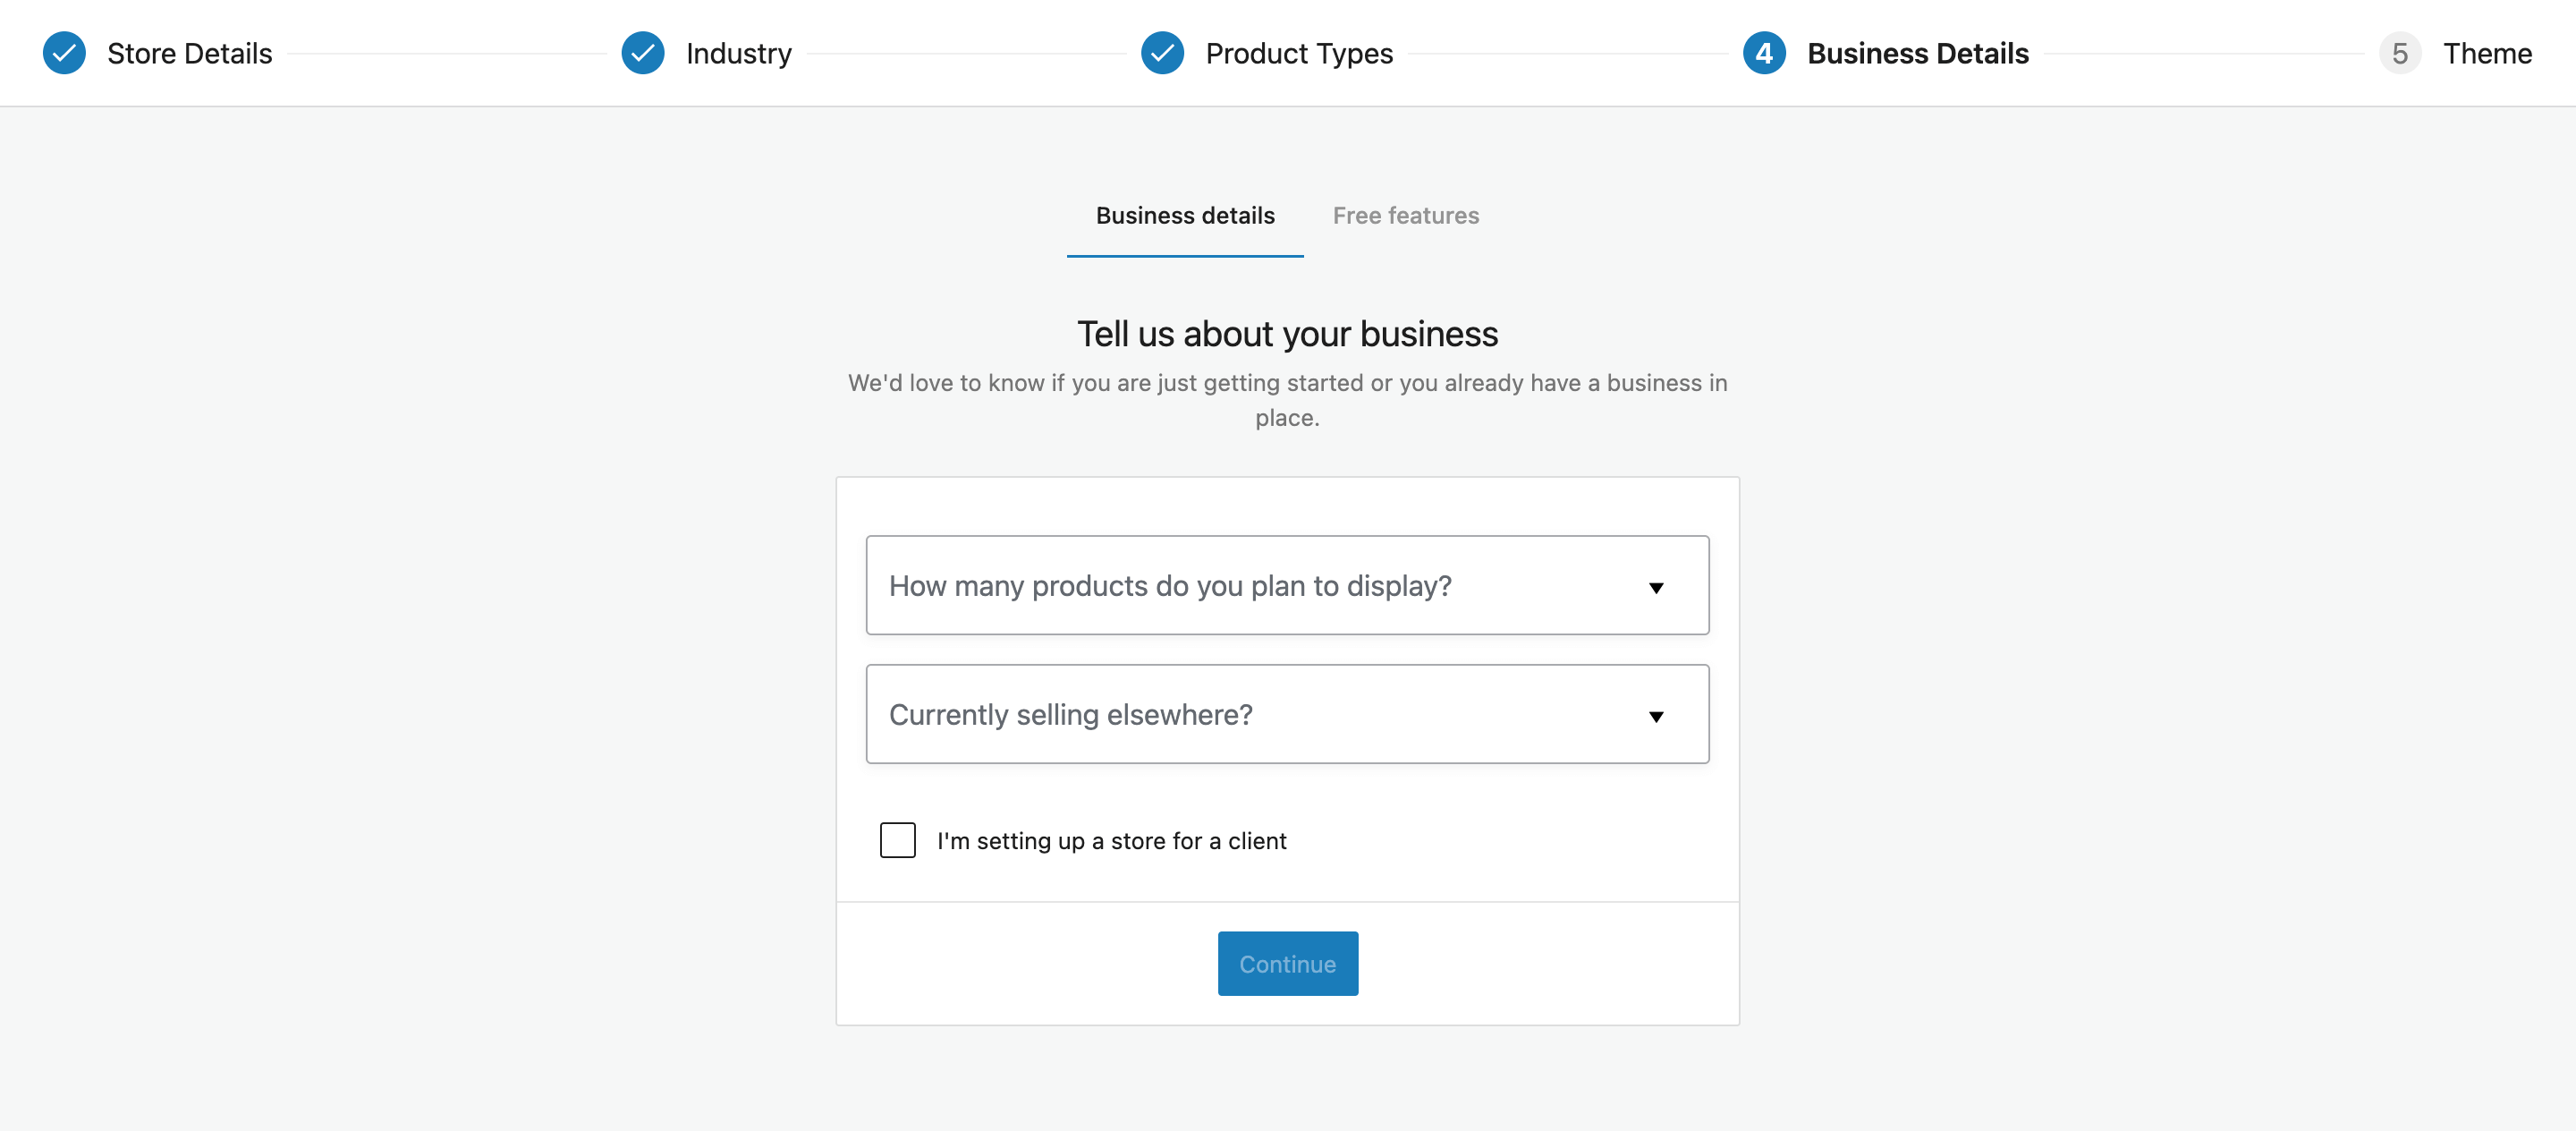
Once you’ve answered these questions, WooCommerce will offer some free extensions that can help enhance your store. These are optional, so you can add or remove them as you prefer.
In most cases, these extensions add more features or customization options to your store.
At the last step of your WooCommerce setup, you will be asked to choose a theme for your store. You have the option to choose a free or a paid one.
However, The right theme can make all the difference when it comes to the success of your store. So put in the time and effort to make sure you pick the perfect one for your business.
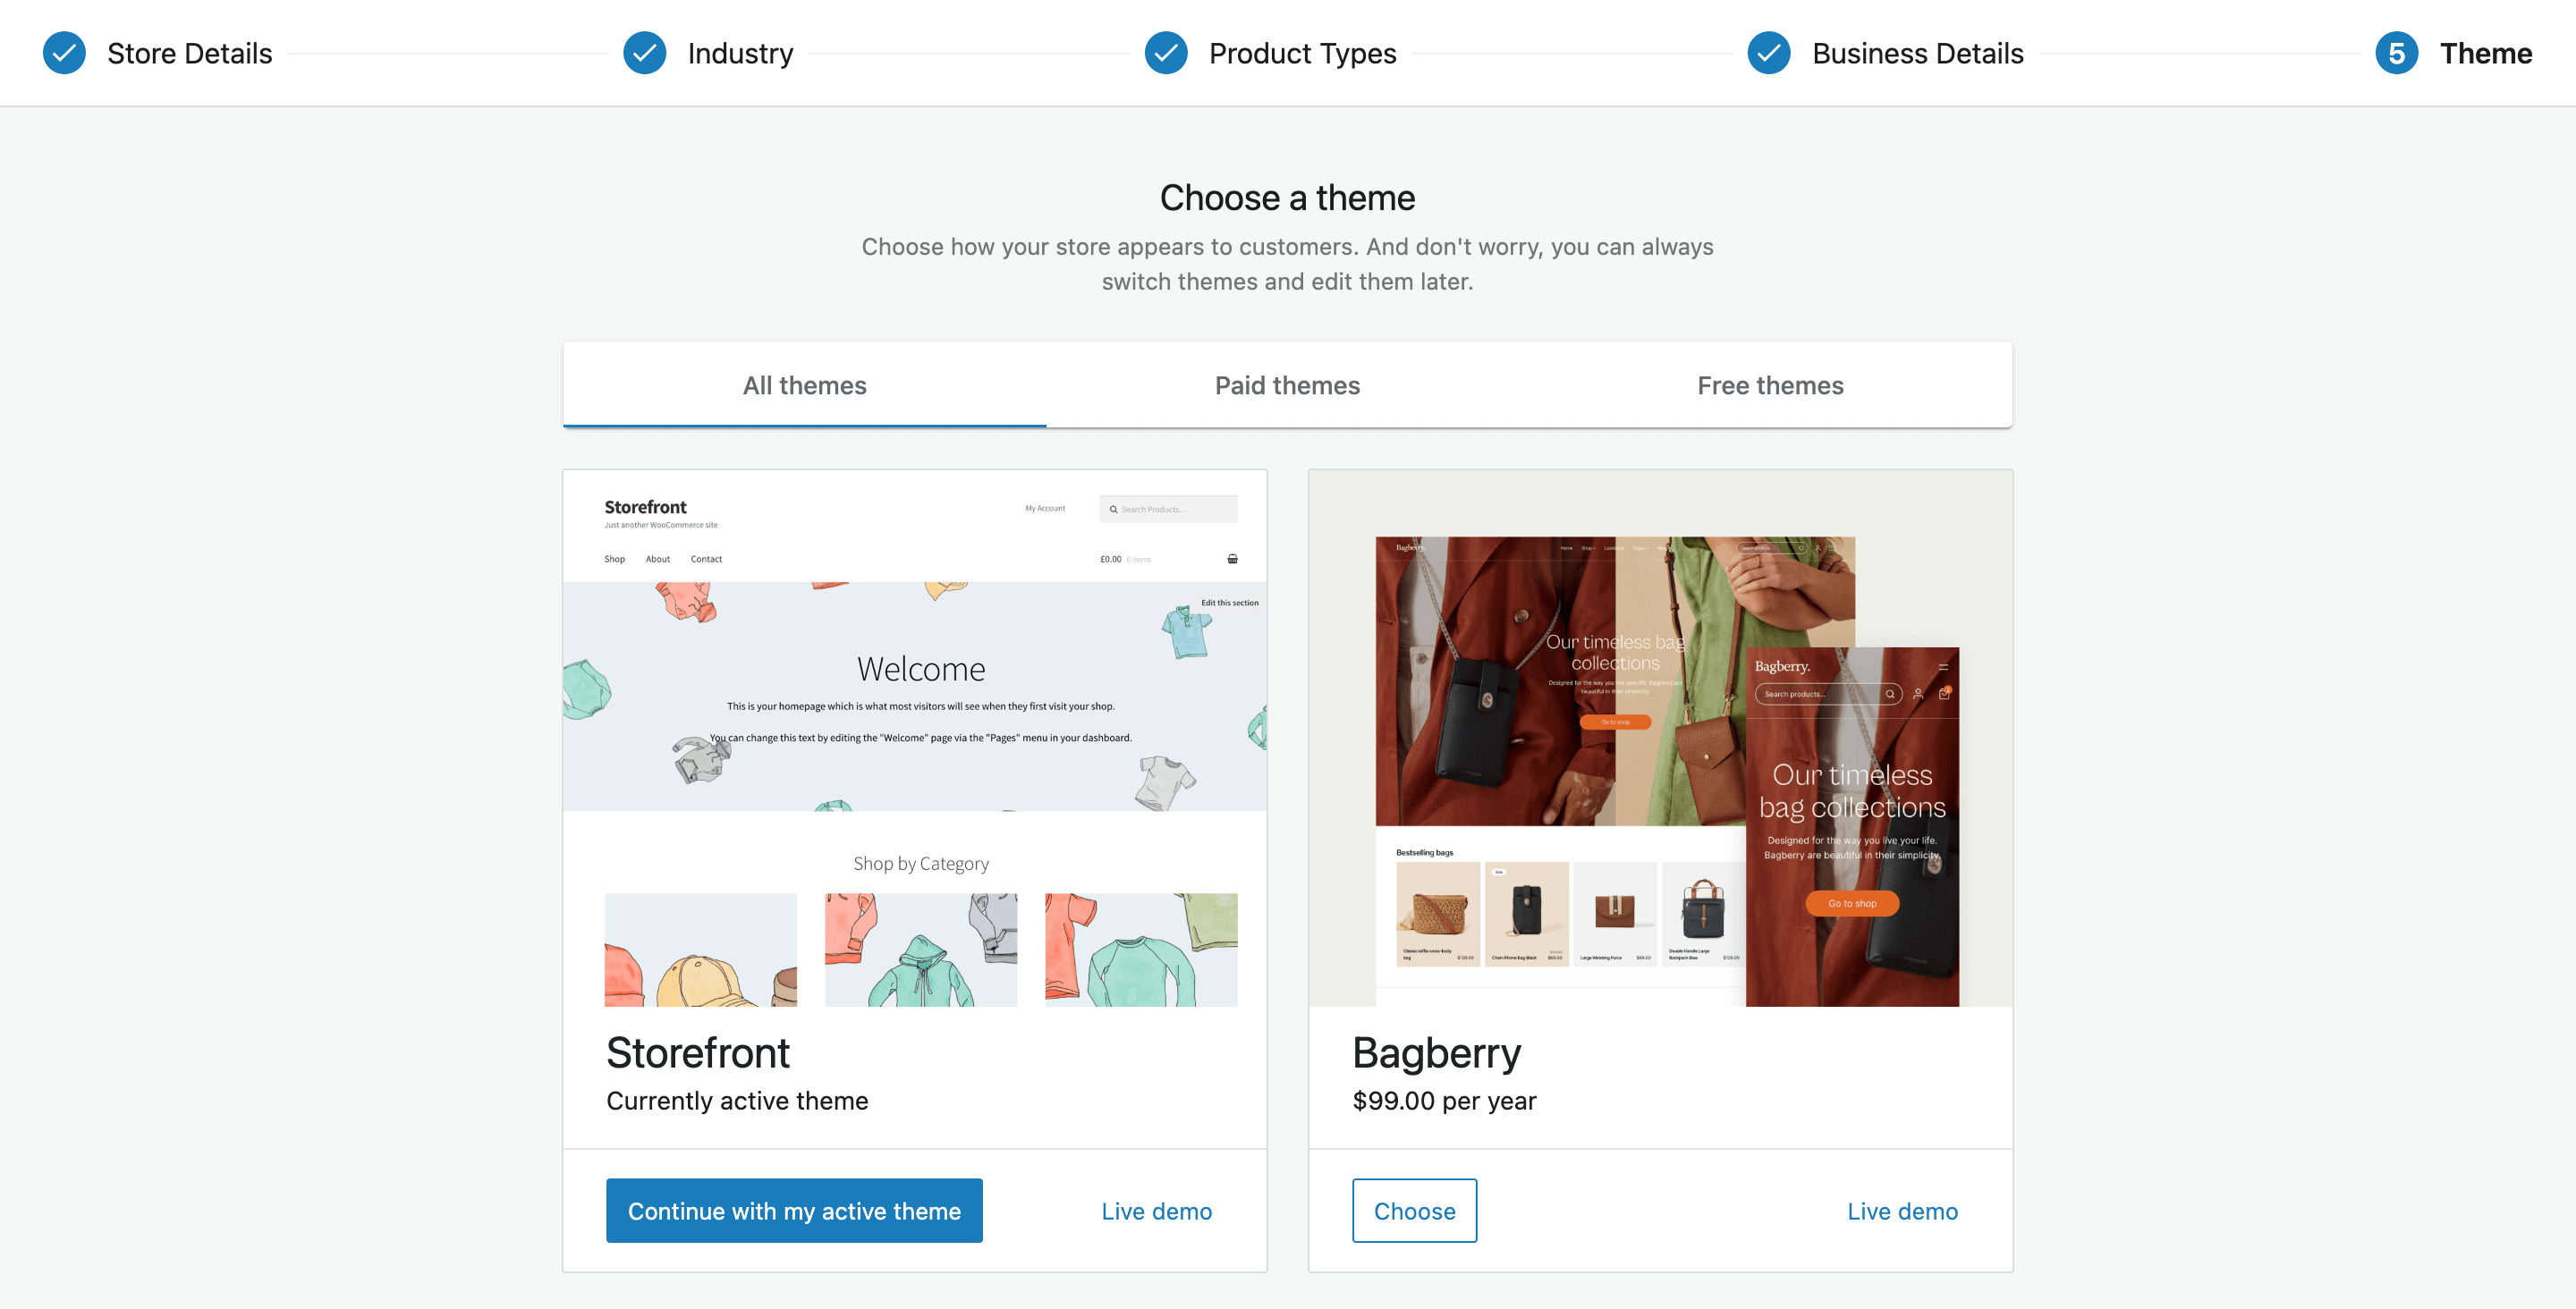
If you don’t know what theme to pick right now, that’s totally fine! You can always change your theme later on. Click the “Continue with my active theme” button if you’re not sure what to go with.
3. Managing Your WooCommerce Store
Now that you’ve done the hard part and set up the store, it’s time to add products, set up a payment processor, and configure your shipping and tax-related settings.
And don’t forget, you may need to change these settings as you manage your store. WooCommerce makes it easy to adjust settings as you go, so you can always keep your store up-to-date.
Adding Products
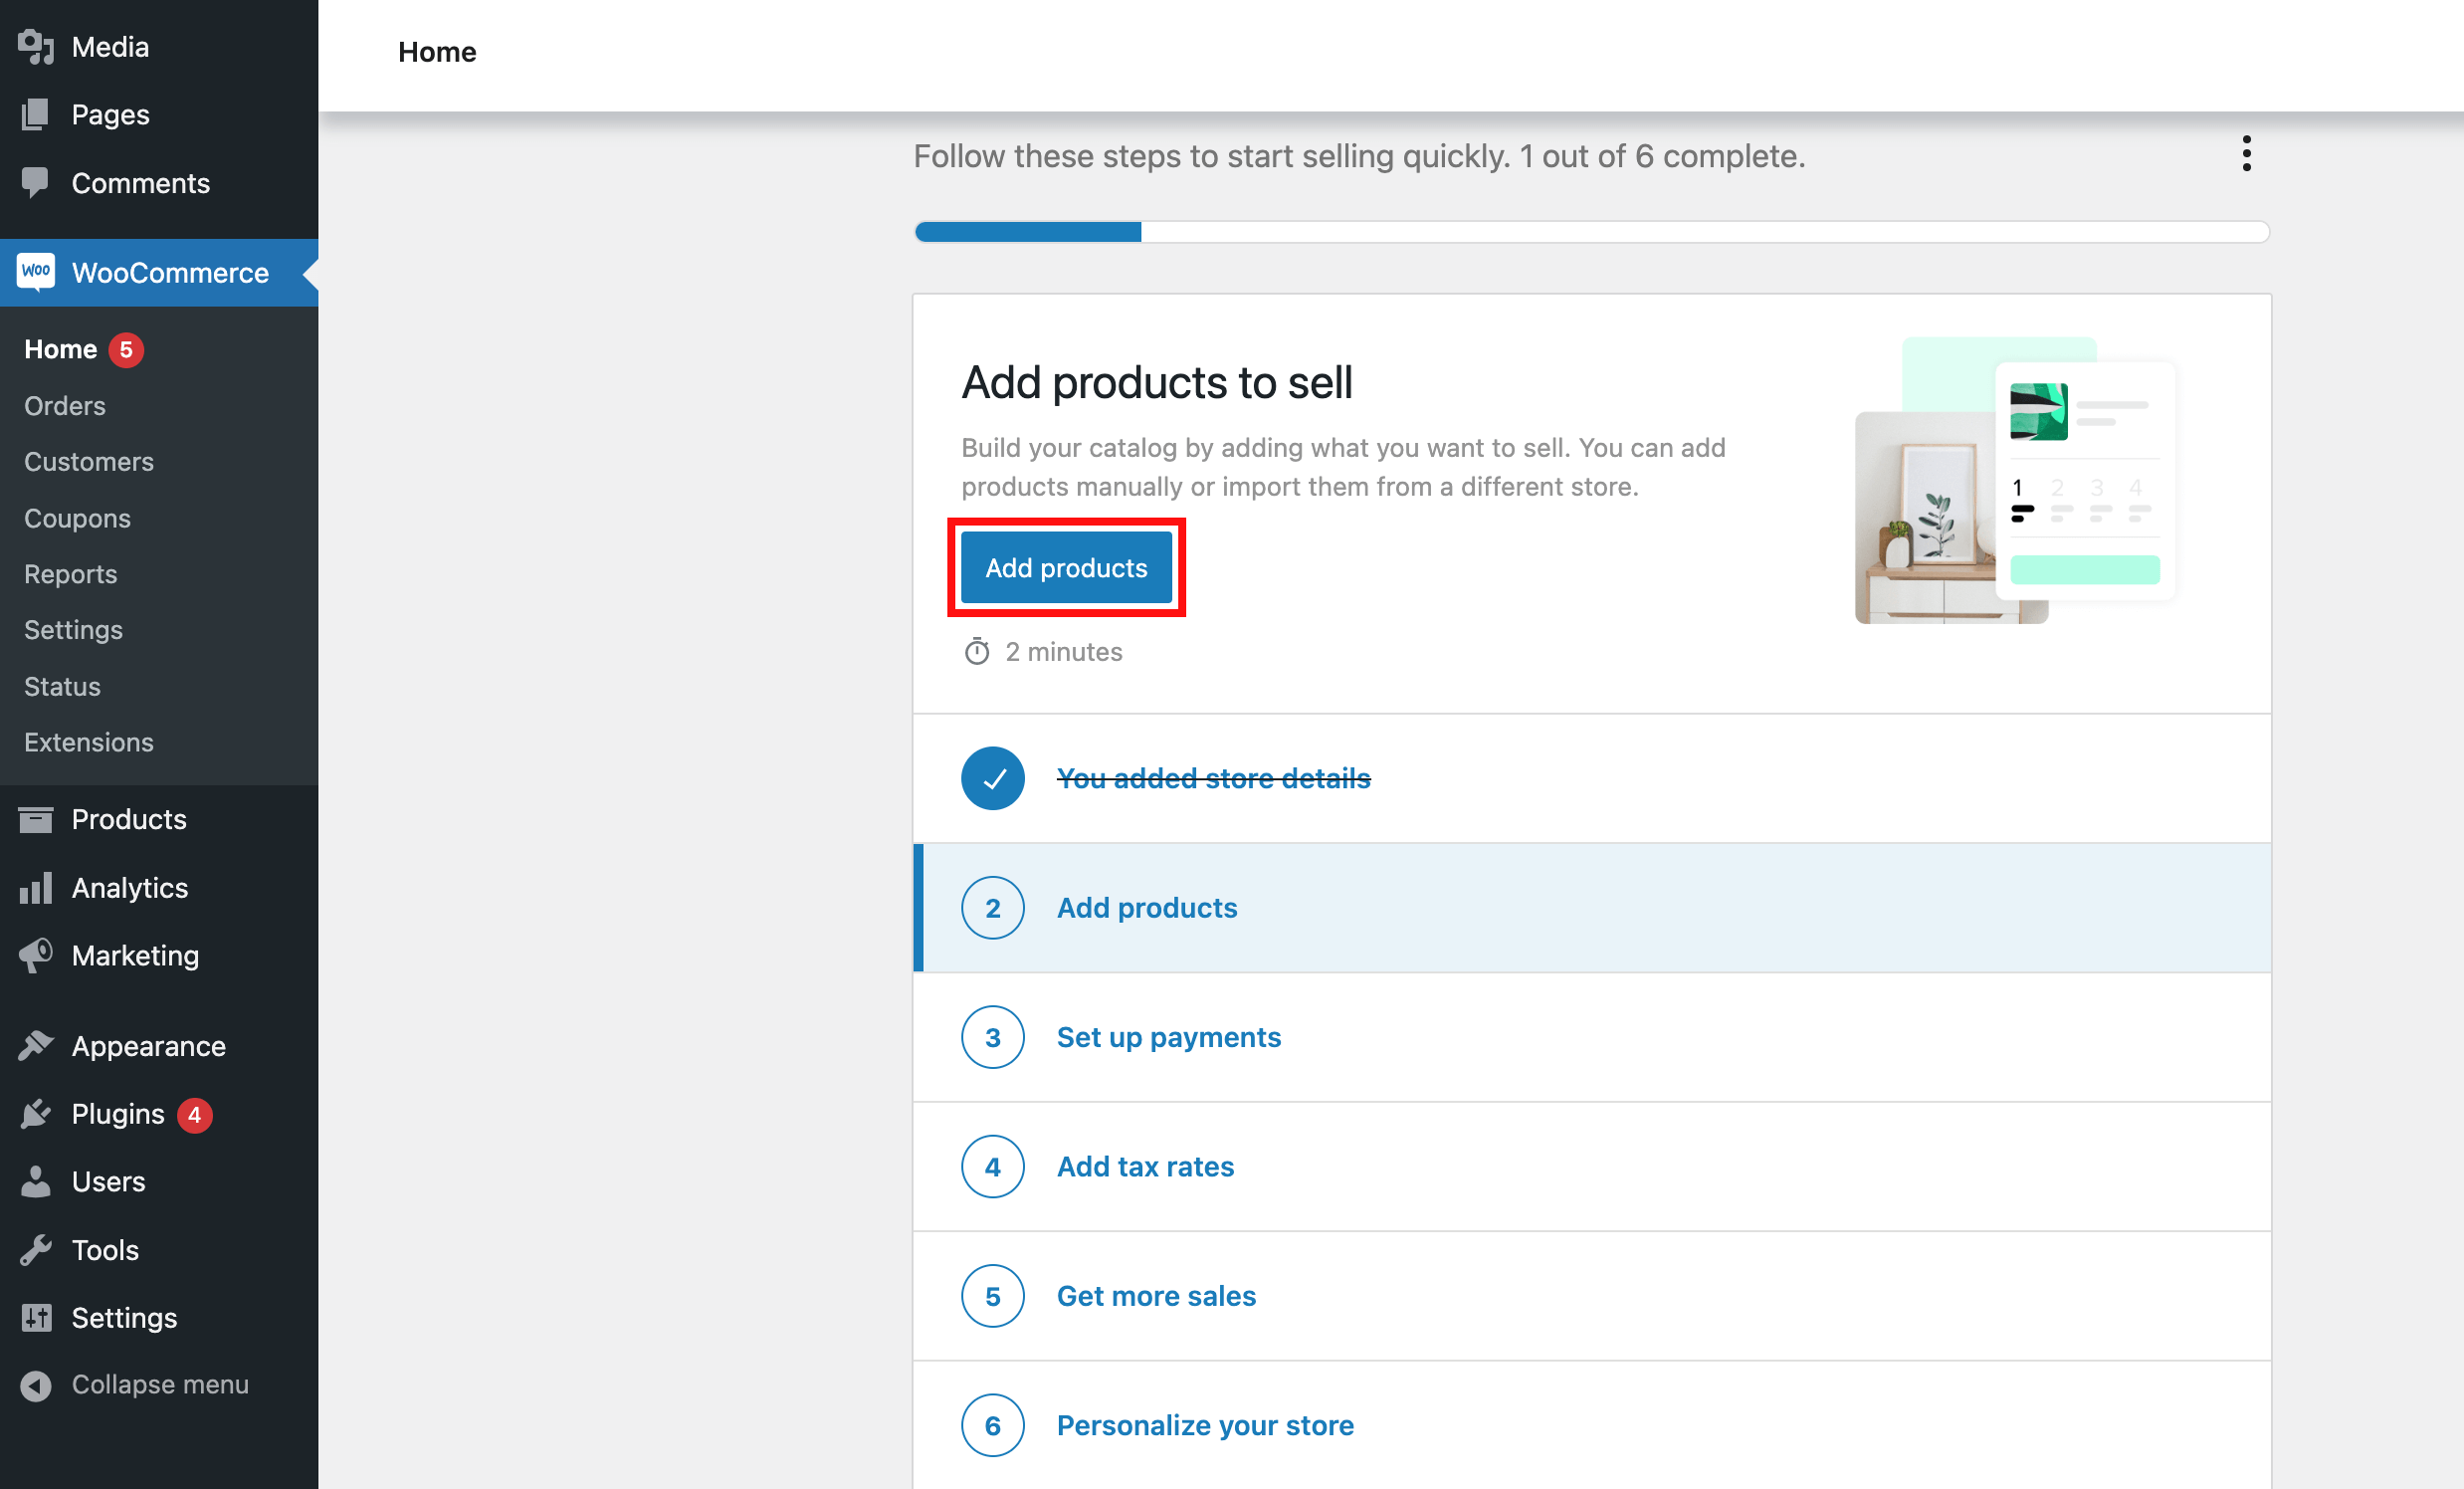
Now, head over to WooCommerce > Home and click the “Add Products” button.
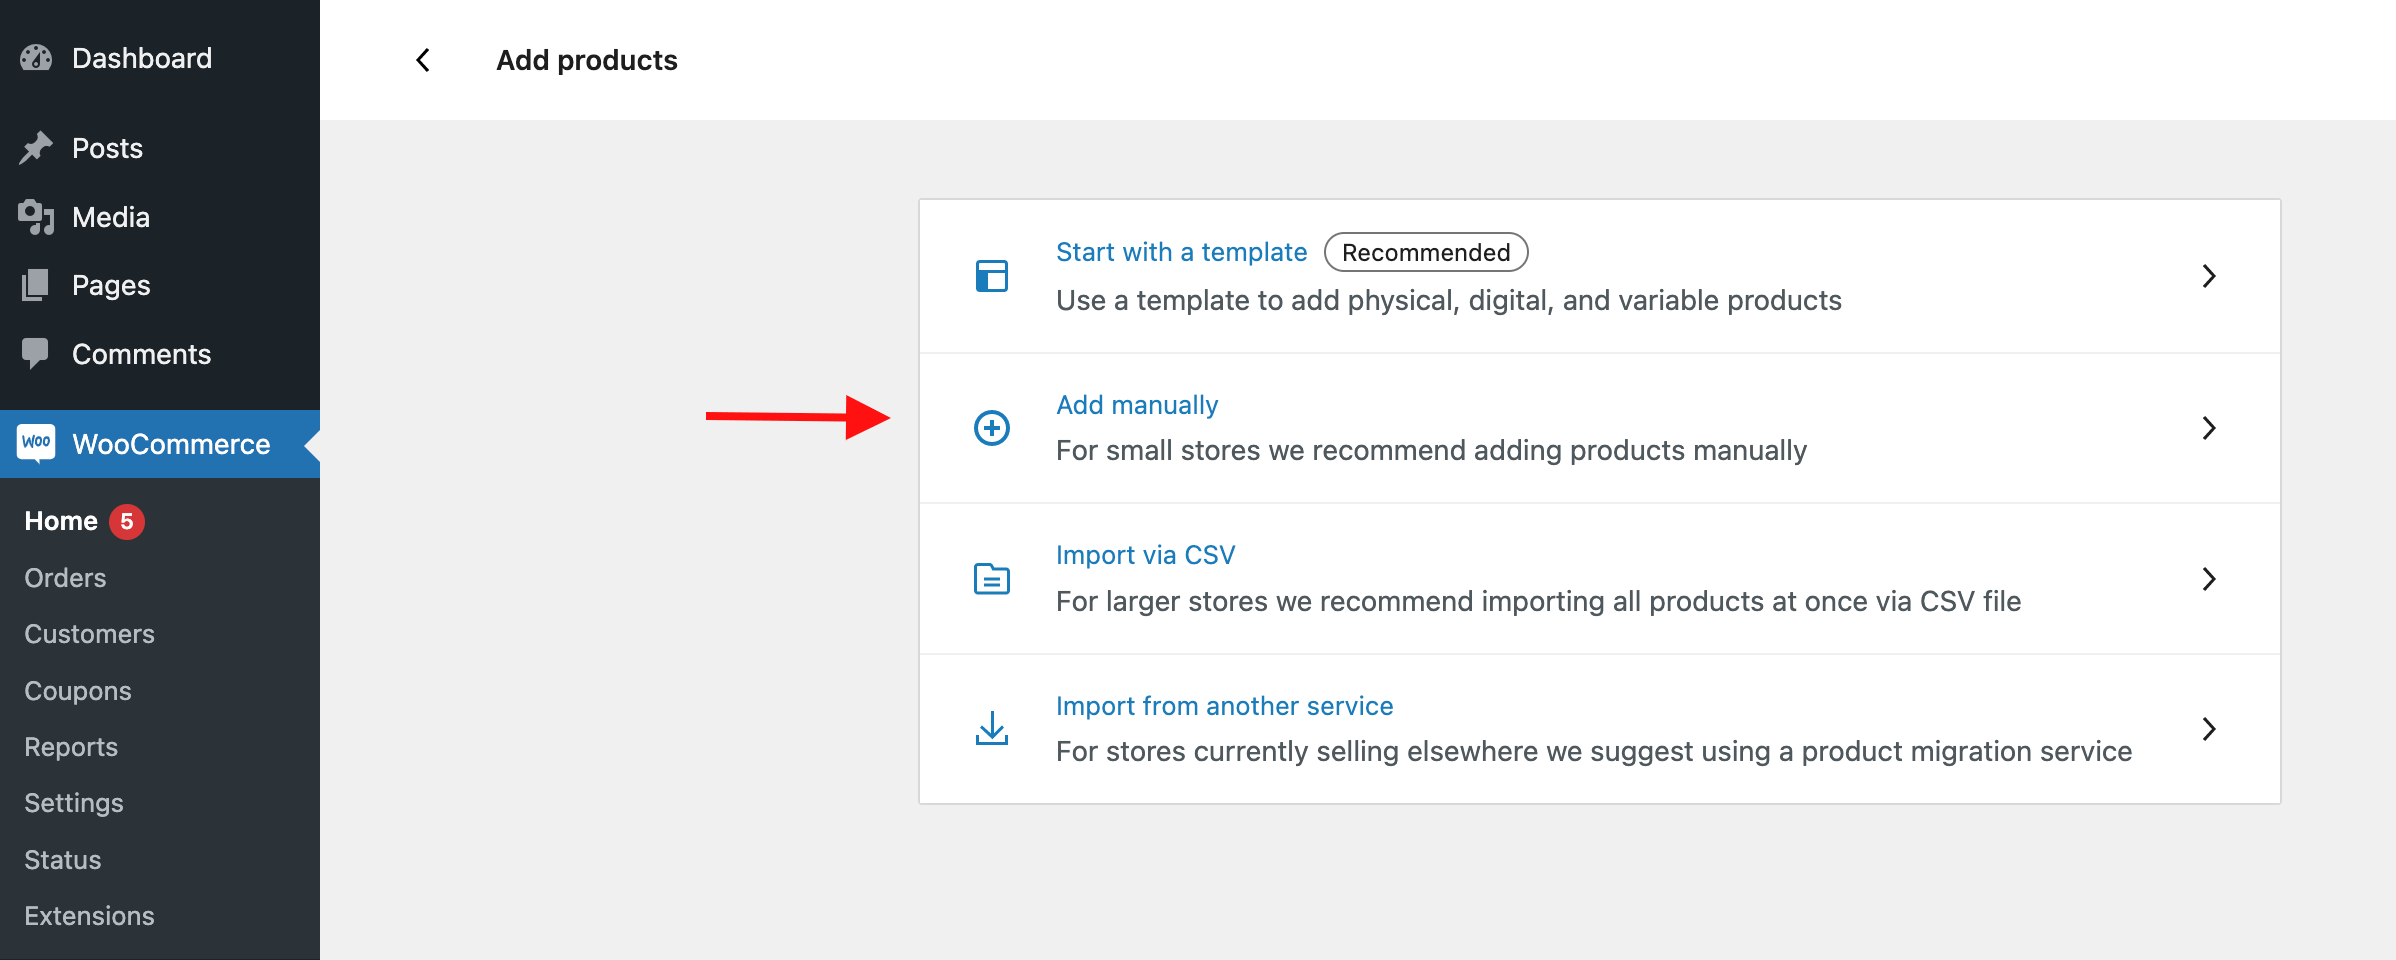
That will give you four options. You can either start with a template, add manually, import via CSV, or import from another service.
Depending on what’s best for your business and needs, you can choose whichever option works best for you. For example, if you’re starting from scratch, you may want to choose the “Add Manually” option.
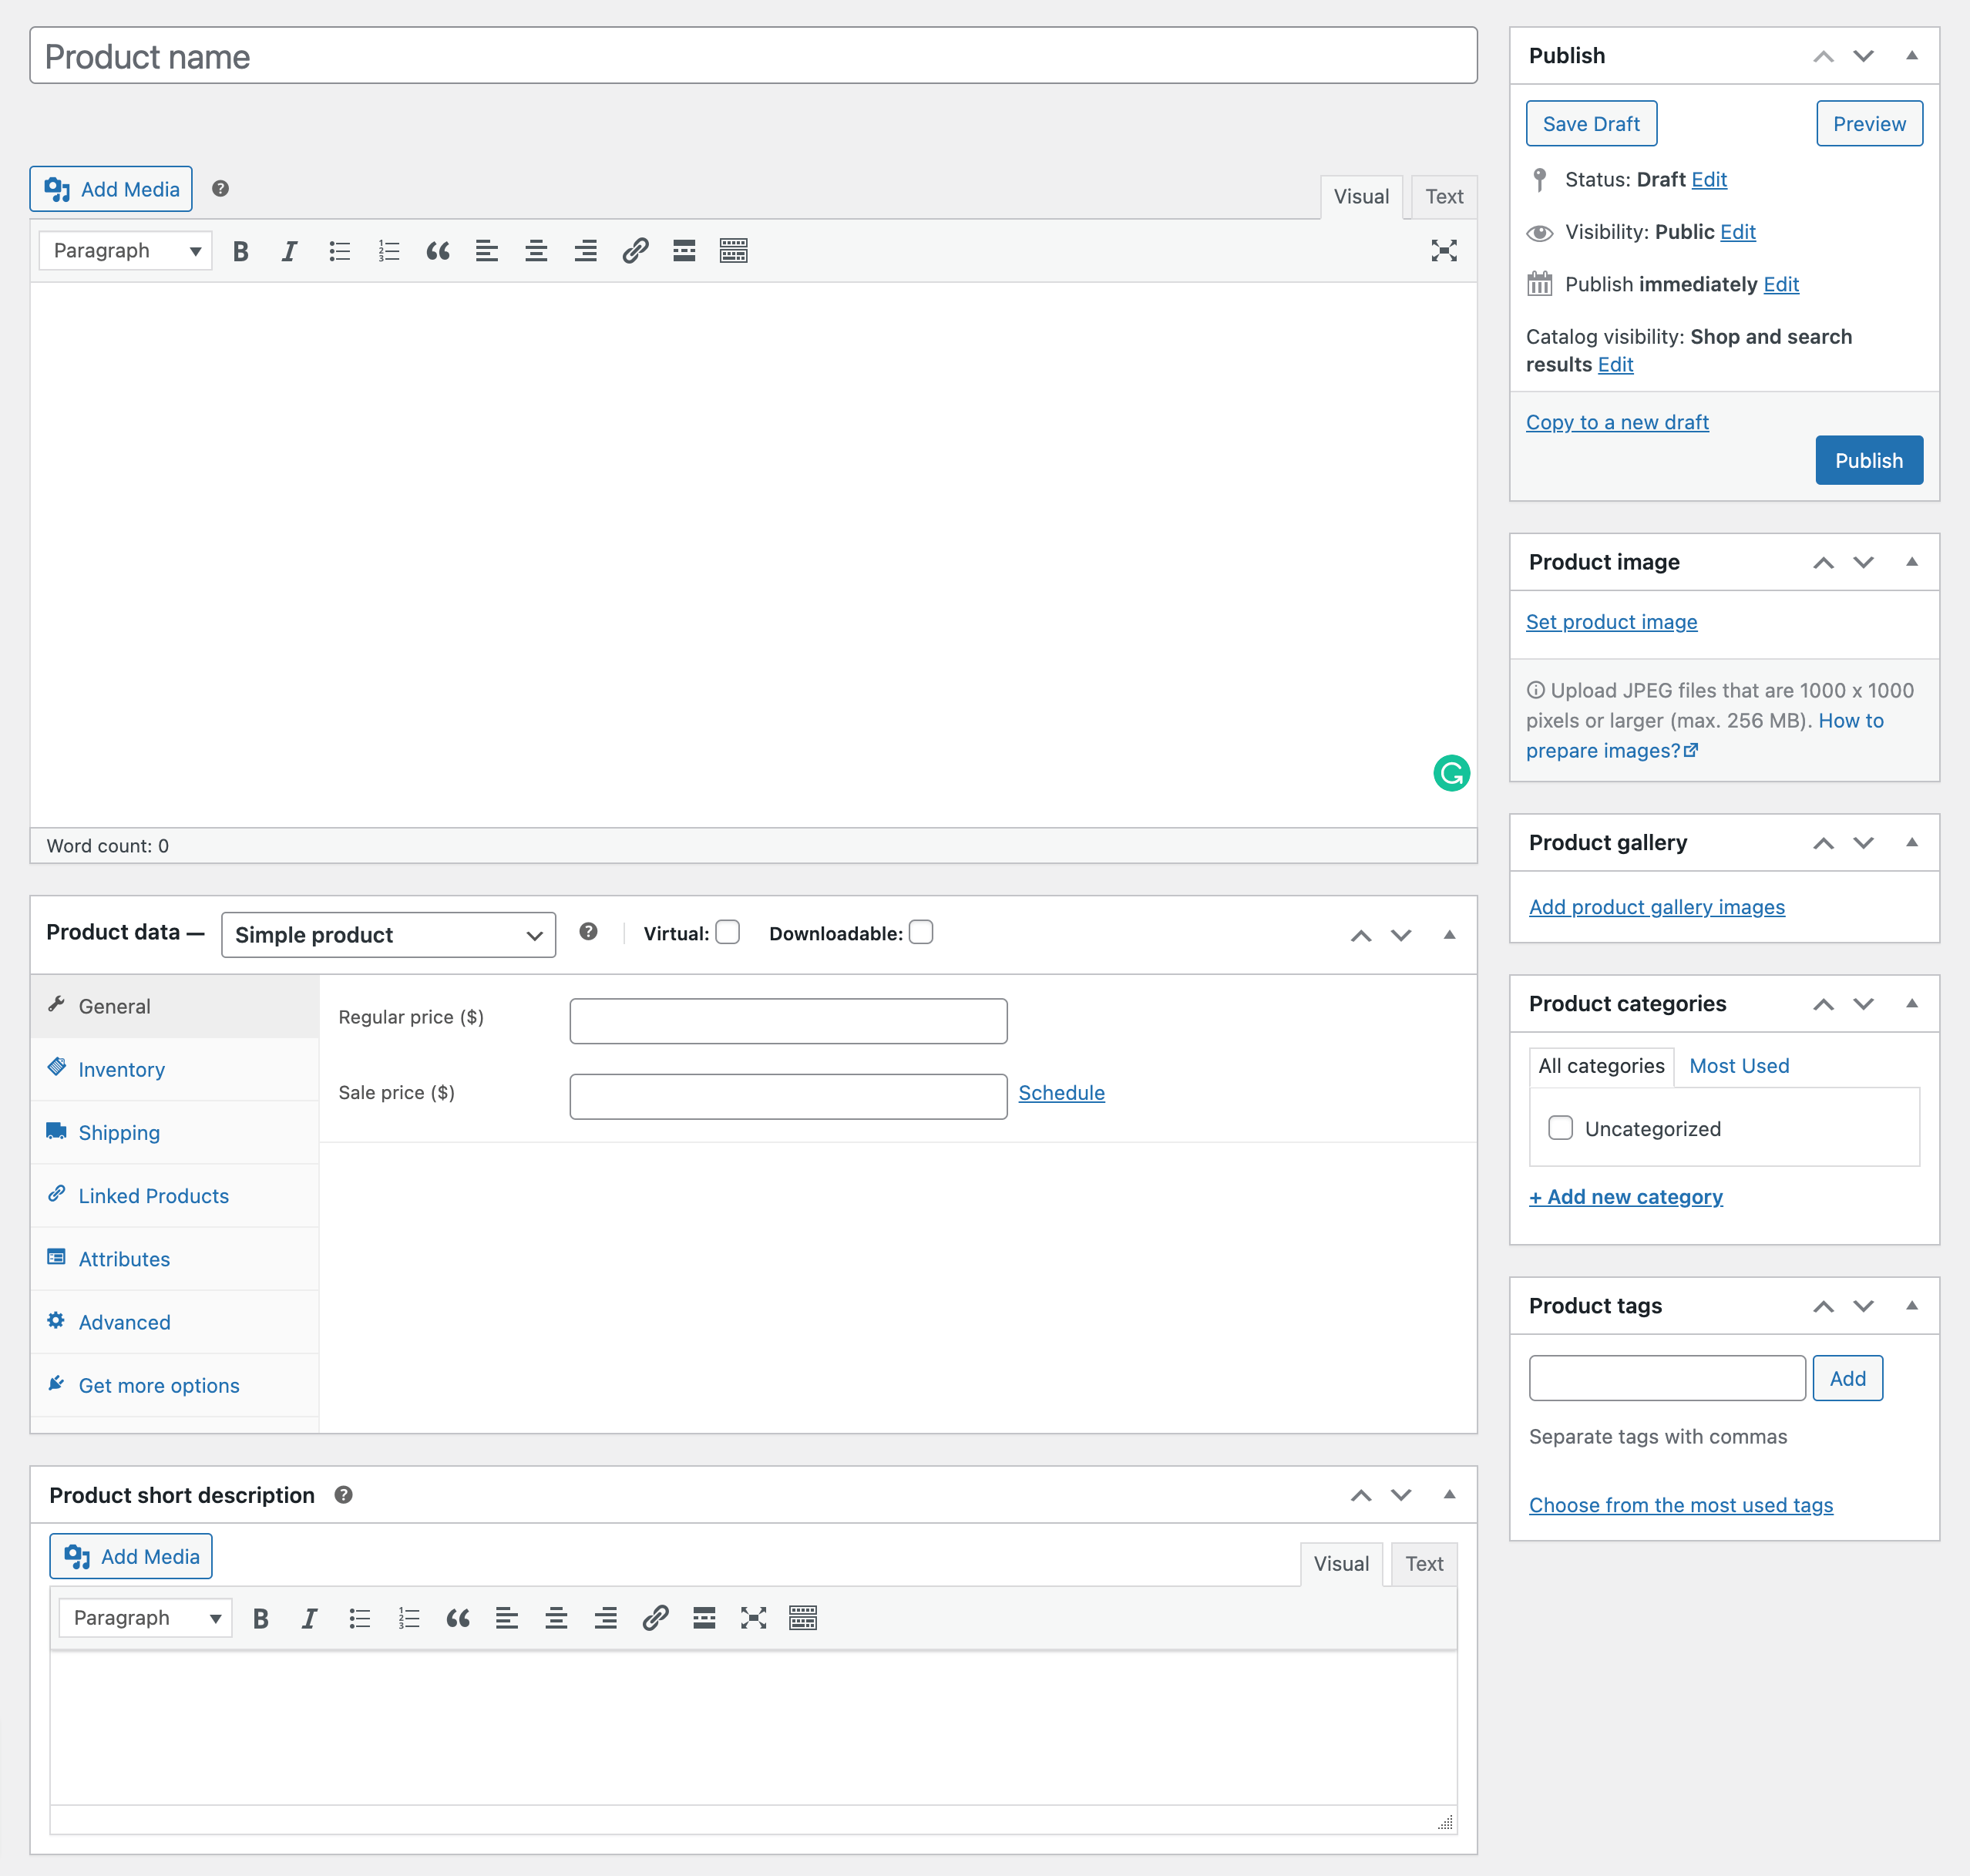
From there, you can start listing your new product. The first step is to fill out the product information, including the product name, price, images, tags, product data, and description.
Don’t worry if you’re feeling overwhelmed, as WooCommerce has a great guide on how to add and manage products. It’s very easy to follow and understand, so be sure to read it.
When it comes to describing your product, you can use Copy.ai to make sure you’re creating the best possible product descriptions. Copy.ai is an AI-driven copywriting platform that makes it easier to create high-quality descriptions that engage readers.
Once you have the product information set up, the next step is to add product images. This is important as it allows potential customers to get a better idea of what they will be buying.
You can also add additional product images to show off different angles or features, so make sure to set aside some time to make sure you get them right.
For this, you can use Canva, an online graphic design platform. With Canva, you can easily create stunning product images by removing image backgrounds that will draw in potential customers.
Once you’ve filled out the product information and double-checked that everything looks good, it’s time to click “publish.”
Congratulations, your new product is now live!
Integrating a Payment Provider
Now that your first product is created and ready to go, it’s time to get selling!
But before you can do that, you need to find a payment processor for your WooCommerce store.
A payment provider/processor is a third-party service that helps you to securely accept payments from your customers. And if you’re using WooCommerce, there are some great payment processor options for you to choose from.
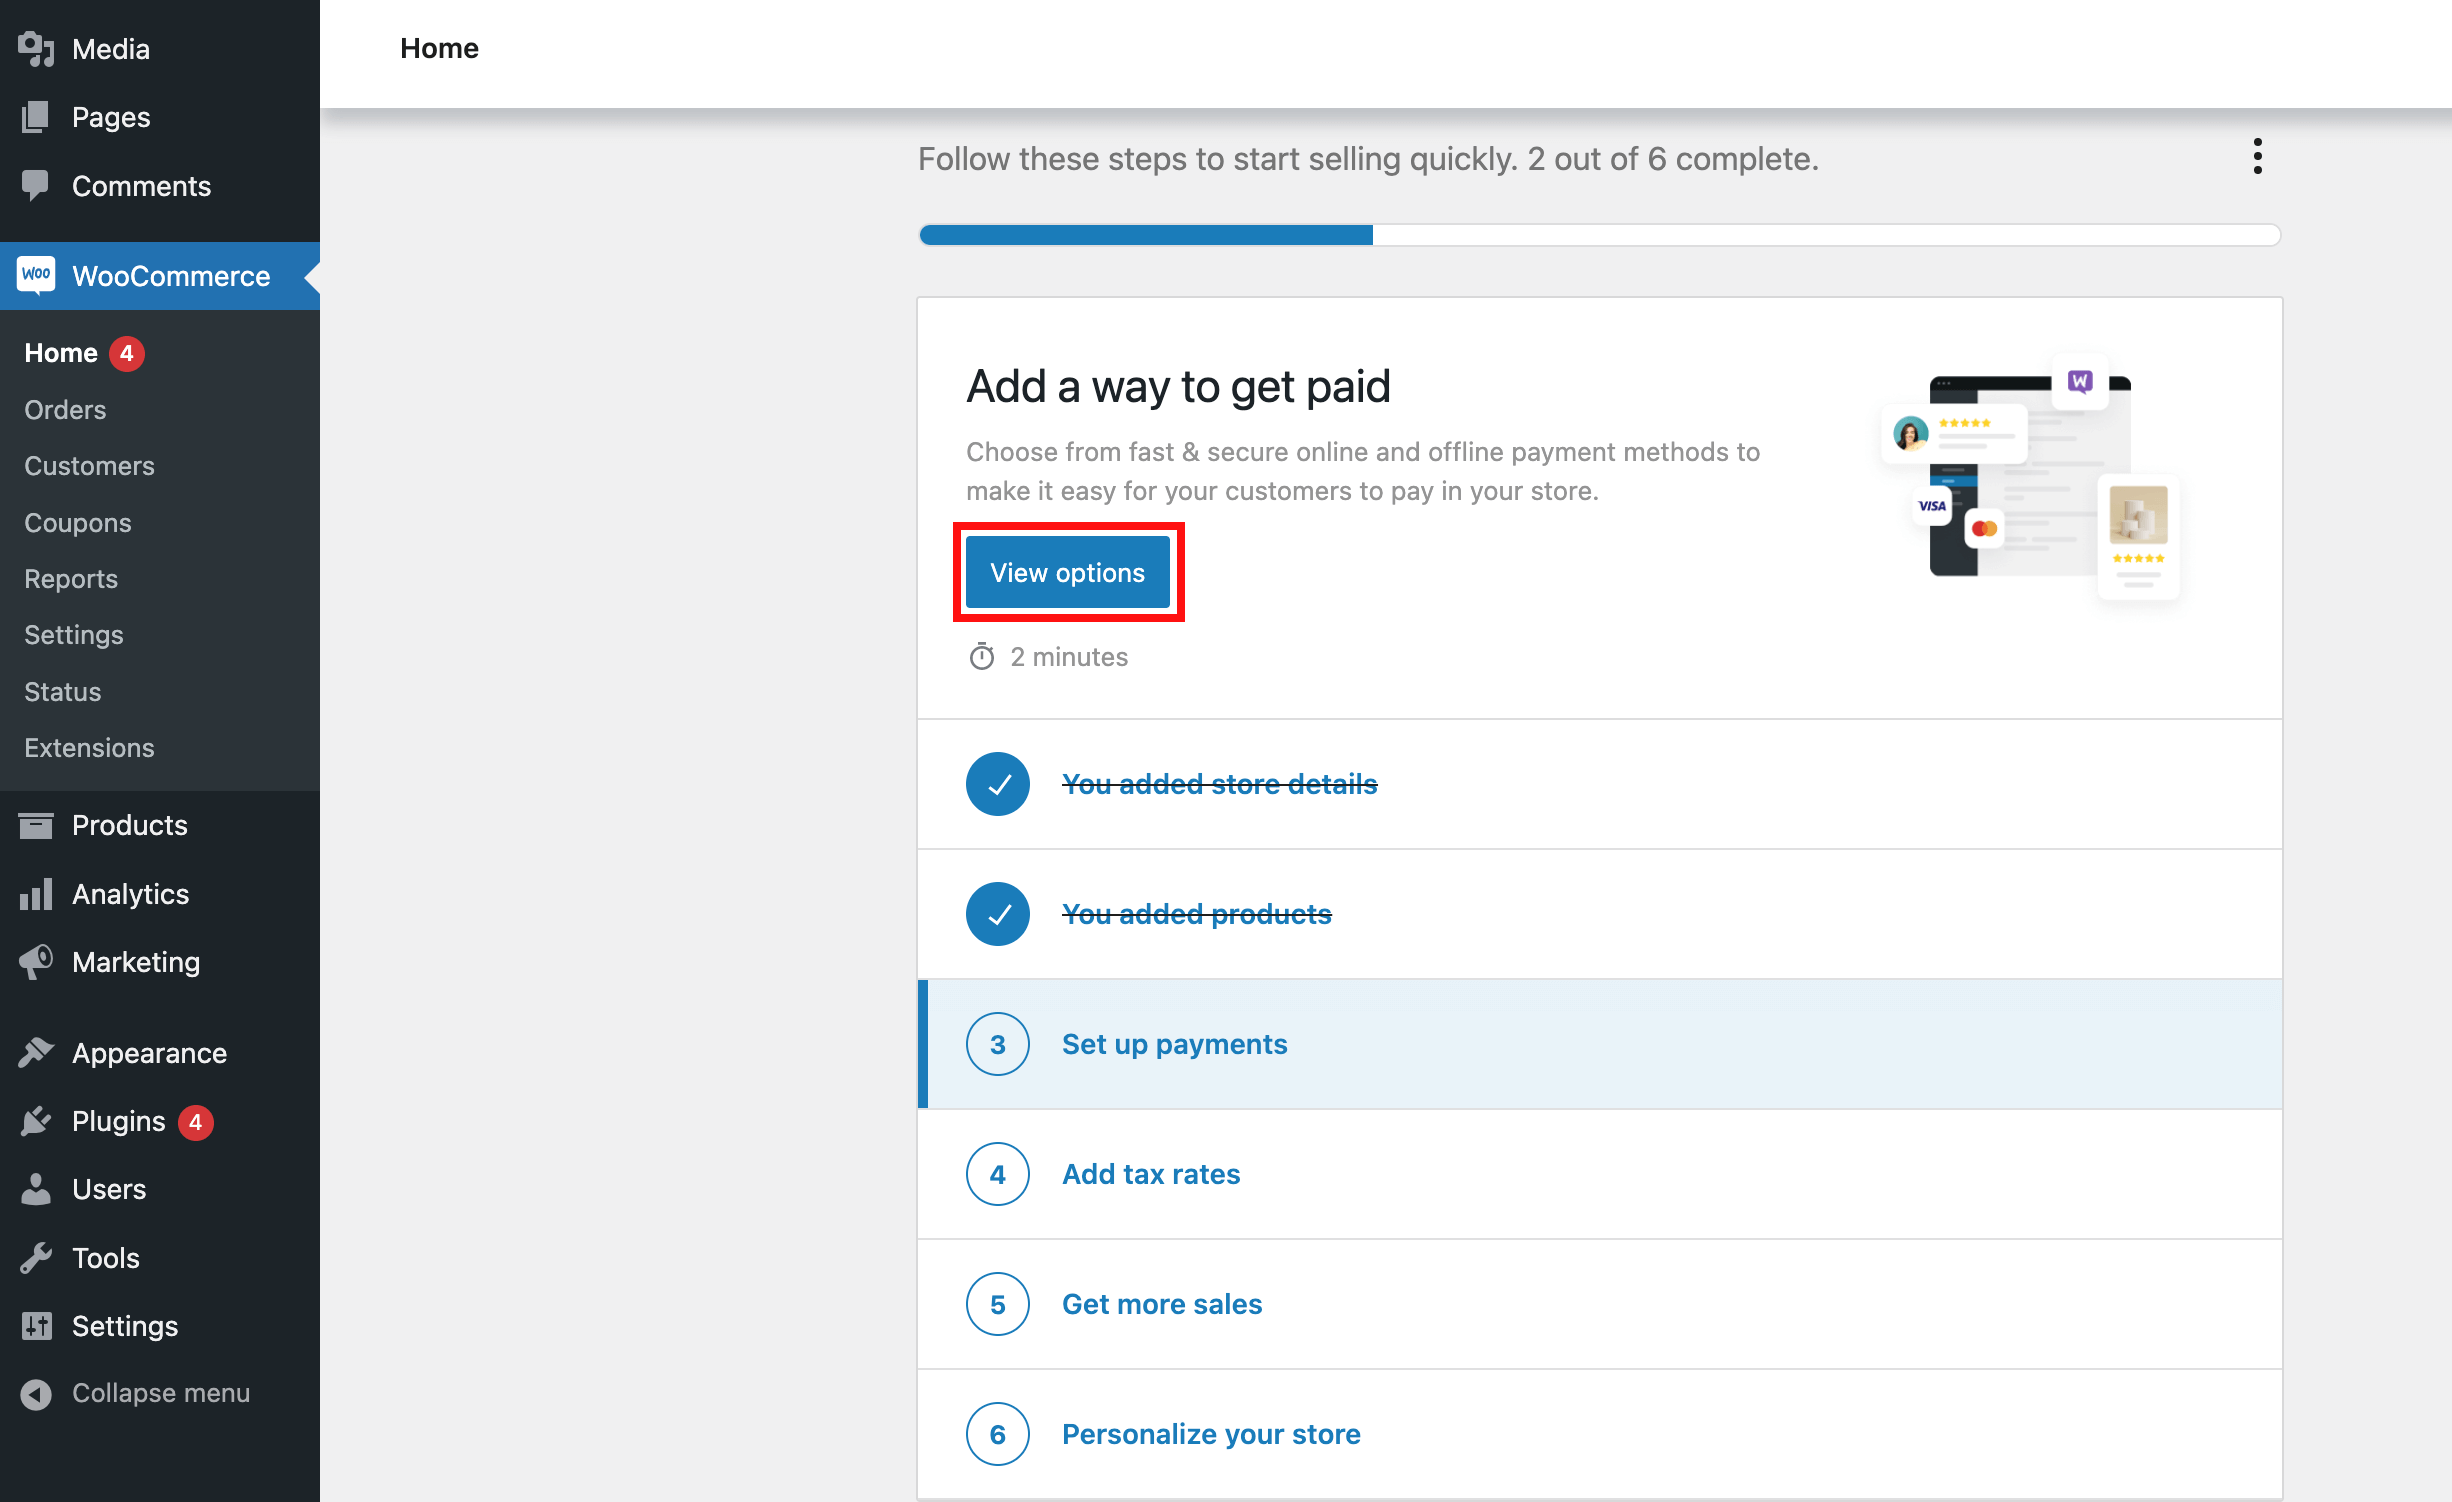
So, what are your options? Well, the easiest way to get started is to simply click the “View Options” button on your WooCommerce dashboard.
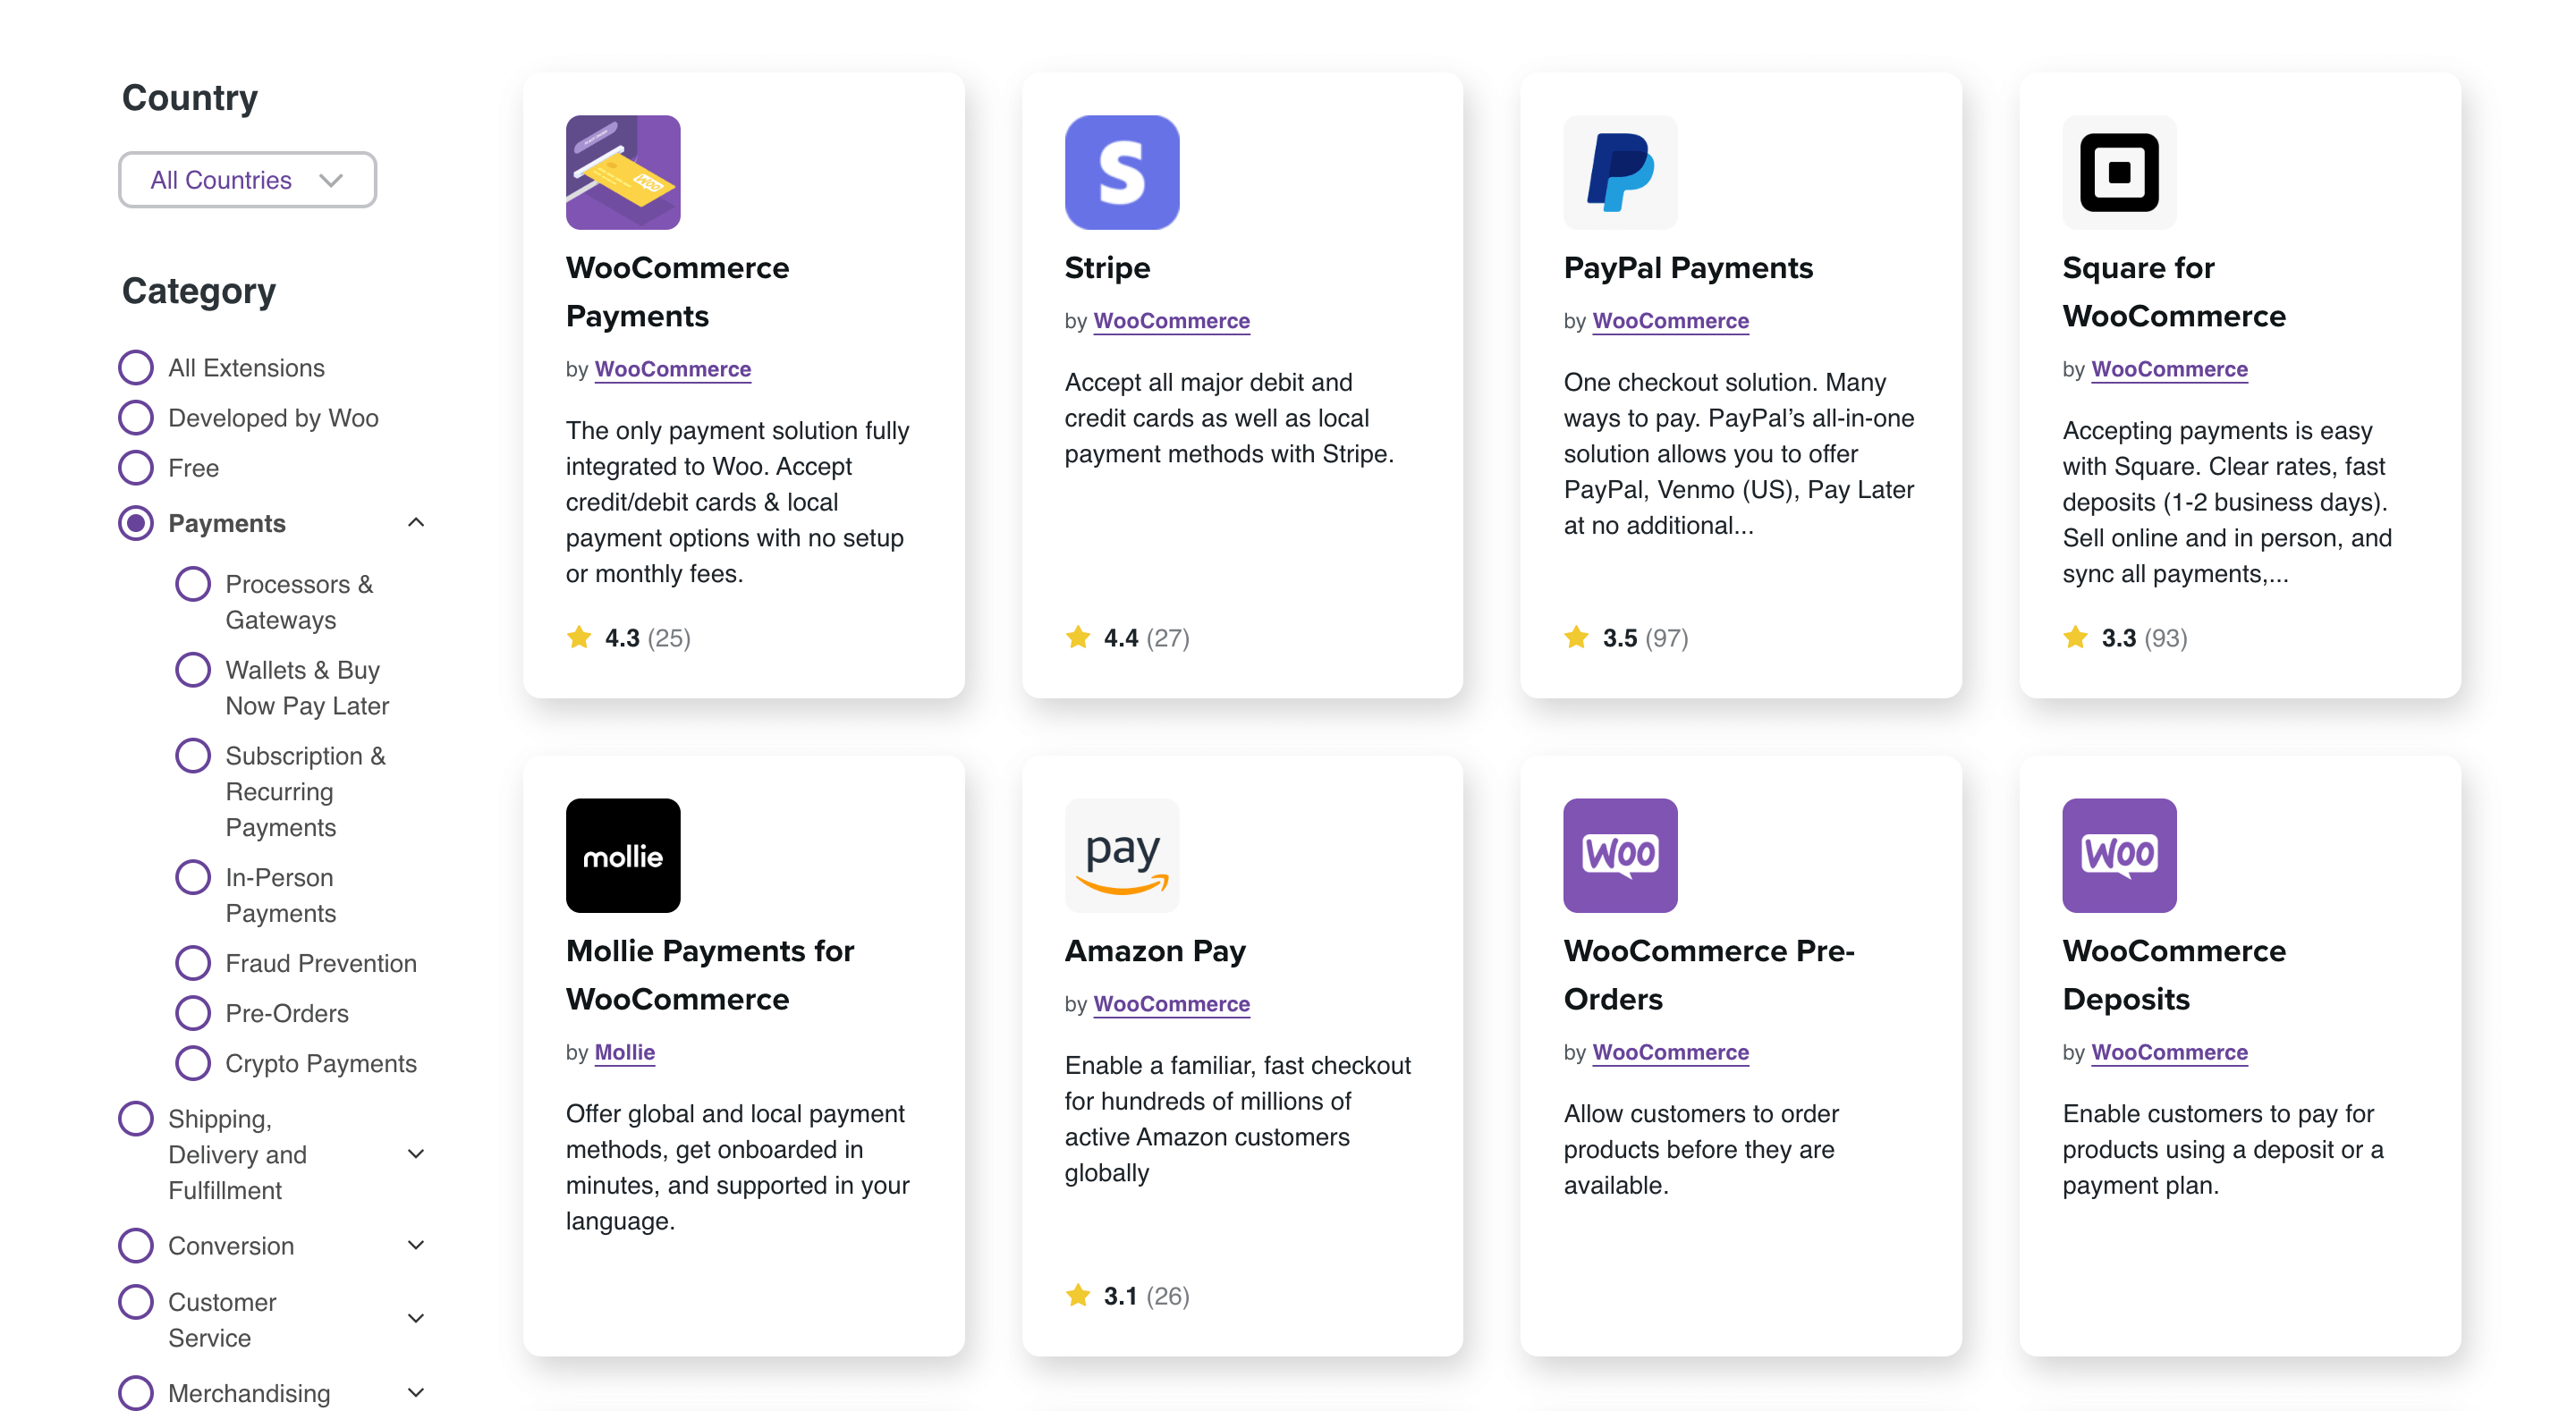
This will take you to a page where you can view a list of payment processors that are compatible with WooCommerce.
From here, you can read more about each processor and even compare them side-by-side to help you decide which one is right for your store.
The most popular options are PayPal and Stripe, both of which offer secure, reliable, and easy-to-use payment processing services.

Additionally, both are well-known and trusted payment processors and are accepted by most customers.
Here’s what you need to know before choosing a payment provider.
Each one of these payment processors offers different features, so you’ll want to do some research to determine which one is best for you.
Now, it’s also important to remember that different payment processors may have different fees and features, so it’s important to read all the details before making a decision.
Once you’ve decided on a payment processor, you’ll need to sign up for an account.
This usually involves providing some personal, business, and financial information, as well as linking your bank account.
It’s important to make sure your payment processor is secure and has a good reputation, so be sure to read reviews.
And if you’re looking for an offline payment method, you can offer customers the option to pay with cash on delivery.
Once you’ve found the payment processor for you, the next step is to integrate it with your WooCommerce store. Most payment processors provide detailed instructions for this process, so just follow their instructions and you should be good to go.
Setting up Shipping and Tax Options
It’s time to set up your shipping and tax options in WooCommerce. If you’re selling physical goods, setting up shipping-related configurations is an important part of running your business.
On the other hand, if you’re selling digital products, you don’t need to worry about shipping-related settings.
To get started, go to WooCommerce > Settings > Shipping. Here, you’ll find several options that you can use to configure the shipping process.
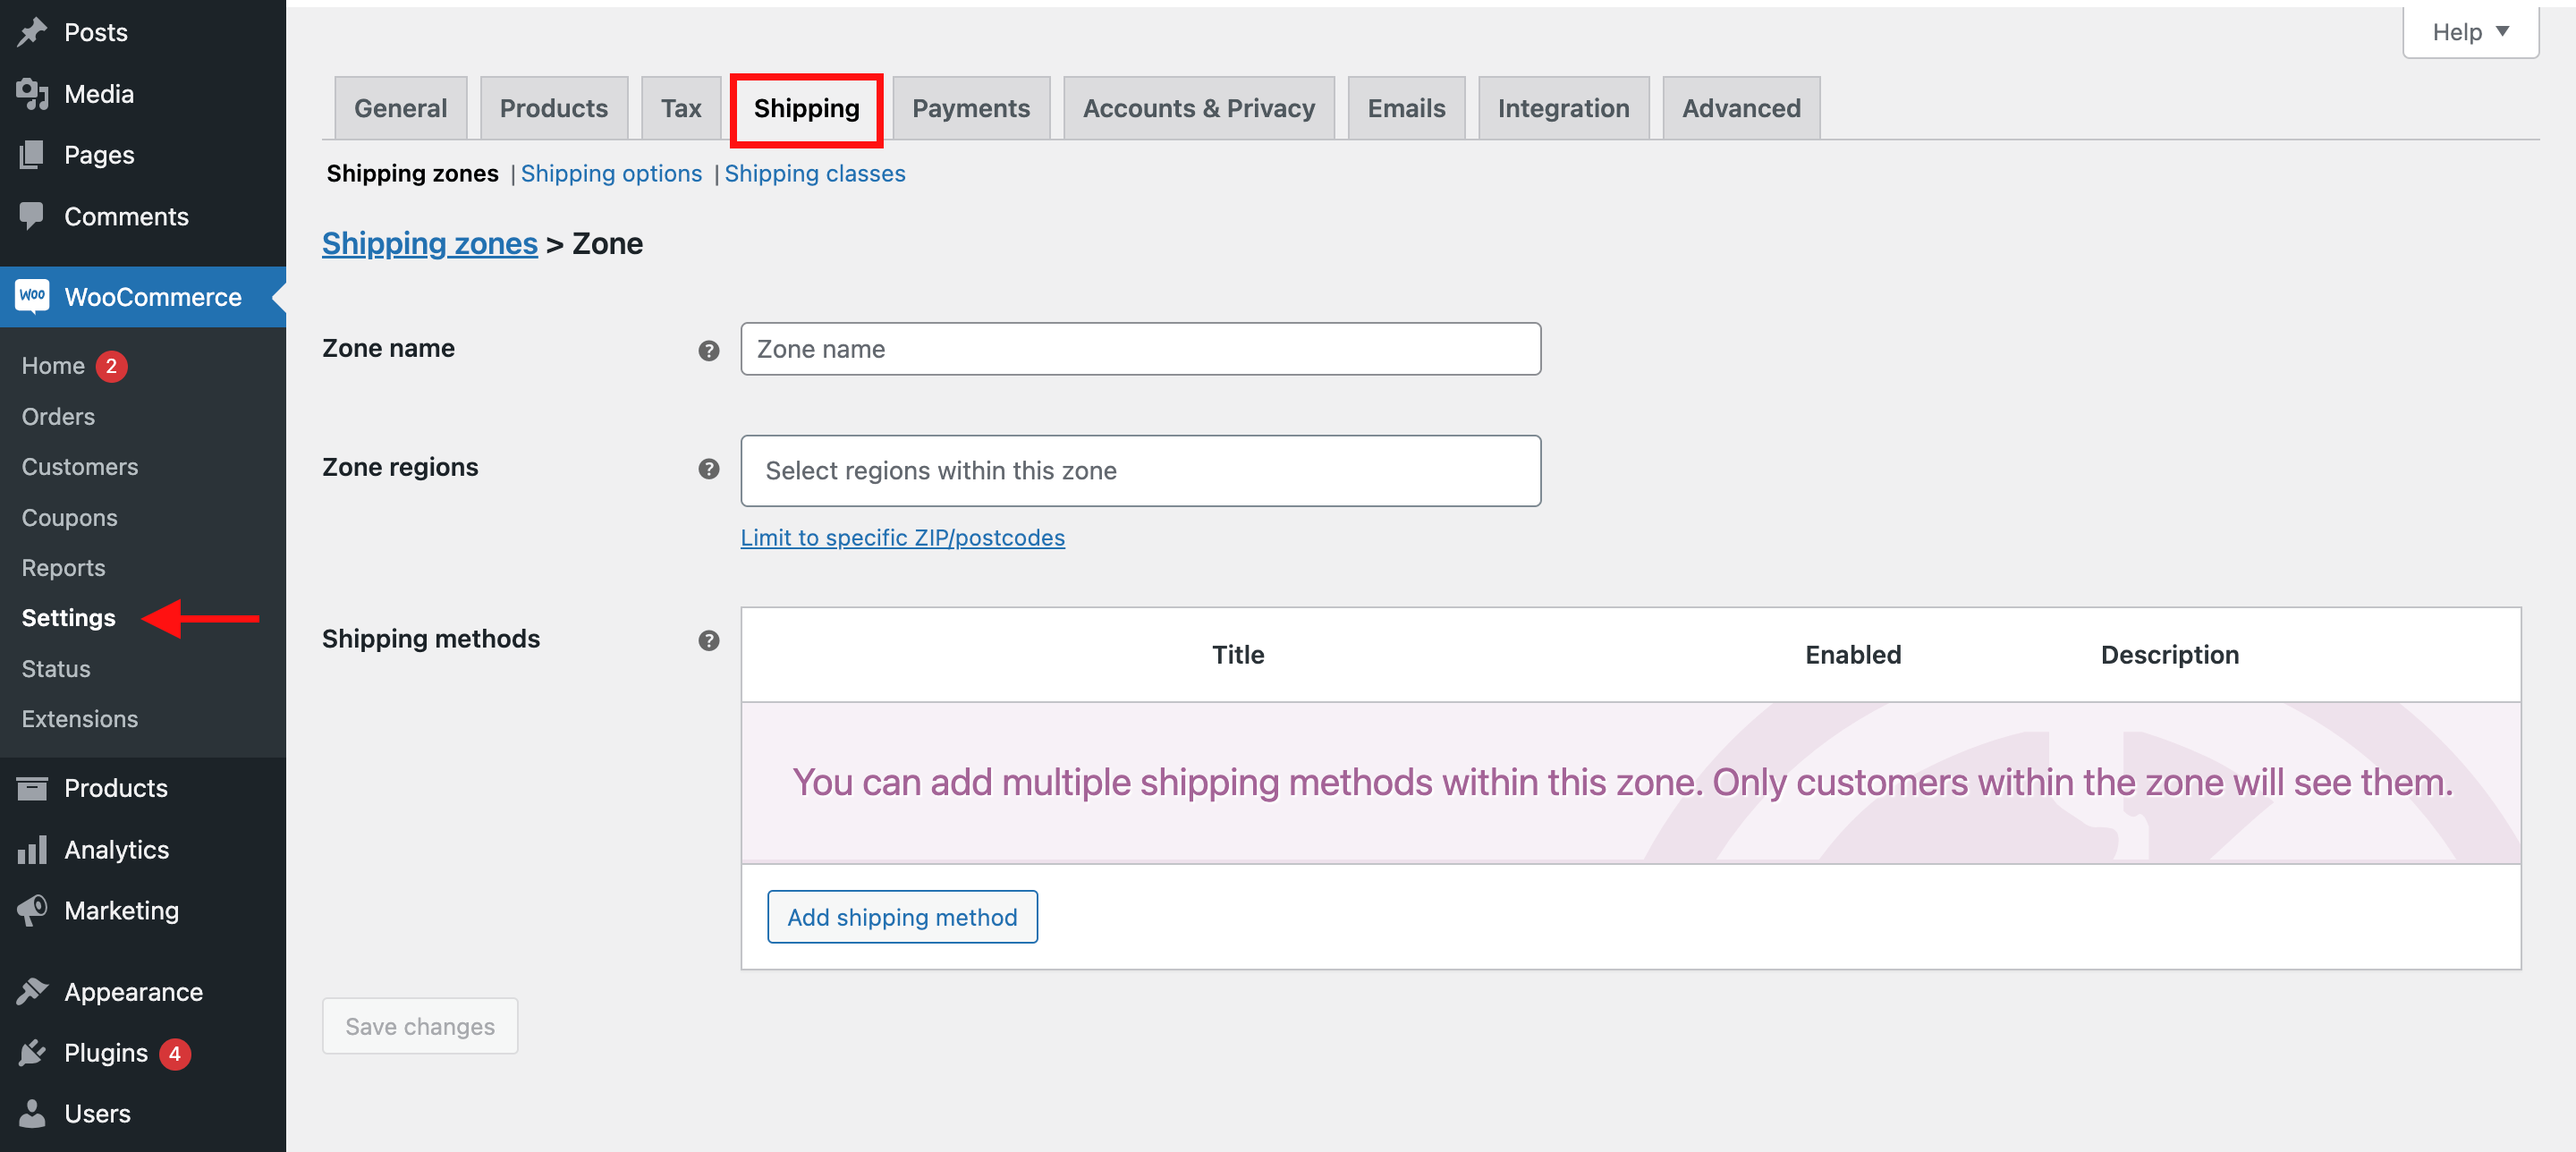
You can decide on what type of shipping you want to offer, such as a flat rate or free shipping. You can also set up different shipping zones, so you can offer different prices to customers in different regions.
If you’re still feeling a bit lost, you can always check out the WooCommerce shipping documentation. It’s full of helpful information and tips, so be sure to give it a read before you start setting up your shipping options.
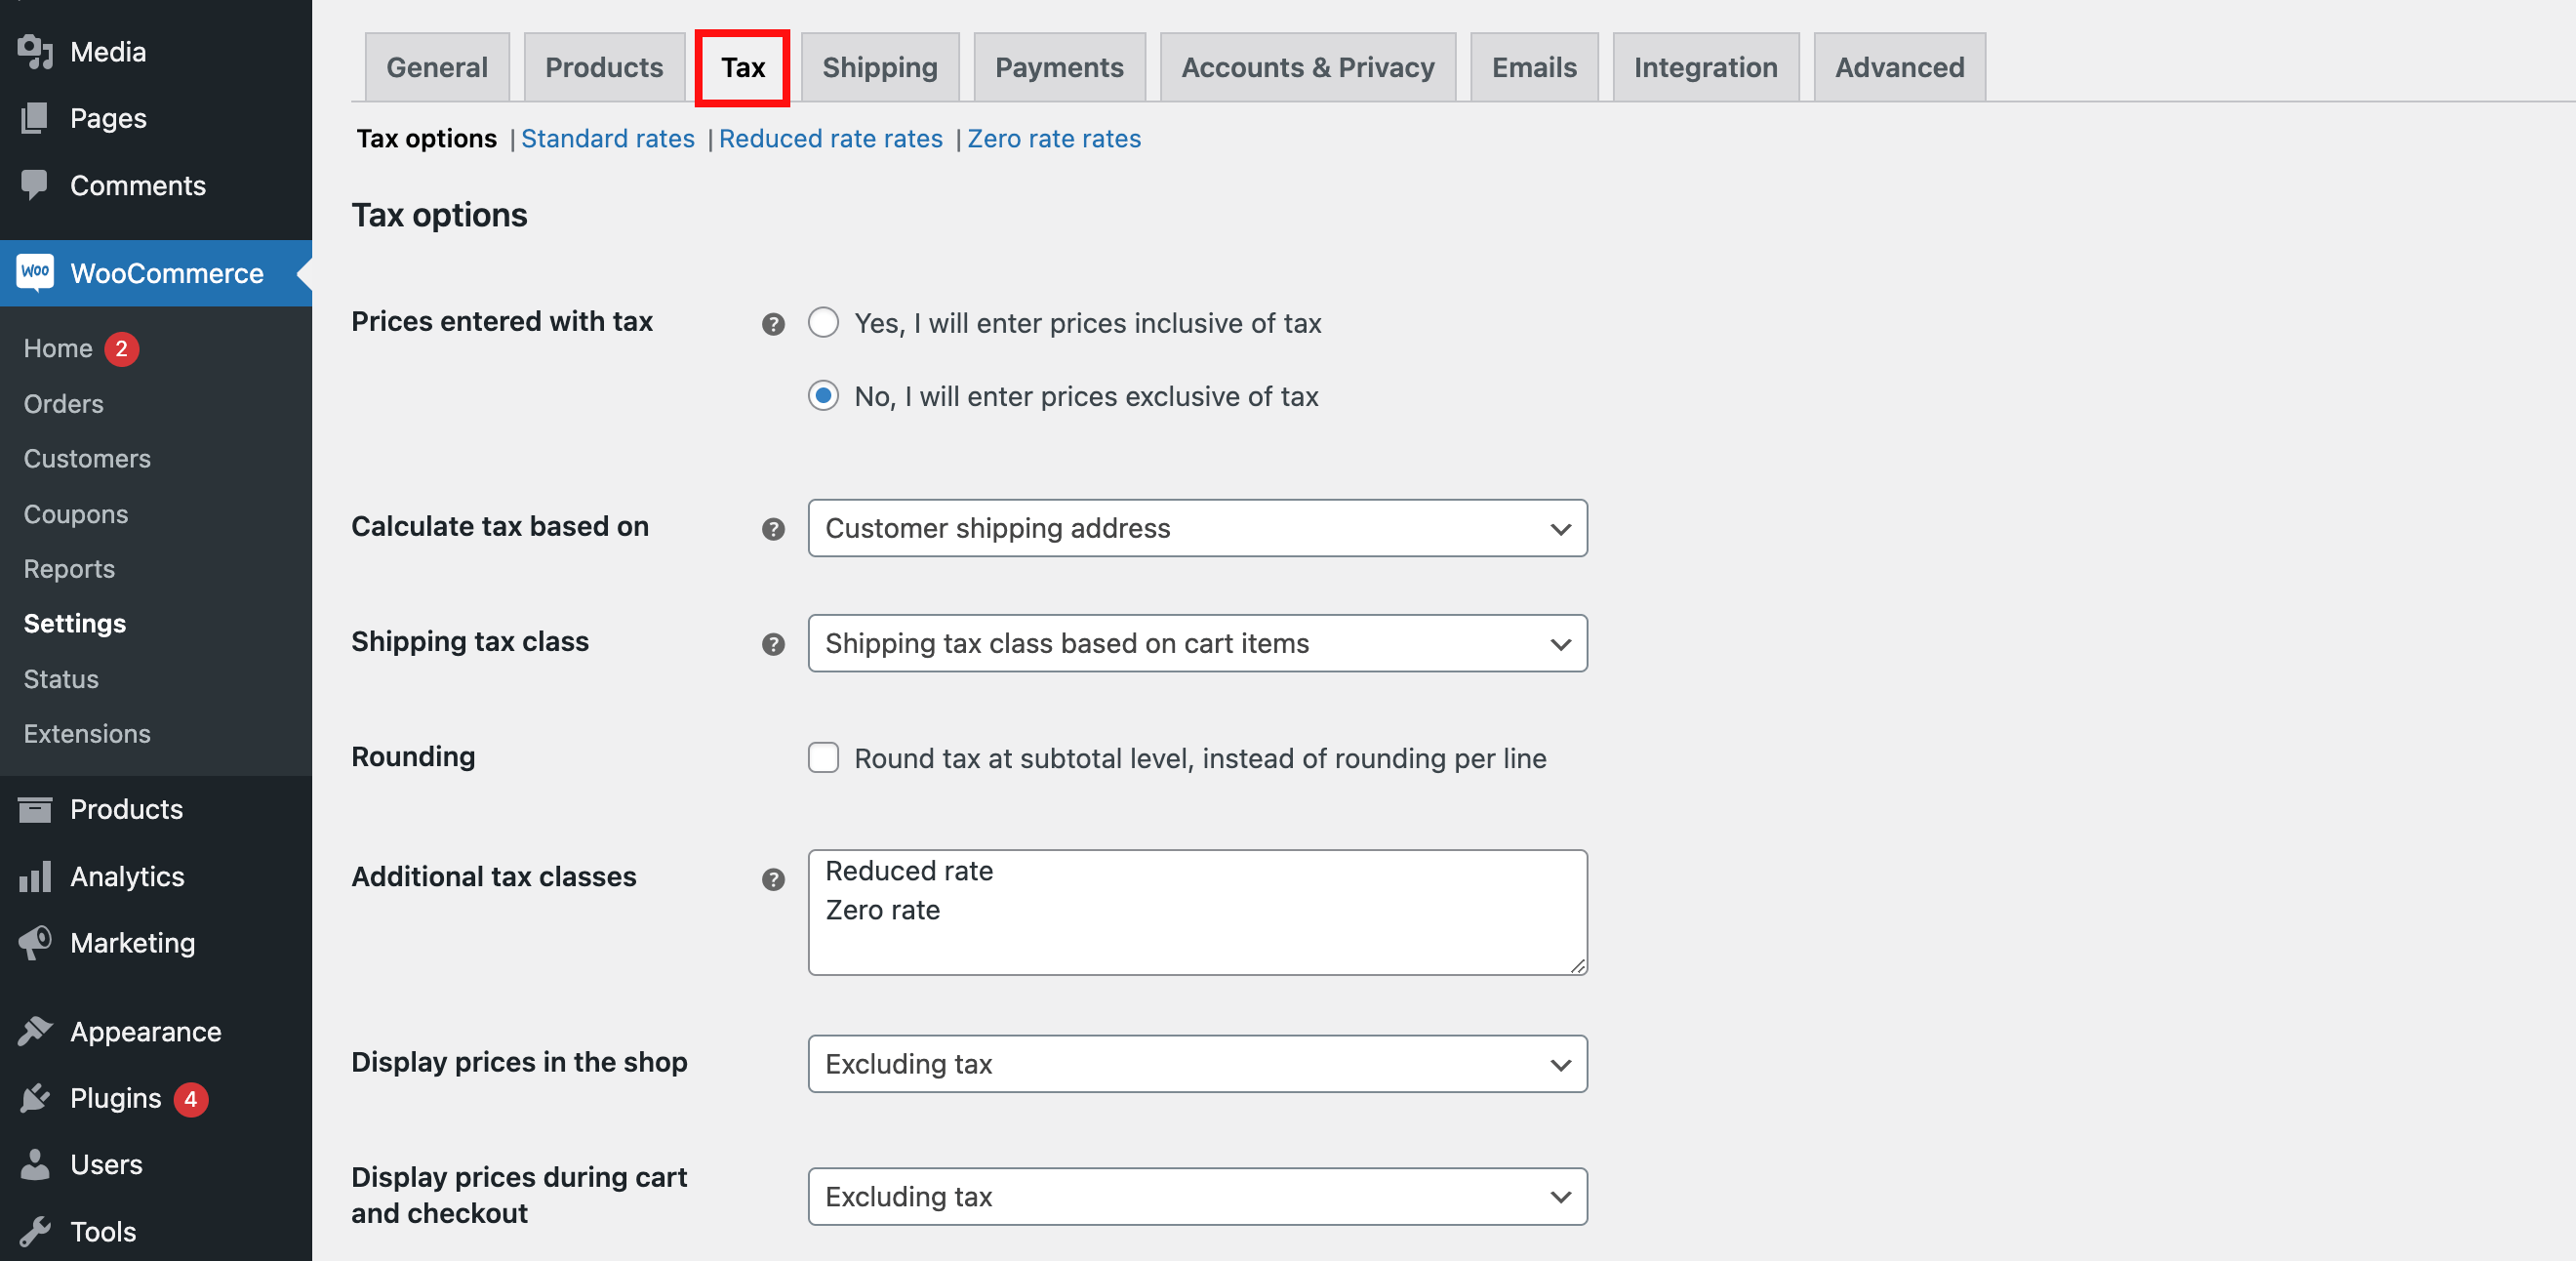
Once you’ve configured all the shipping-related options, you’ll also need to set up tax options in WooCommerce. This is done in the “Tax” tab.
When it comes to setting up taxes in your WooCommerce store, you have a couple of options. Whether you decide to use a tax partner or take a more hands-on approach, you’ll be able to ensure your business is compliant with local regulations.
Here, you can set up the tax rates for your store, as well as decide whether taxes should be included in the price of the items or added at checkout.
If you’re not sure how to get started, don’t worry. WooCommerce offers comprehensive documentation on setting up taxes for your store.
So, be sure to read through the documentation and get help if you need it.
4. Customize Your WooCommerce Store
It’s finally time to customize and launch your store!
After weeks (or maybe even months) of planning, designing, and getting your products ready, you’re finally ready to make your big debut.
Your store is going to be a reflection of your passion and hard work, so it’s important to make sure it looks, feels, and functions just the way you want it to.
Choosing a WooCommerce Theme
The first step is to choose a WooCommerce theme for your store. There are hundreds of themes available, so you should take the time to find one that best suits your brand.
One of my favorite themes is Astra.
It’s a multipurpose theme, with a wide range of customization options.
When it comes to installing a theme, the process is fairly straightforward.
All you need to do is head to the WordPress dashboard and select the Themes tab. From there, you’ll be able to browse through a wide selection of free and premium themes. Once you’ve installed the one you like just click “Activate” and you’re all set.
And if you’re looking for even more options, you can always check out marketplaces like ThemeForest.
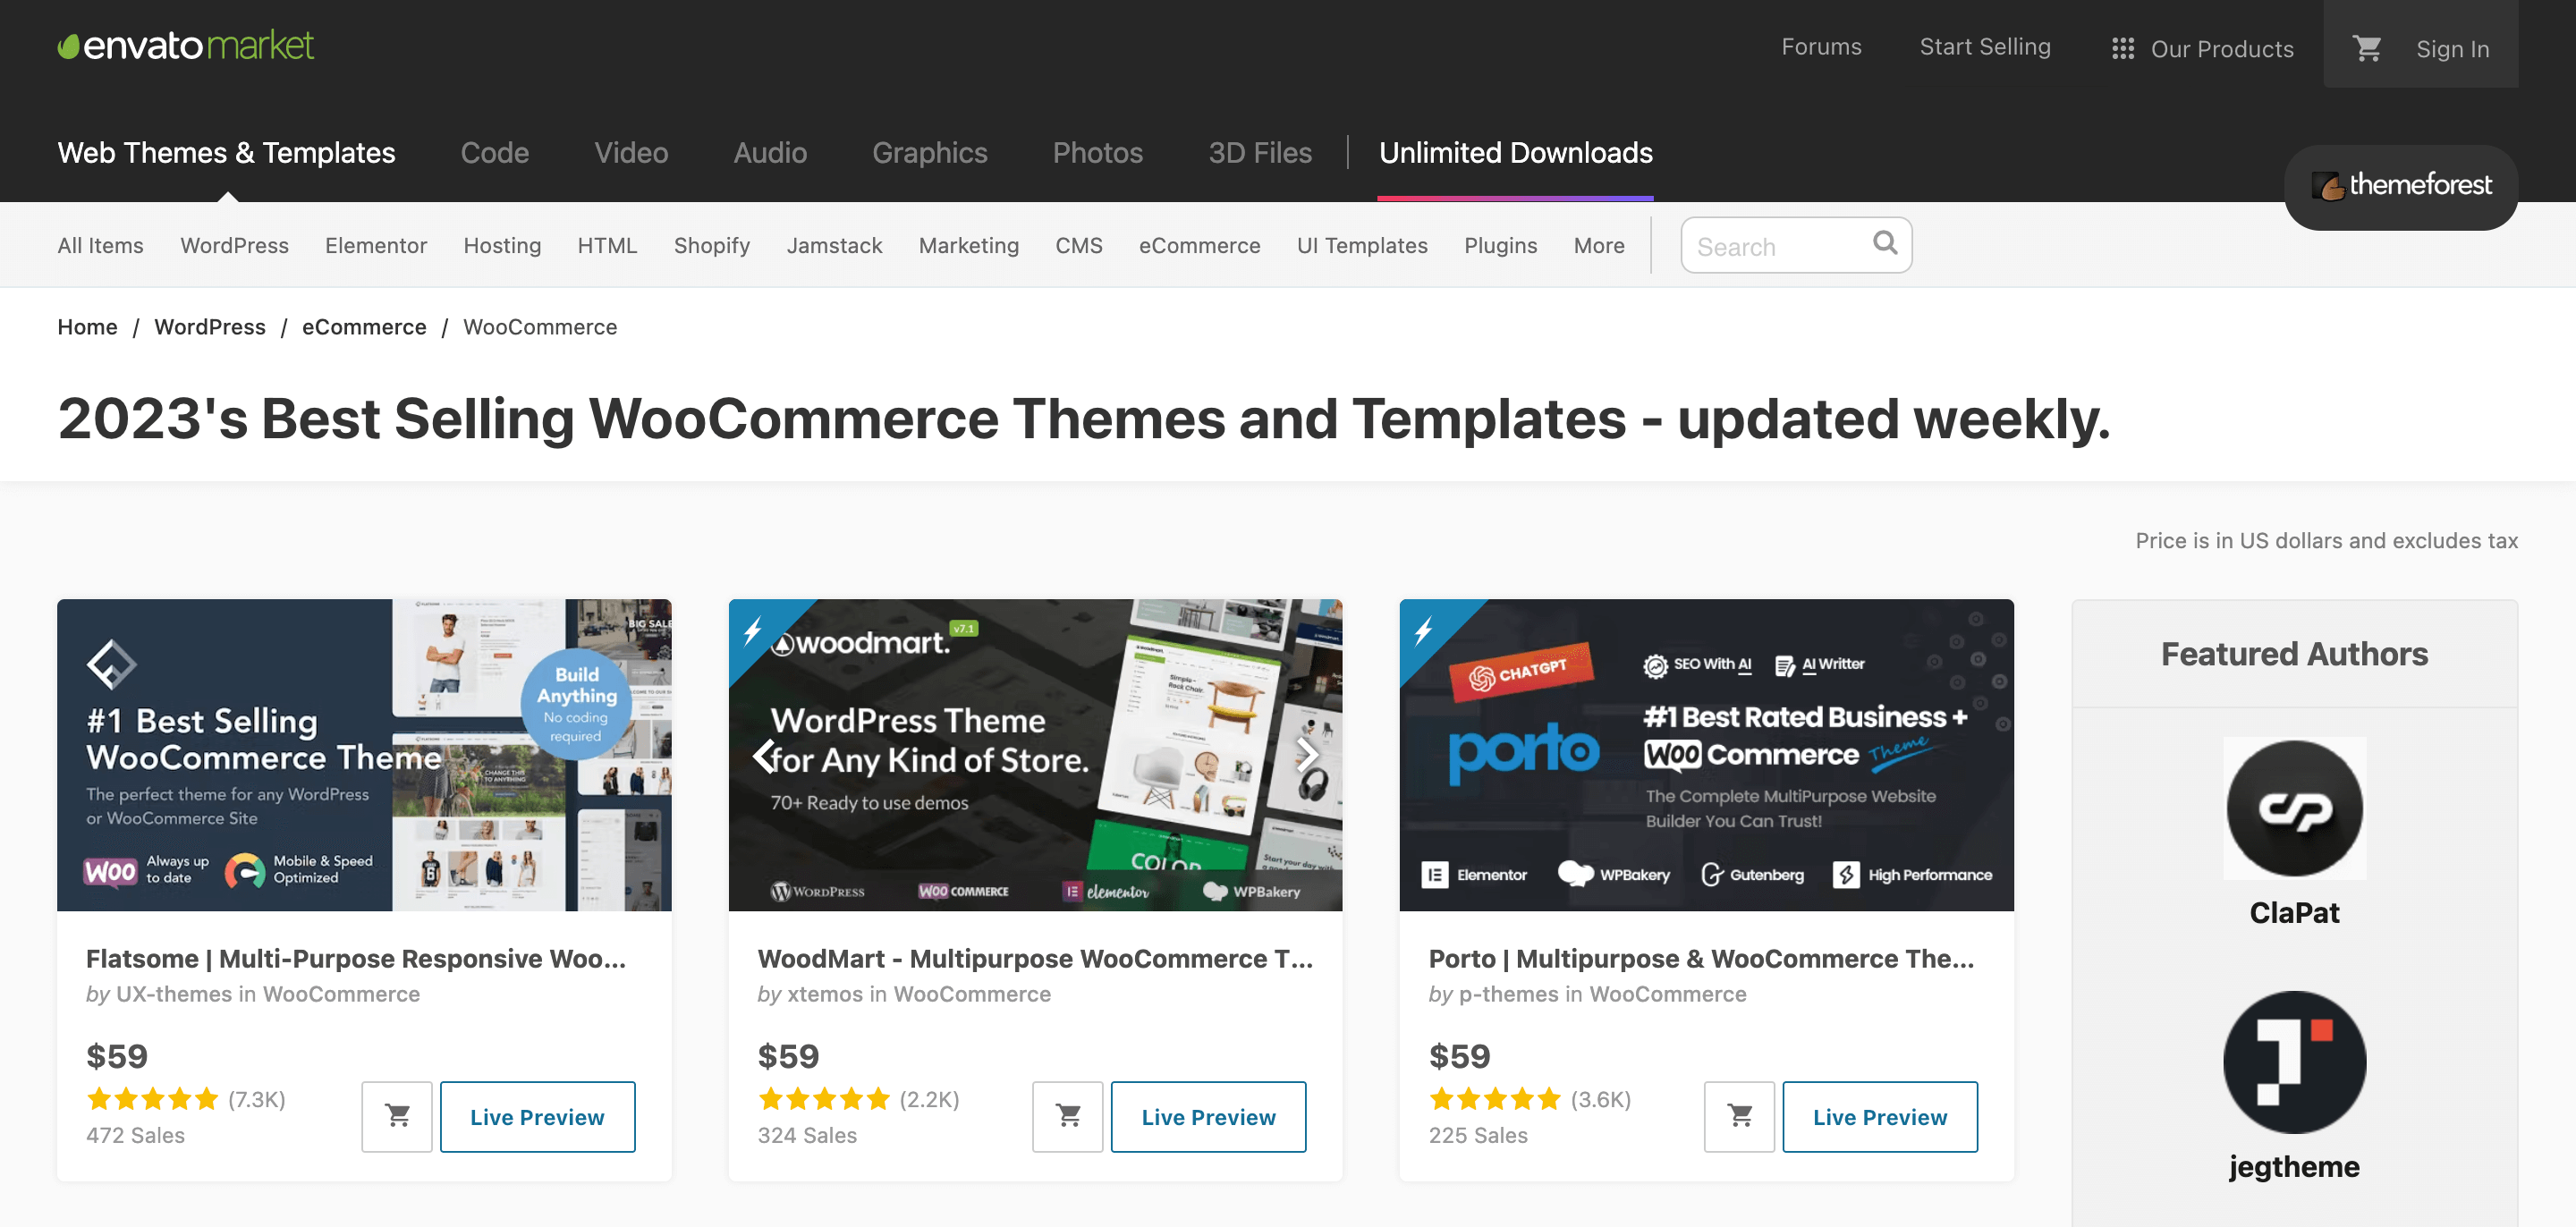
On ThemeForest, you can browse through hundreds of WooCommerce themes to find the perfect one for your store.
Once you’ve installed and activated a theme, you can customize it. To do this, navigate to Appearance > Customize from your WordPress dashboard. Here, you can customize the colors, fonts, and other elements of your store’s design.
It may take some time and effort to get everything looking just right, so if you don’t feel like getting your hands dirty, you can always look for a freelance designer from popular freelance marketplaces like Fiverr.com.
And don’t forget to add the finishing touches such as adding a blog, setting up an about me, contact page, and creating legal pages including a privacy policy.
Adding WooCommerce Plugins
The right plugins can make your store run smoother, optimize speed, reduce customer frustration, and make your store more successful.
So, what are some of the best plugins for a WooCommerce store?
Here are five of our favorites:
- MonsterInsights – This plugin makes it easy to track the performance of your store using Google Analytics. You can monitor your store’s incoming traffic, top products, and more, all from the comfort of your dashboard.
- WP Rocket – This plugin helps to make sure your store is blazing fast. It can reduce loading times, optimize images, and help your store run smoothly.
- RankMath SEO – This plugin helps you make sure your store is search engine optimized. It can help you create the right titles, descriptions, and tags for your products, so they show up in the right search results.
- Elementor – This powerful plugin allows you to create custom pages for your store. You can design custom product pages, landing pages, and more, all without any coding or design experience.
- WooCommerce PDF Invoices & Packing Slips – This is an email marketing plugin for Woocommerce stores. It’s an easy way to set up automated emails (like abandoned cart emails) to your customers, helping you stay in touch, build relationships, and boost sales.
These are just a few of the great plugins available for WooCommerce stores. For more plugins, you can browse the WordPress plugin directory or marketplaces like Codecanyon. You can also check out our list of the best WooCommerce plugins for more ideas.
Installing a plugin is just simple as installing a theme. Again, head to the WordPress dashboard and select the Plugins tab.
Once you’ve installed the one you need, just click “Activate” and you’re good to go.
No matter what plugins you choose, the most important thing is that you find ones that help make your store run more efficiently and help you meet your goals. So, choose wisely.
5. Launch Your WooCommerce Store
If you’re ready to launch your WooCommerce store, it’s time to take the plunge!
Before you do, you’ll need to connect your domain name to the Cloudways server.
This is done by updating the A record in the DNS settings of your domain name. Once the A record is updated, you can access your WooCommerce store at your domain name.
To do this, you will need to log in to both your Cloudways and Namecheap accounts.
Adding Your Domain to Cloudways
Now, this may seem overwhelming if you’re new to setting up a website, but it’s actually quite simple once you get the hang of it.
To do this, you’ll need to follow the steps below:
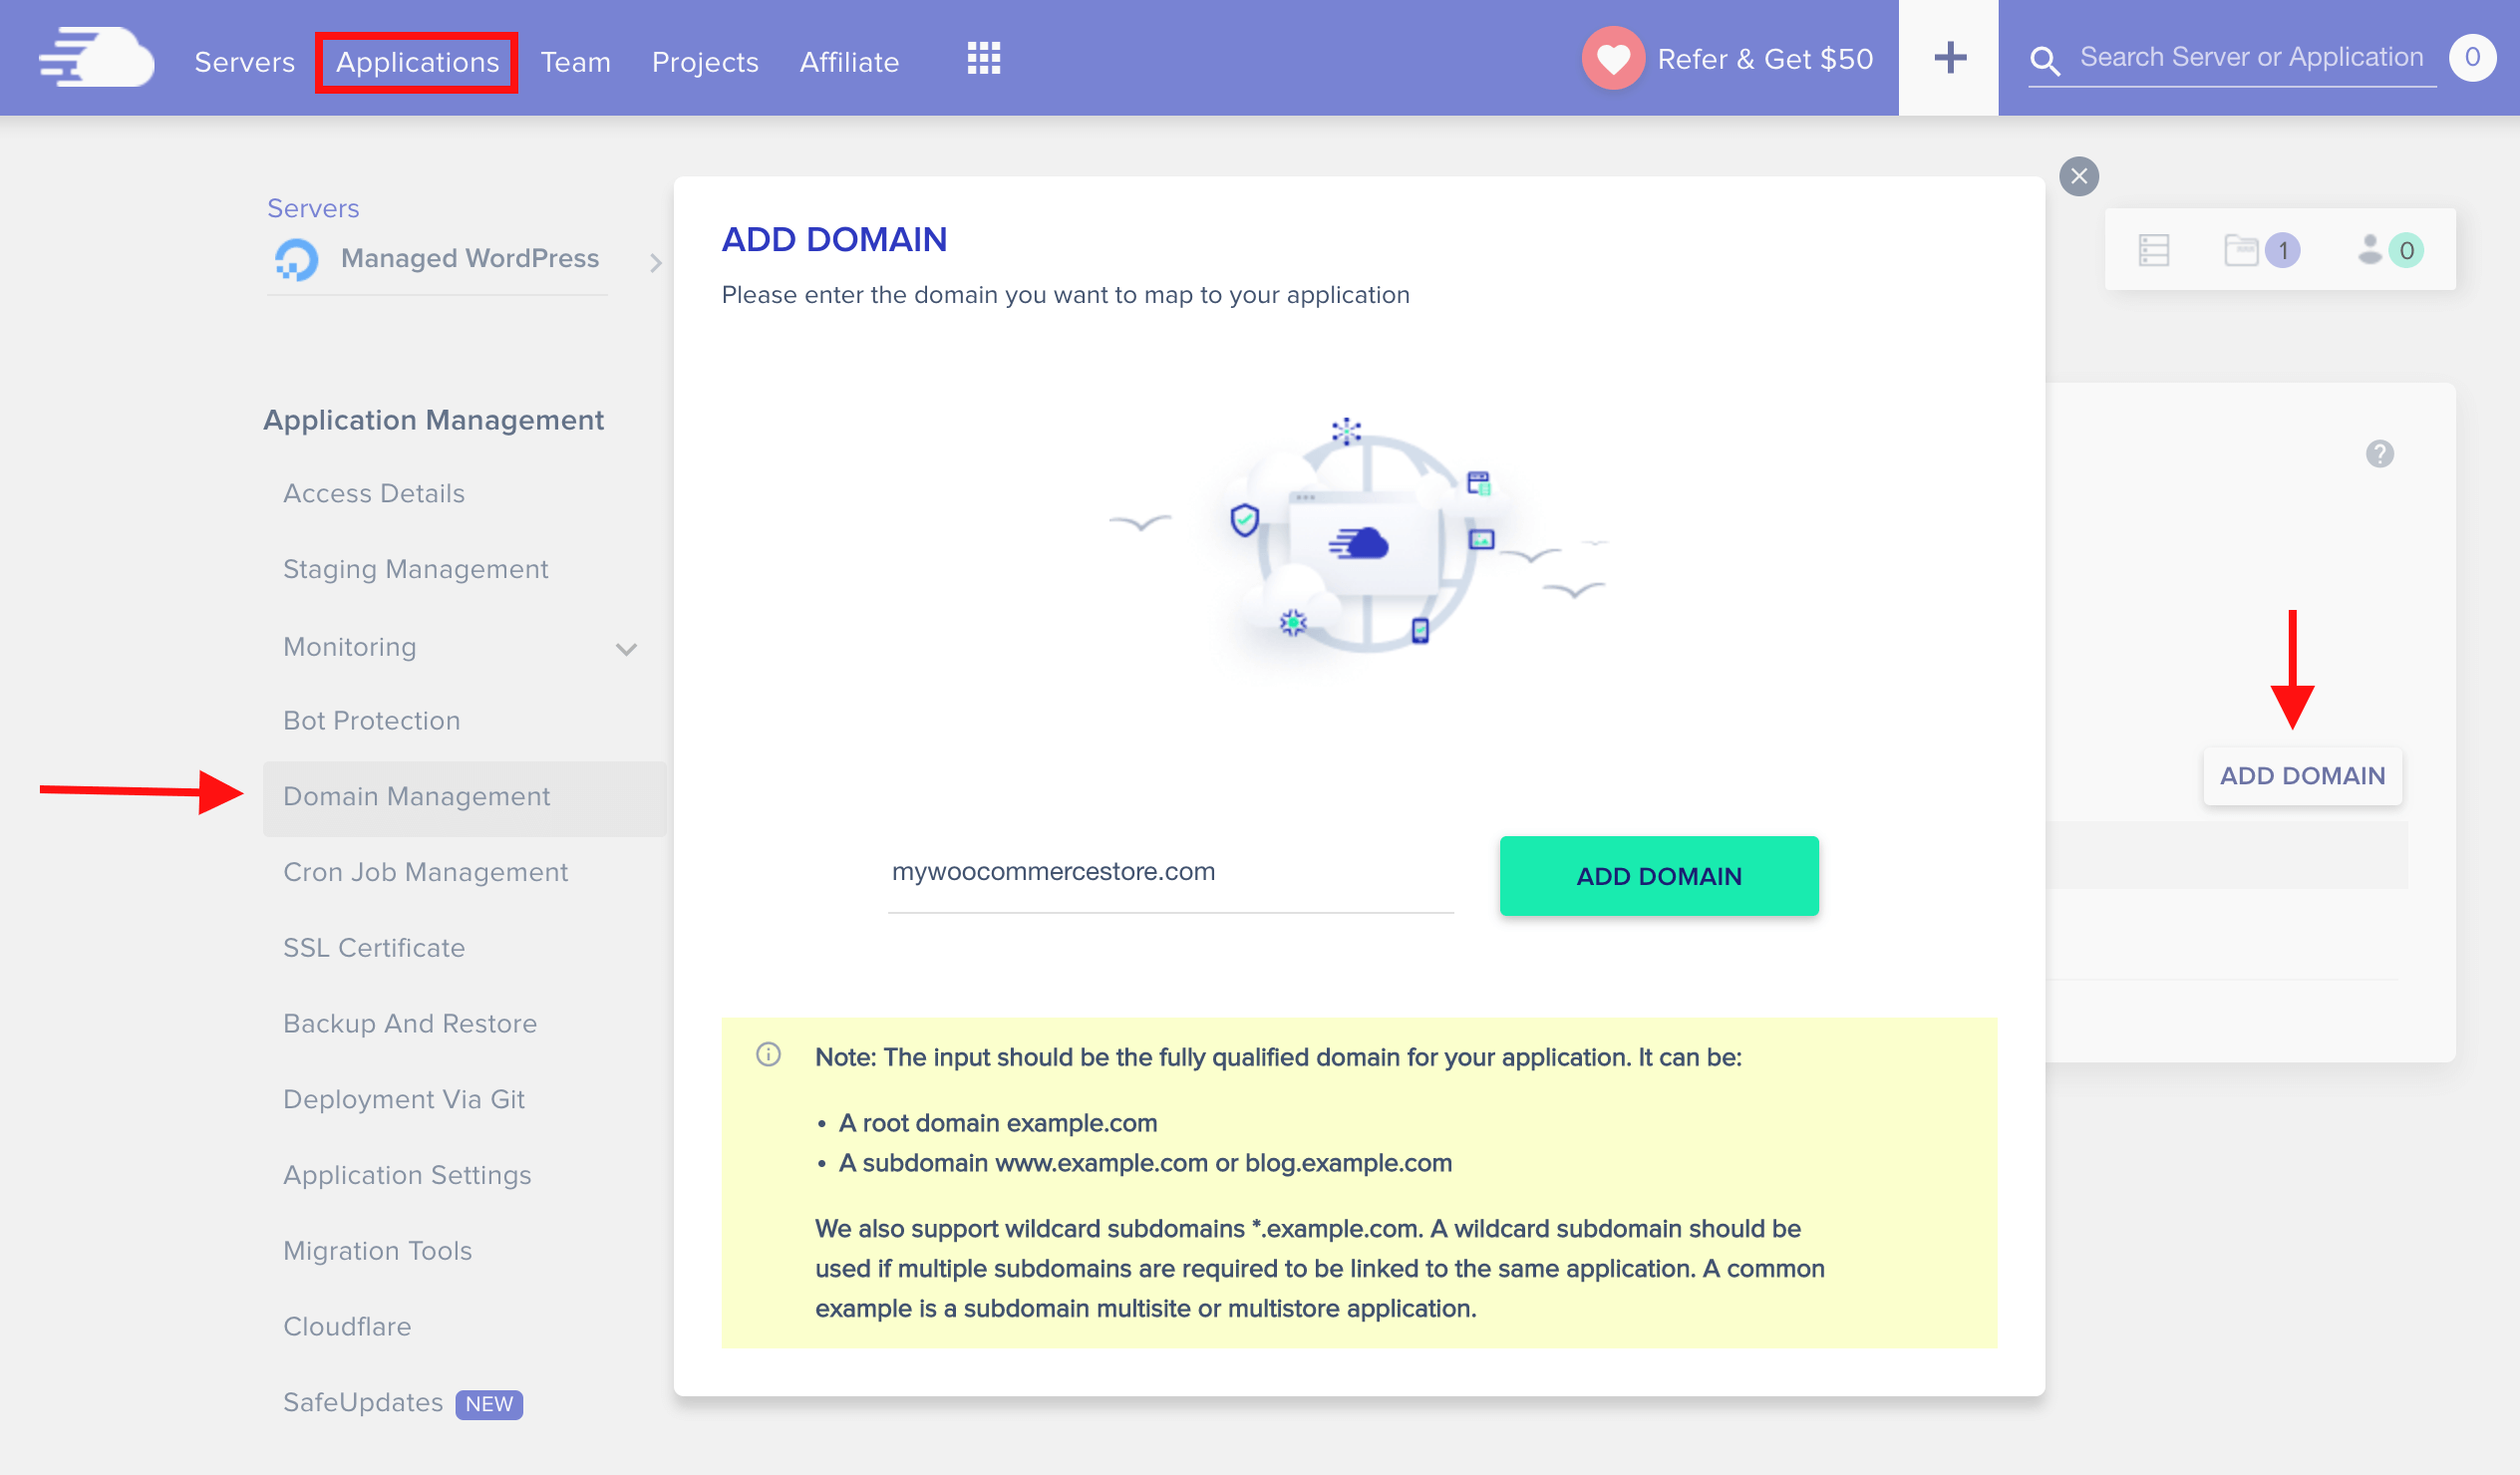
- First, log into your Cloudways account, go to Applications, select your WooCommerce installation, and click on the “Domain Management” tab.
- Next, click on the “Add Domain” button and enter the domain name that you’ve purchased from Namecheap.
- Finally, click on the three dots next to your domain and then select “Make Primary” to make sure your domain is intended to be used as the main domain name.
How do I install an SSL certificate on my domain?
If you’re looking (you should) to secure your domain with an SSL certificate, Cloudways Platform offers a free Let’s Encrypt SSL Certificate. With this, you’ll be secure without the hassle of setup or configuration.
So, how do you get this up and running?
It’s super easy. First, you’ll need to read their documentation.
They have clear and straightforward instructions that will walk you through the whole process.
But, if you’re looking for a custom SSL certificate. You can buy one from a Certificate Authority (CA) or certificate vendor like Namecheap. They’ll provide you with the certificate, as well as instructions on how to install it.
If you feel overwhelmed and don’t feel like you can tackle this task on your own, don’t hesitate to take a look at Cloudways’ help docs which can be easily found on their website.
Updating DNS Records
Once you’ve added your domain name, you’ll need to point it to the IP address of your CW hosting server.
To do this:
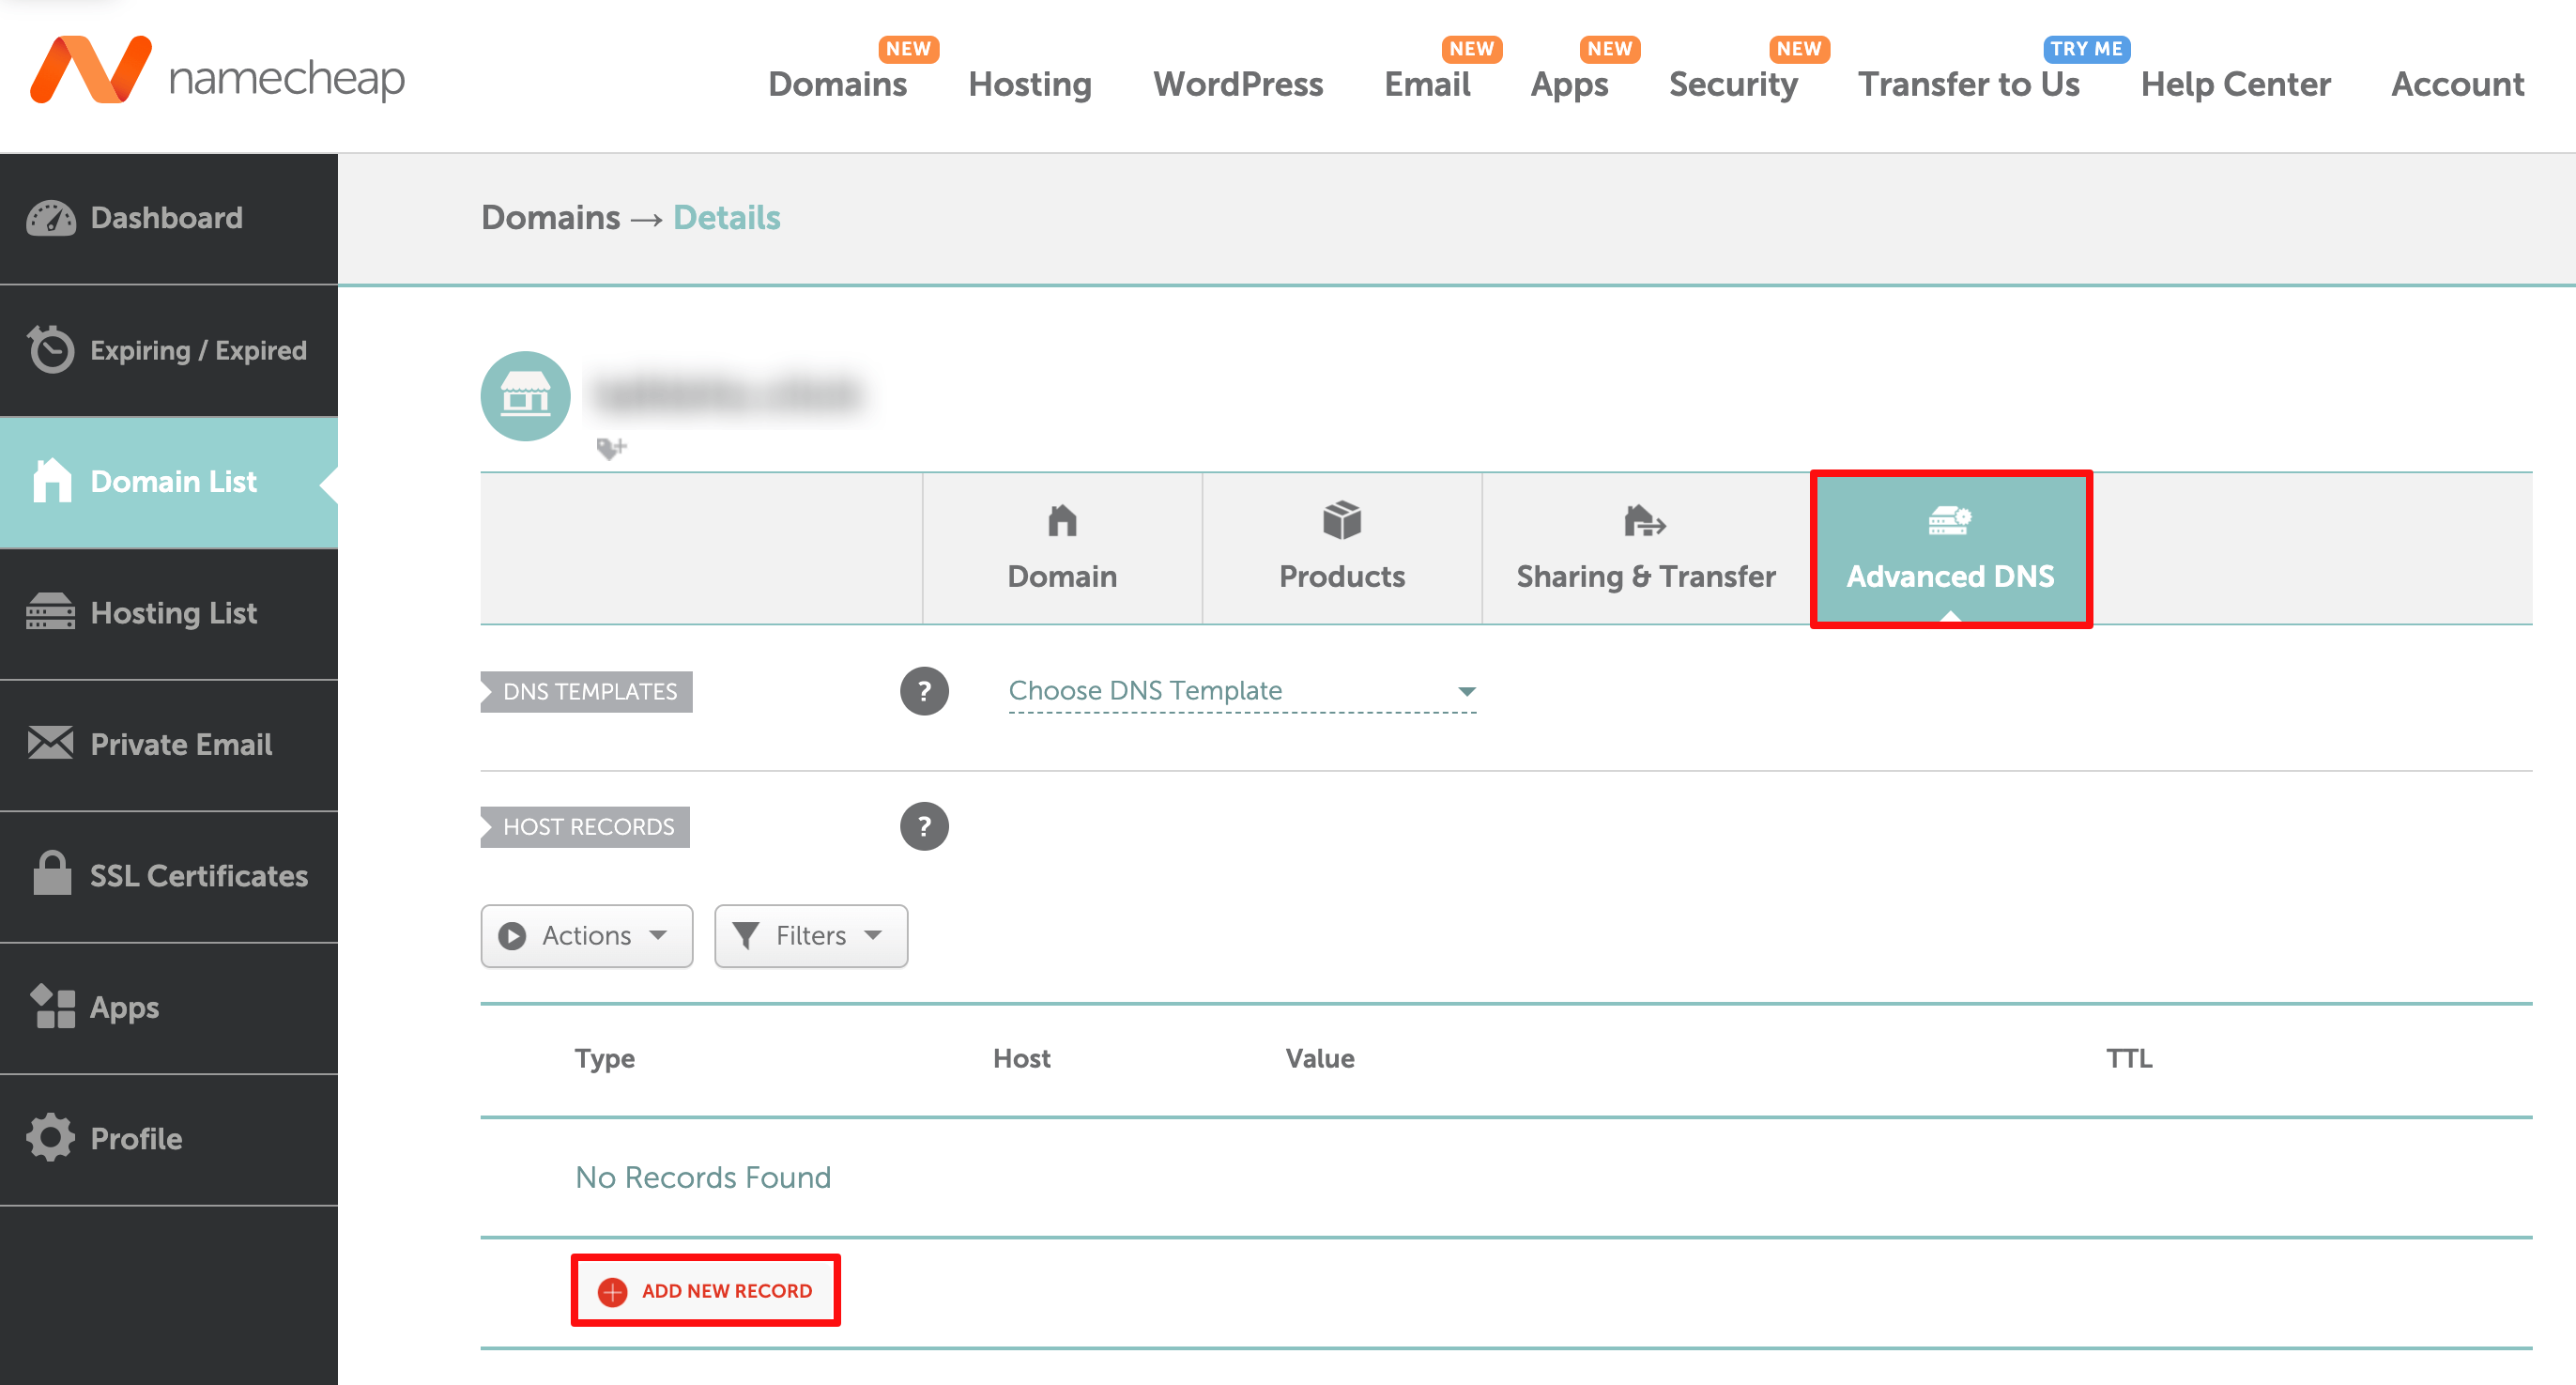
- Log into your Namecheap account, click on the “Domains” tab, and then click “Manage” next to the domain name you’ve purchased.
- Next, scroll down to the “Advanced DNS” section and add the all records as described here.
- Finally, click “Save” and you’re all set!
Congratulations! You’ve taken the leap and now you’ll be able to access your WooCommerce store by using the domain name you’ve purchased.
It’s a big step for any business, and we’re sure you’re feeling excited and maybe a little nervous. Don’t worry, you’ve got this!
Final Thoughts
Now, the real work begins – getting the word out and growing your business.
If you need any further support, you can look into services like WP Buffs for WordPress maintenance and Cloudways for hosting-related support – both offer 24/7 customer service, so they’re sure to be able to provide you with the assistance you need.
Additionally, don’t forget to build an email list, use social media platforms, optimize your store for SEO, leverage influencer marketing, and consider paid advertising to get your store out there and attract more customers.
Happy selling!