You install WordPress, log in for the first time, and just… stare at it.
A black sidebar full of menus. A tons of boxes in the middle you didn’t ask for. Some notice at the top telling you to update something already.
That was me.
I clicked Appearance, then Settings, then back to Appearance, then closed the tab and went to play cricket with my friends, because nothing on that screen told me where to start.
I get it if that’s where you are right now.
The thing is, WordPress looks a lot harder than it is. Most of those menus you’ll touch once, set up, and forget about.
The ones you actually use every week? Maybe three or four.
So if you’re trying to figure out how to use WordPress, the dashboard is where all of it starts.
I’ll show you how to log in, what to do first (in the right order, because the order matters more than people think), and what each menu is for, so you’re not clicking around guessing like I did.
What’s in this post
Disclosure: This post has affiliate links. I earn a commission if you buy, at no extra cost to you.
How to sign in to WordPress and find your dashboard
I want to mention a one quick thing first, because it confuses many people.
There’s WordPress.com, and there’s self-hosted WordPress (the free software from WordPress.org that you install on your own web host).
This post is about the self-hosted one. That’s the version where you own everything, you can install any theme or plugin you want, and nobody can tell you what your site should look like.
If your site is on WordPress.com, you sign in at wordpress.com instead, and the dashboard looks a bit different from what I show here.
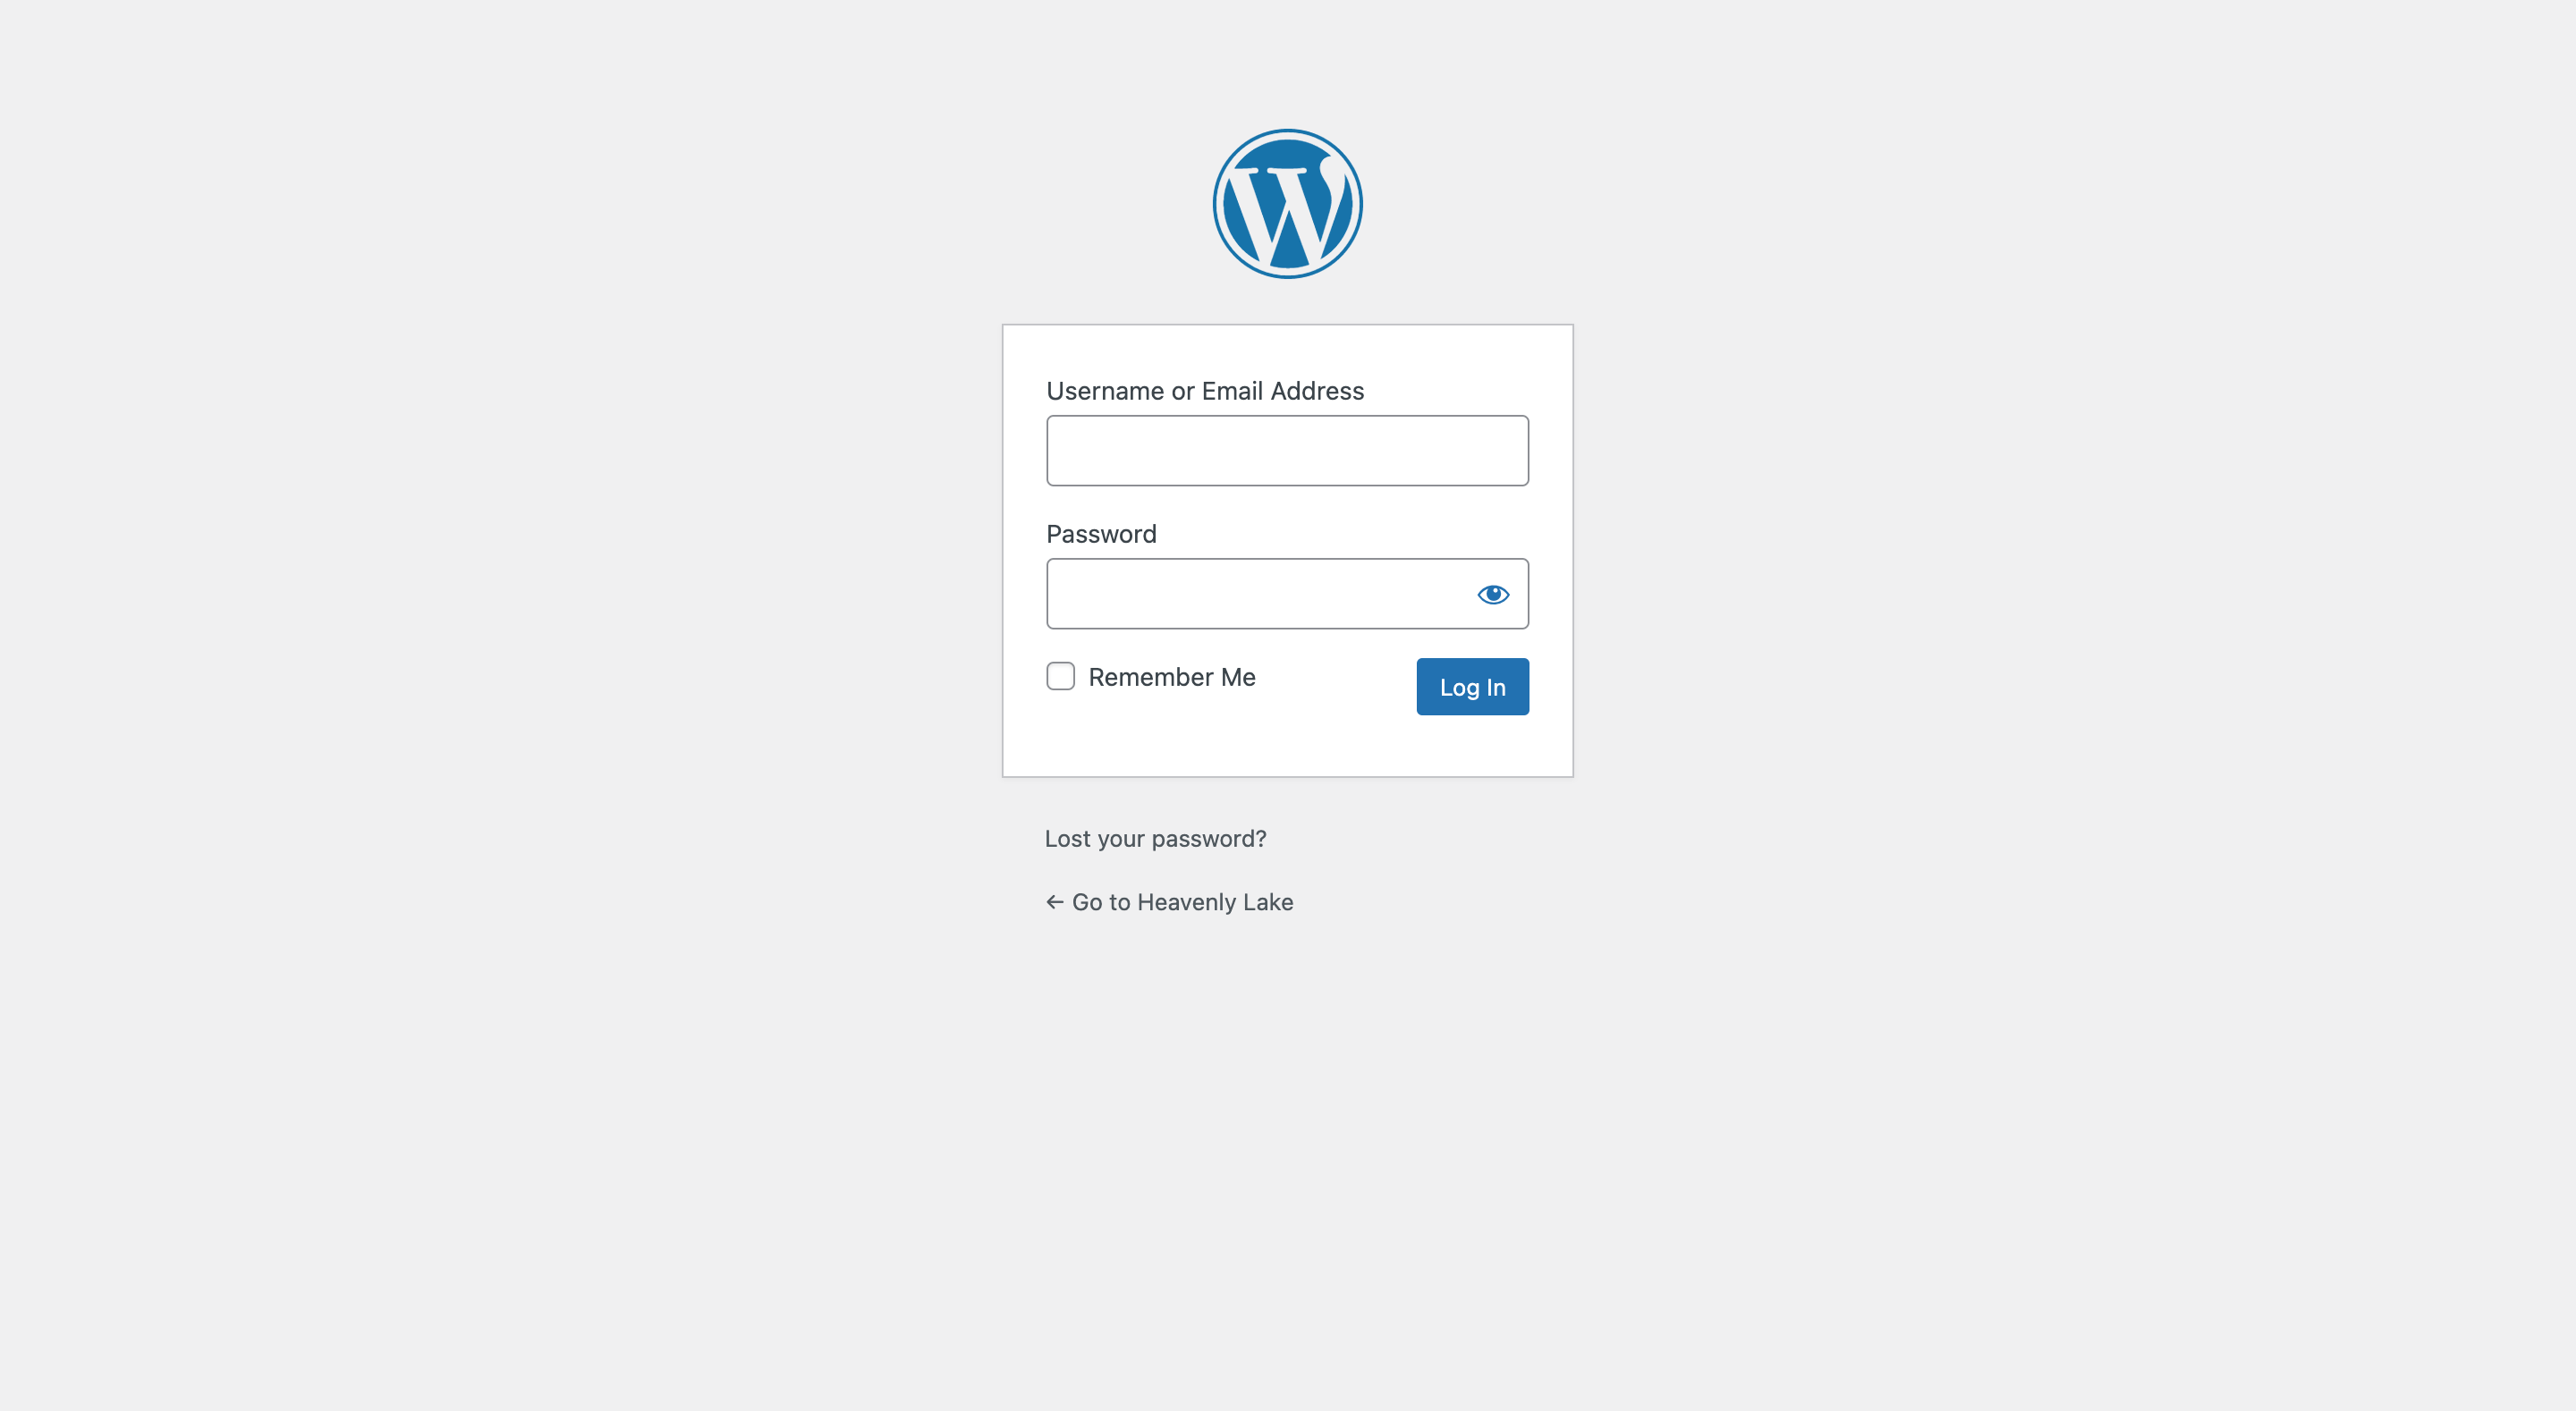
For self-hosted WordPress, open your browser and type this in the address bar:
yourdomain.com/wp-admin
Swap “yourdomain.com” for your real domain, obviously. That takes you to the login page of your site. Type in the username and password you made when you installed WordPress, and you’re in.
If you’re on Hostinger, you don’t even need the URL or your password. Log in to Hostinger, go to “Websites,” and click “Admin Panel” next to your site.
It drops you straight into the dashboard, which is nice when you’ve forgotten which password you used (I’ve done this more than once).
By the way, bookmark the wp-admin page. You’ll be going there a lot.
Once you’re in, this is what you’ll see.
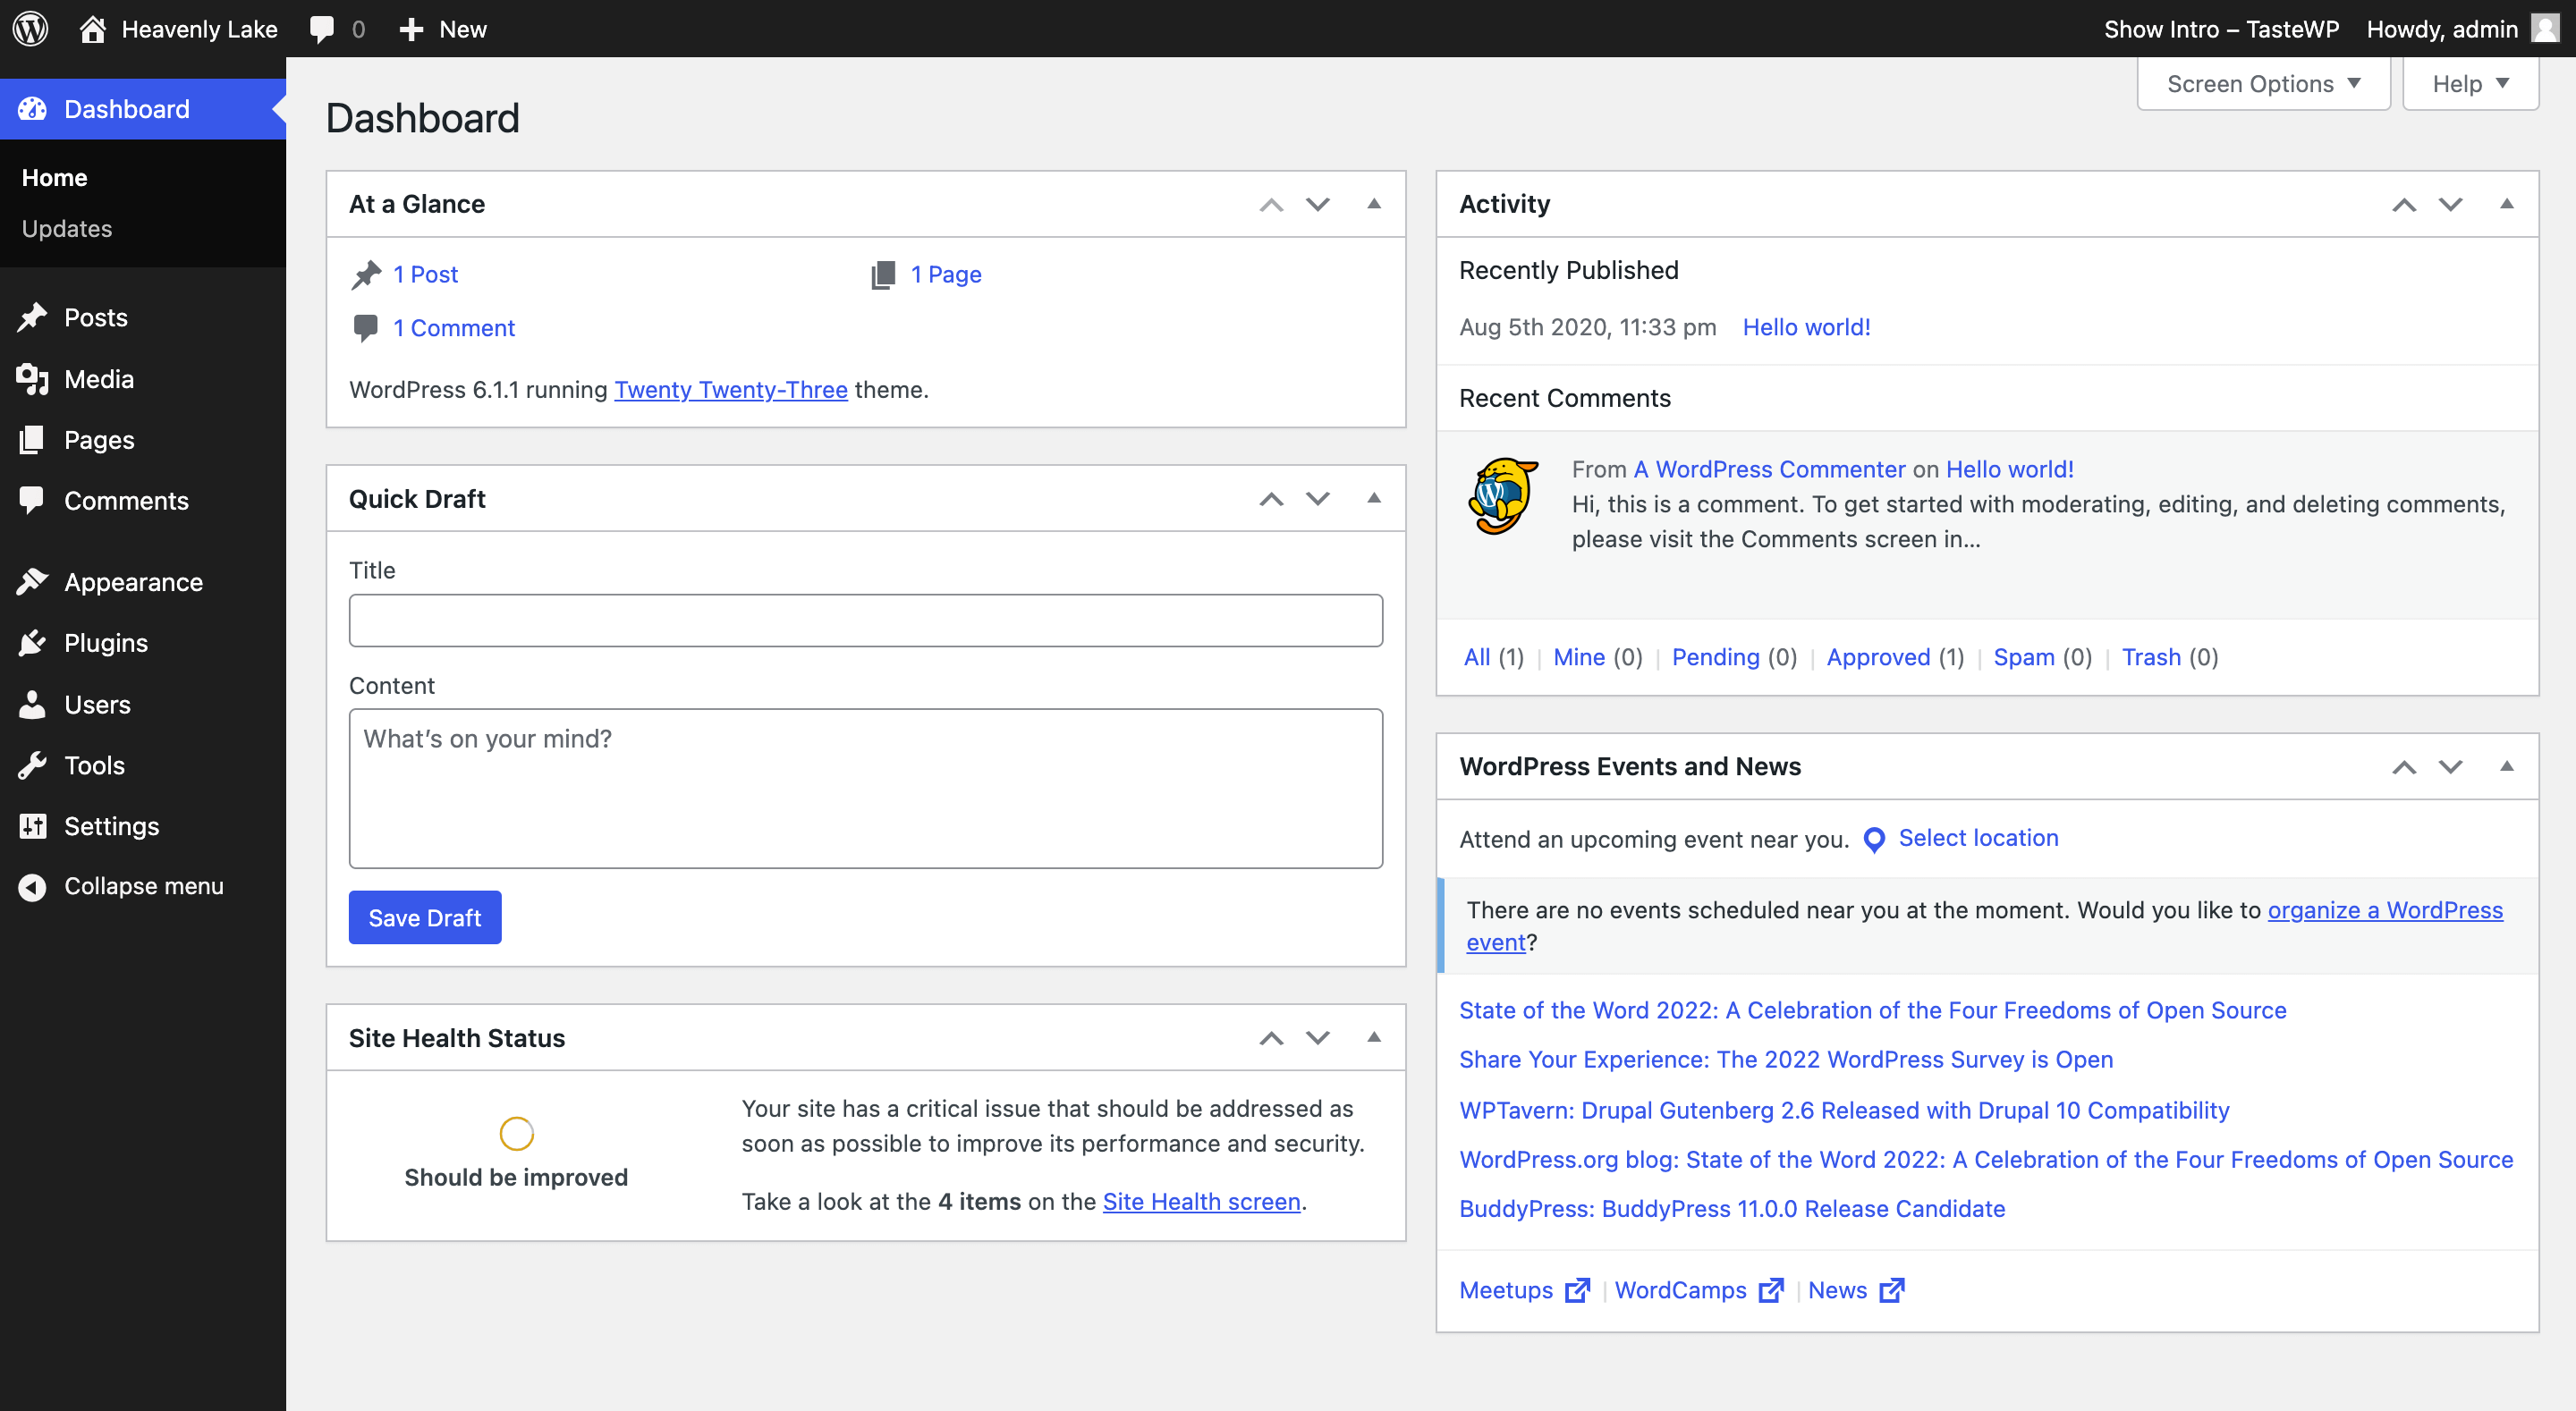
The left sidebar is the menu. That’s where everything lives. The middle part is the dashboard home, a couple of boxes showing site activity, quick drafts, WordPress news, and stuff like that.
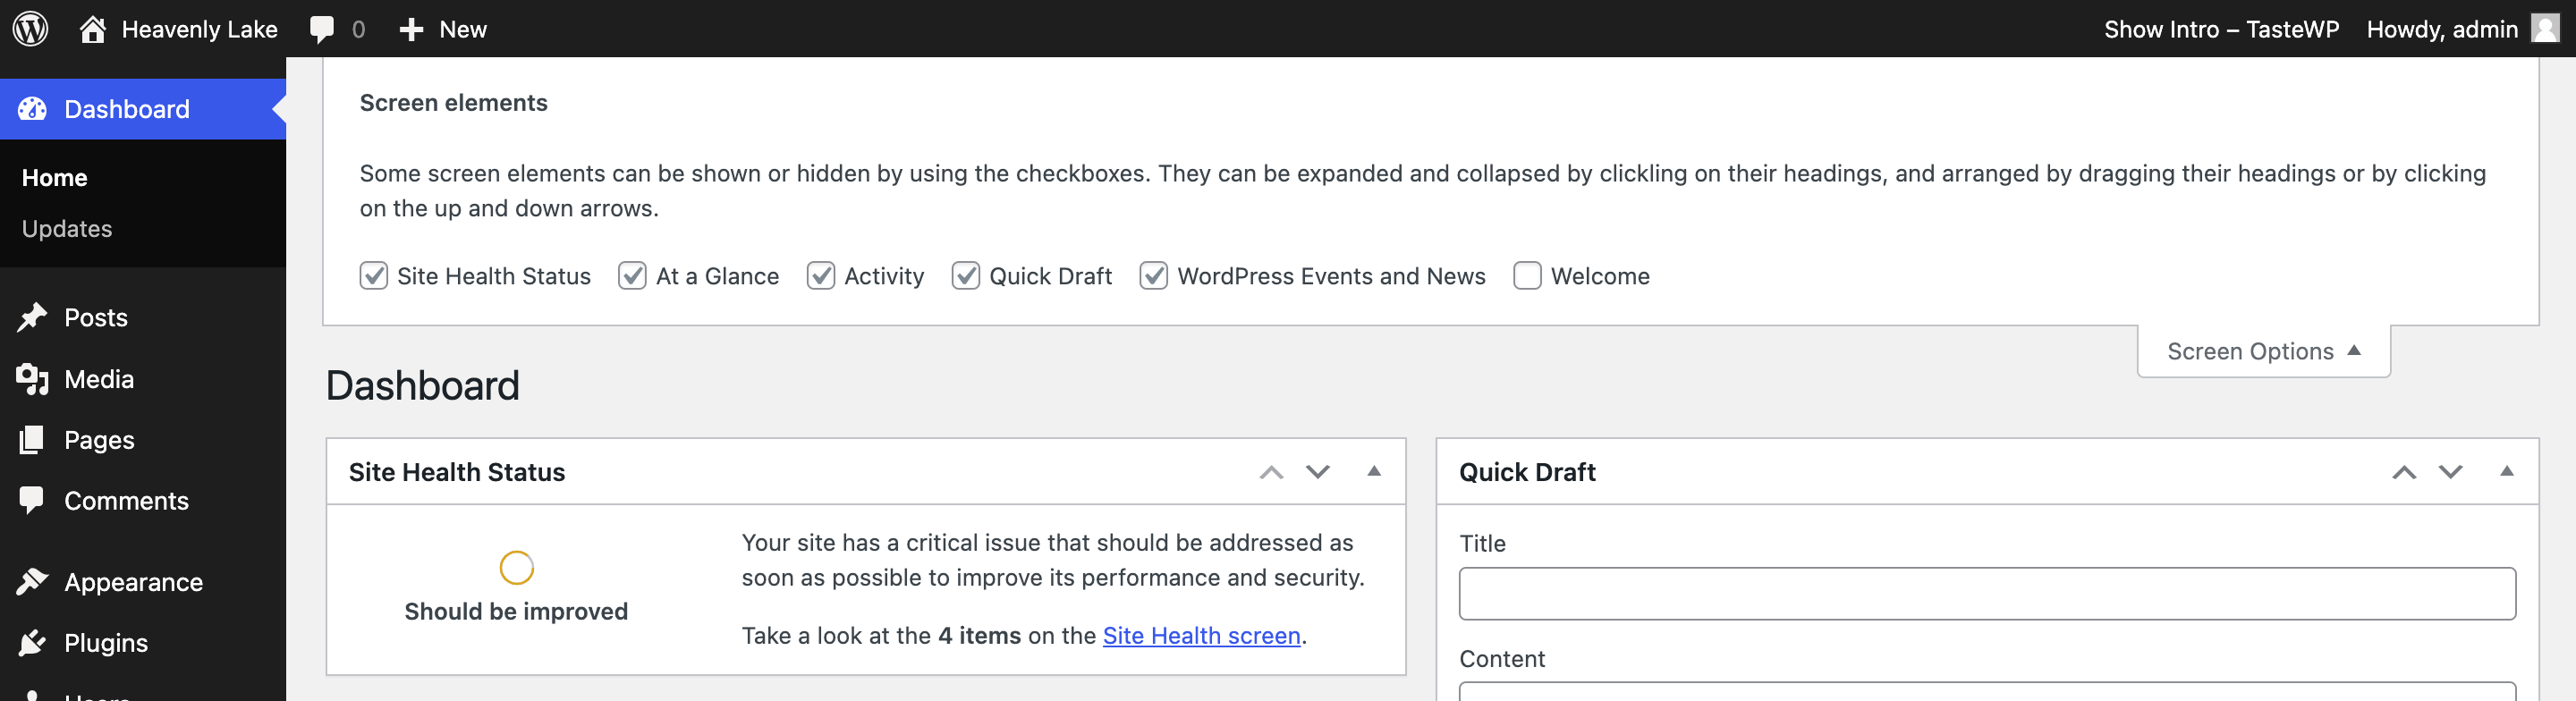
Most of those boxes don’t matter when you’re starting out. Click “Screen Options” at the top right and untick whatever you don’t care about.
One more thing is your sidebar might not look exactly like mine. Plugins add their own menu items, and some hosts add theirs too, so if you see extra stuff, that’s normal. The core menus are always there.
How to use WordPress as a beginner (what to do first)
When I started, I went straight to themes and spent way too long picking one. Then I wrote a post. Then I changed my permalinks and broke the link to that post.
Yeah, that was my early days, thinking about it now.
What actually works is doing things in a boring, simple order.
First, go to Settings and set your site title, tagline, and permalinks. Do this before you publish anything. Changing permalinks later breaks your old links, and fixing that is super annoying.
Then go to Appearance and pick a theme. Don’t spend a week on it, you can change it later, and you probably will.
Next, add a few plugins from the Plugins tab. Only the ones you need. More plugins doesn’t mean a better site, most of the time it just means a slower one.
After that, create your basic pages (About, Contact, Privacy Policy) from the Pages tab.
And then write your first post and hit Publish.
That’s really it. Everything else you’ll learn as you need it. Below, I’ll walk through each menu in the order it shows up in the sidebar, so you know what you’re looking at.
1. Posts: where you write and publish blog posts
This is where you’ll spend most of your time. Click “Posts” in the left sidebar and you’ll see a list of every post on your site.
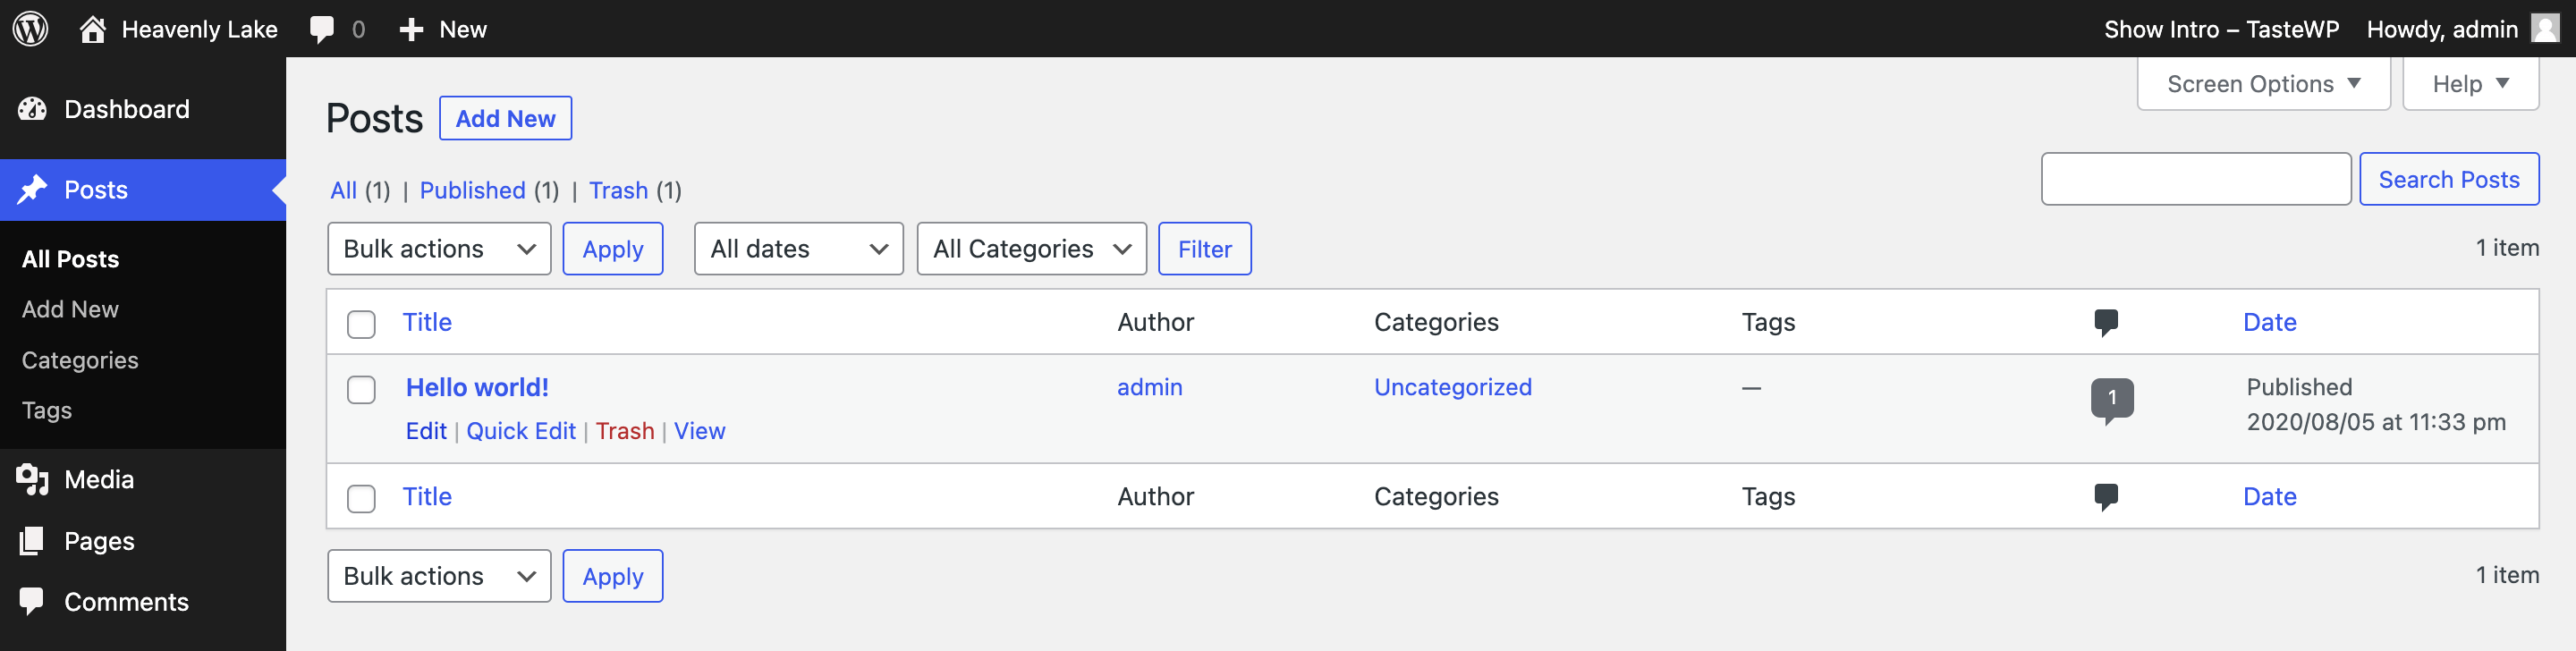
On a fresh WordPress install, there’s only one, called “Hello world!” WordPress adds it as a sample. You can delete it, nobody needs to see that anyway.
To write a new post, click “Add Post” at the top (older versions just say “Add New”). That opens the block editor.
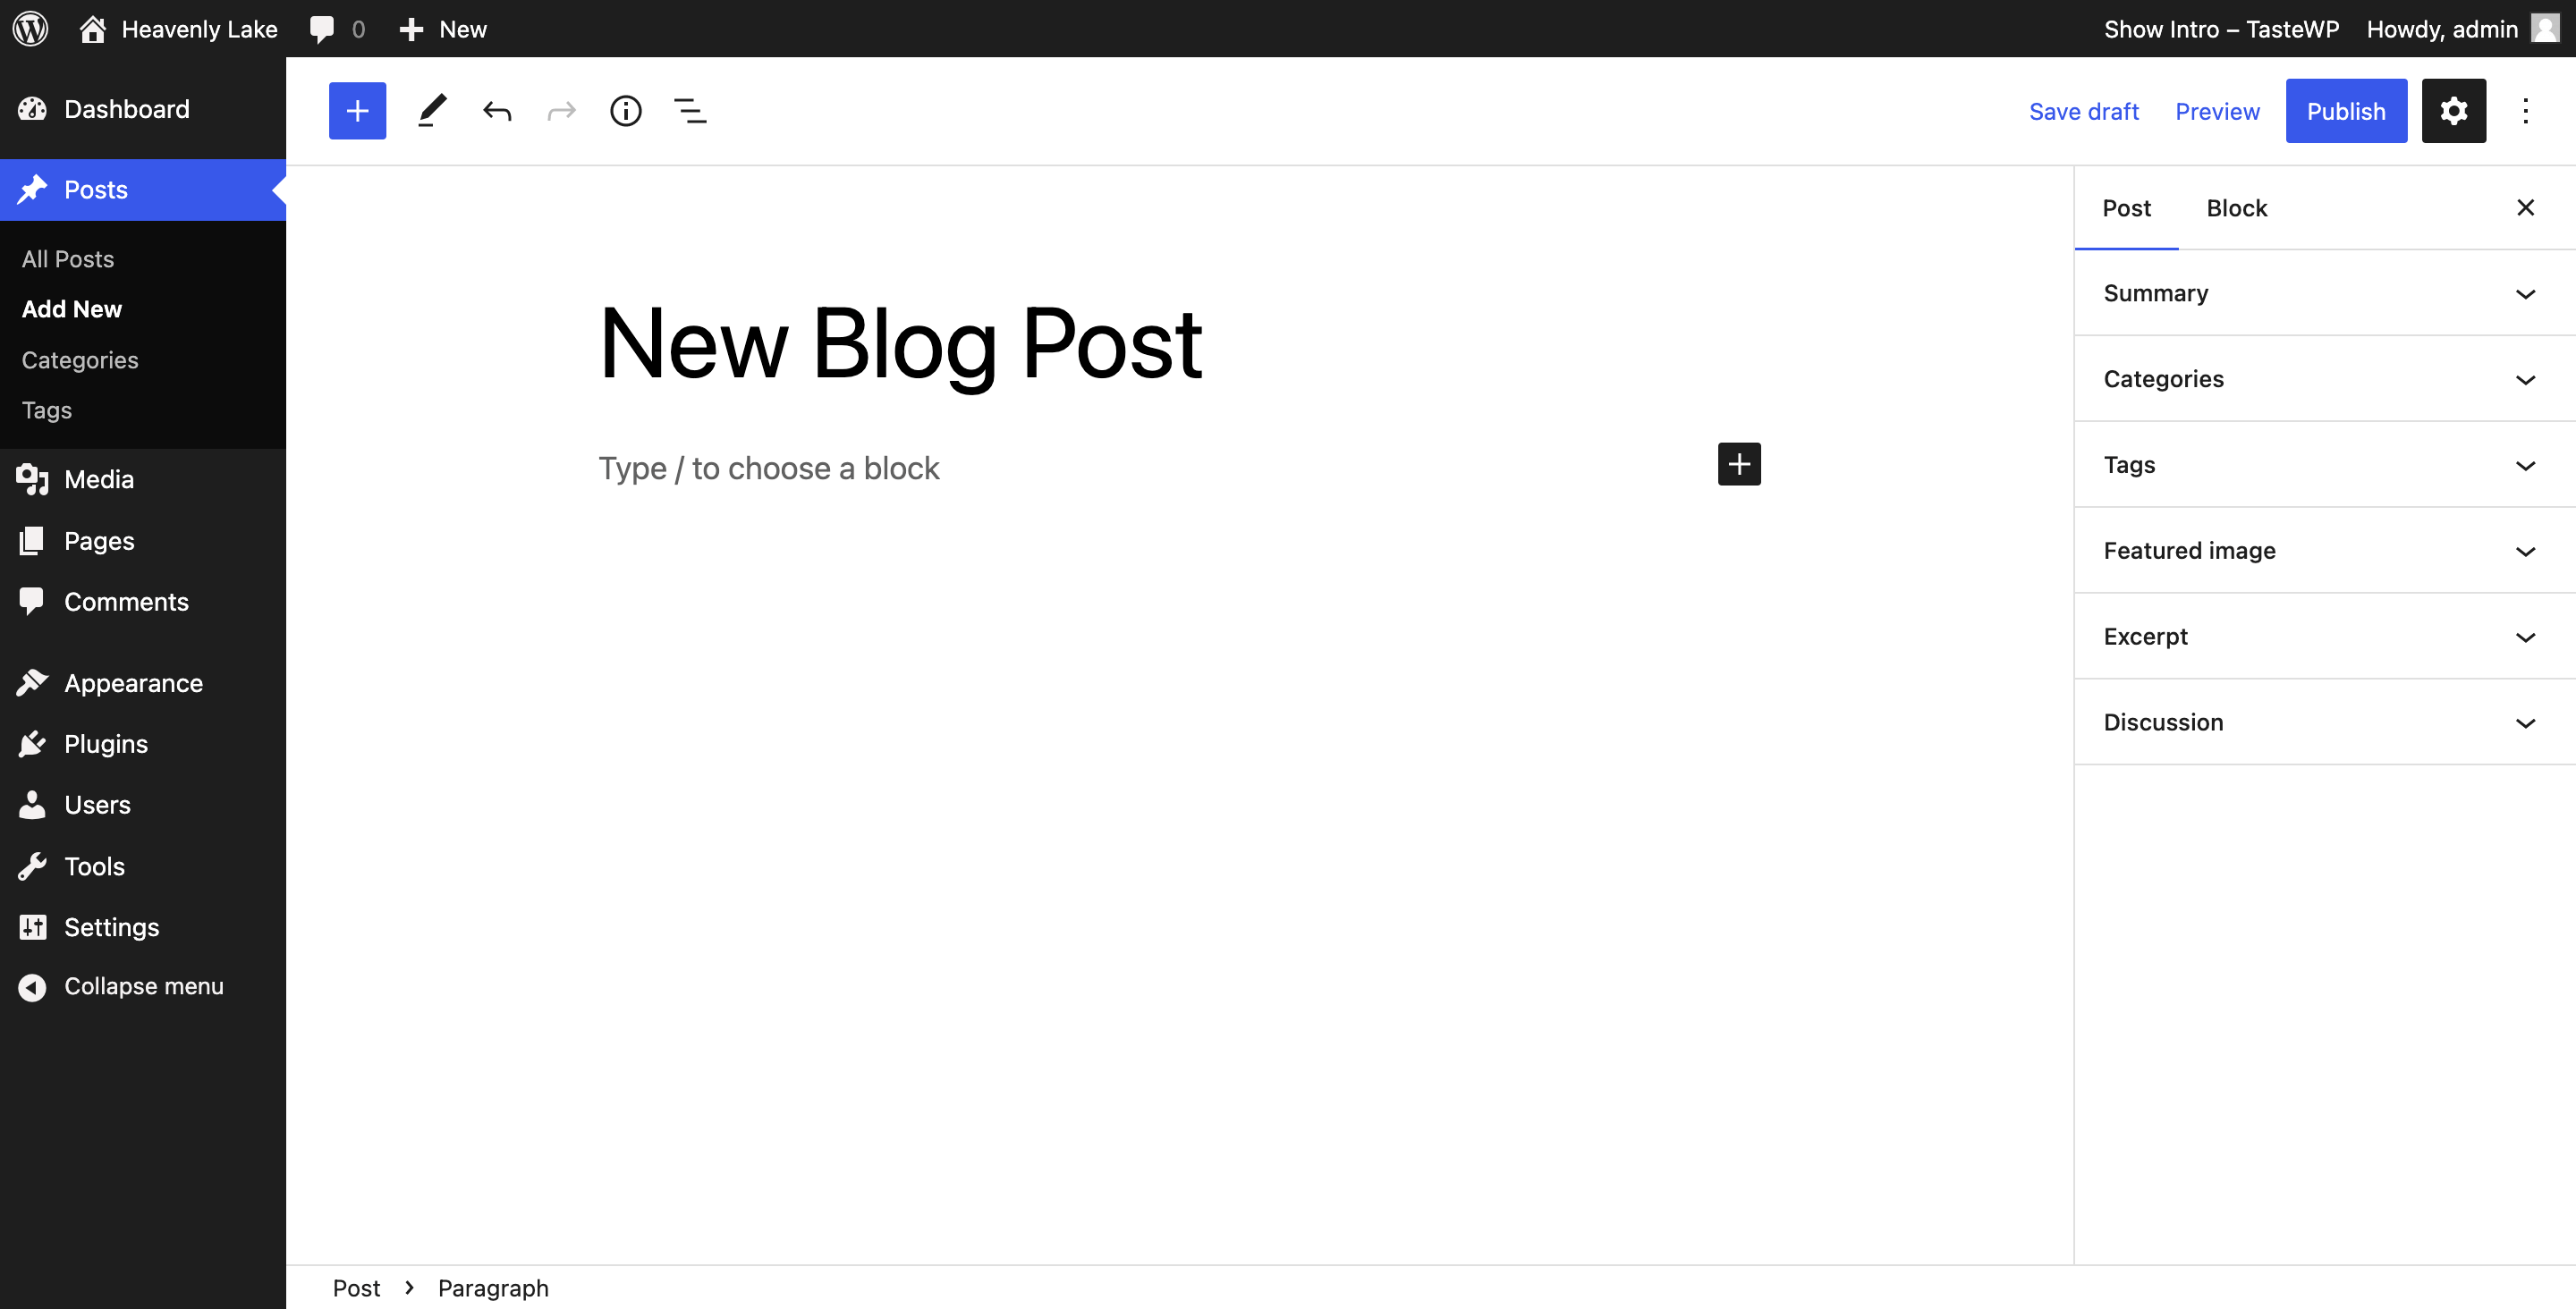
The editor is basically a blank page with a title box at the top. You can type your title there, then click below it and start writing.
Every paragraph, image, or heading you add is its own “block.” Hit the little + button when you want to add something other than text, like an image or a list.
It feels weird the first few times. But you get used to it, kind of.
Over on the right side, you’ll see a panel with post settings. The two you should care about early on are Categories and Tags.
Categories group your posts into big topics (like the sections of a magazine). Tags are smaller labels. If you’re not sure, just use categories and skip tags for now.
When you’re happy with it, click “Publish” at the top right. WordPress asks you to confirm once more, click it again, and your post is live.
That’s your first post.
2. Media: your image and file library
Every image, video, or PDF you upload to your site ends up here. Click “Media” in the sidebar to open the Media Library.
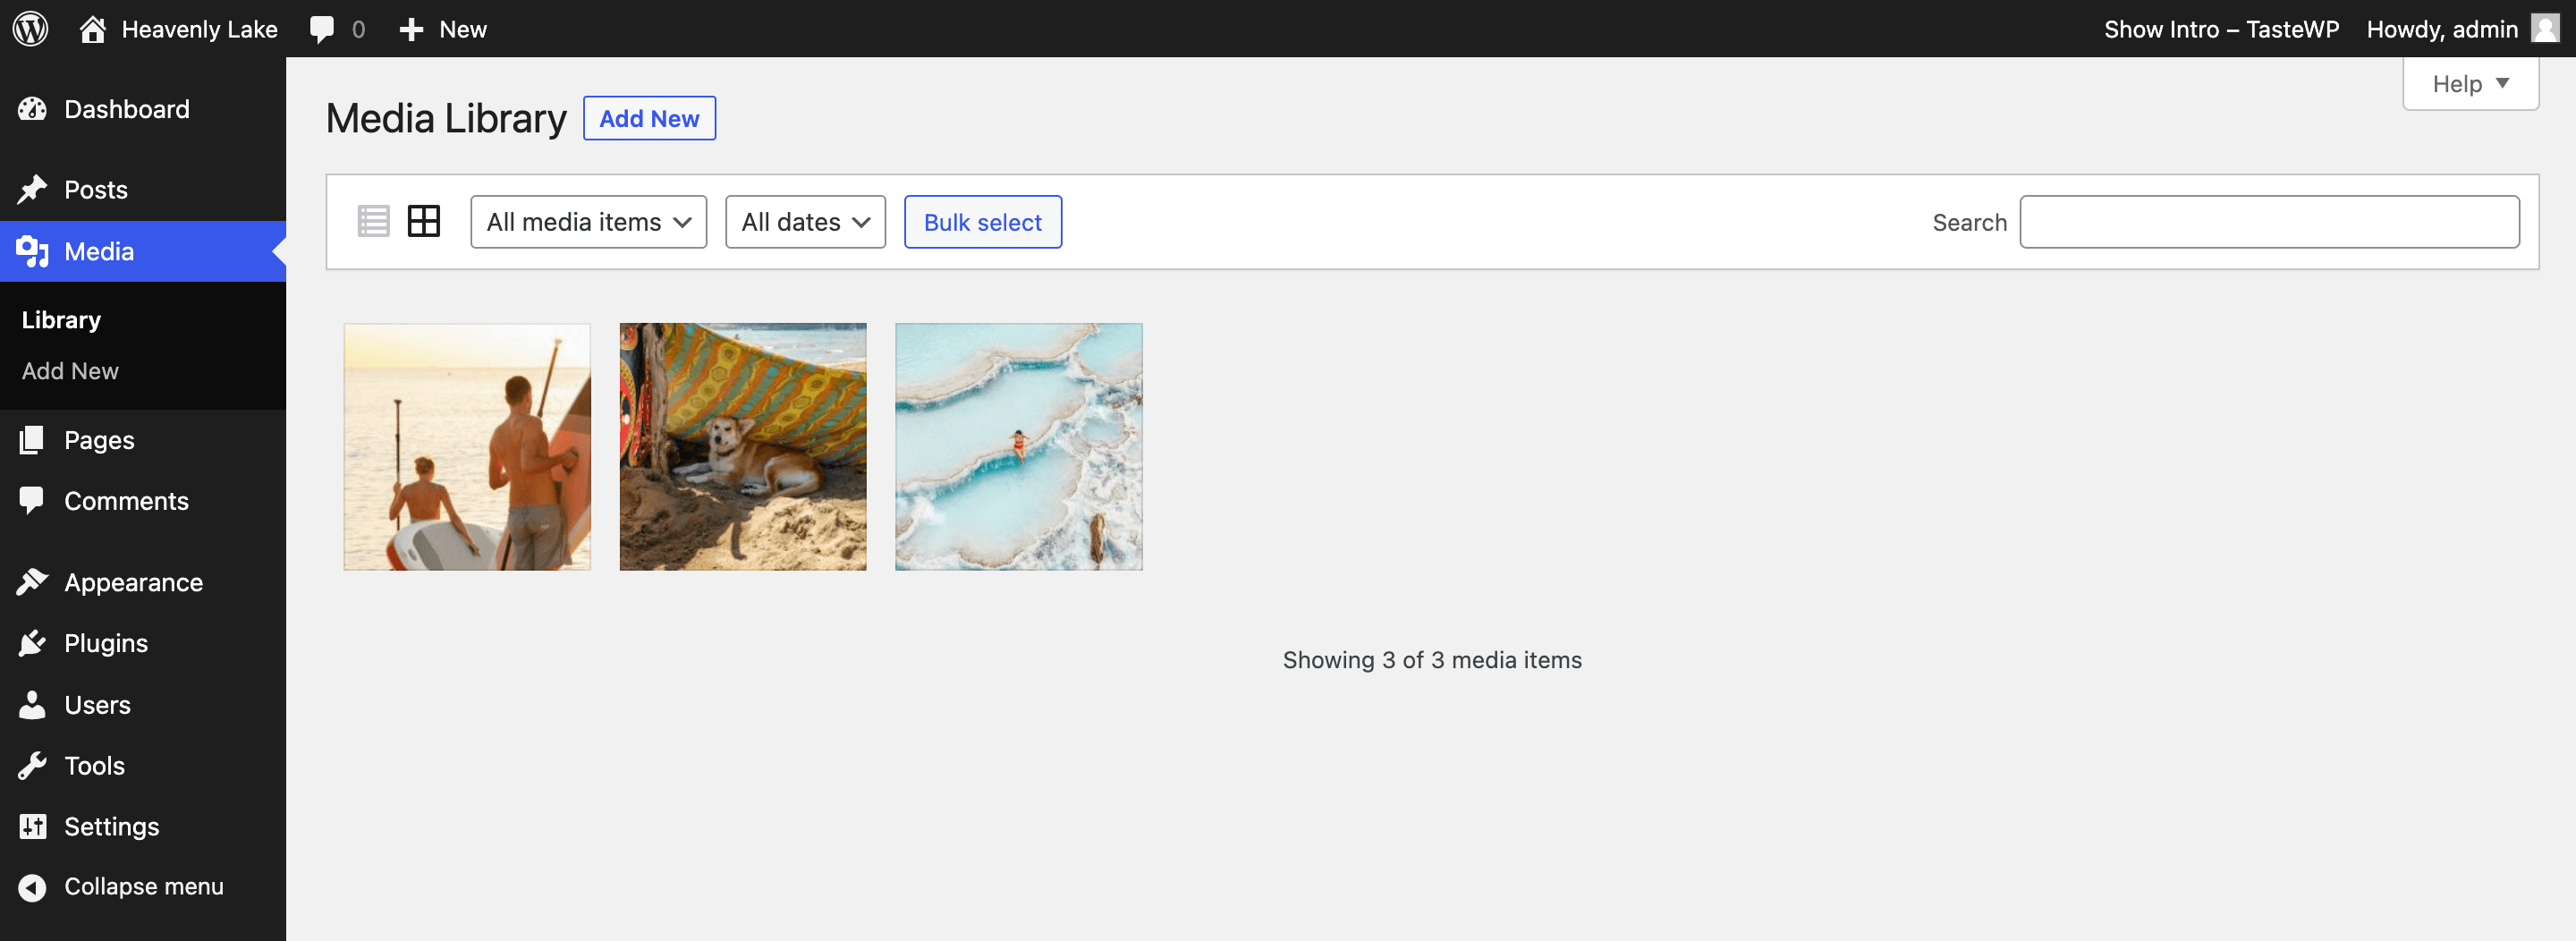
You can upload directly here with “Add New”, but most of the time you’ll upload images from inside the post editor, and they land here anyway.
Click any file to see its details. This is where you can add alt text to images, which is a short description of what’s in the picture.
Screen readers use it, and Google uses it to understand your images.
I know most people skip it and I did the same for a long time too, and then had to go back and fix a few hundred images. Don’t be me.
Side note: resize your images before you upload them. A 5MB photo straight from your phone makes your page slow, and WordPress won’t stop you from doing it.
3. Pages: for content that rarely changes
Click “Pages” in the sidebar and you’ll see something that looks almost exactly like Posts.
So what’s the difference? This confused me for a while, because you create them the same way, with the same editor.
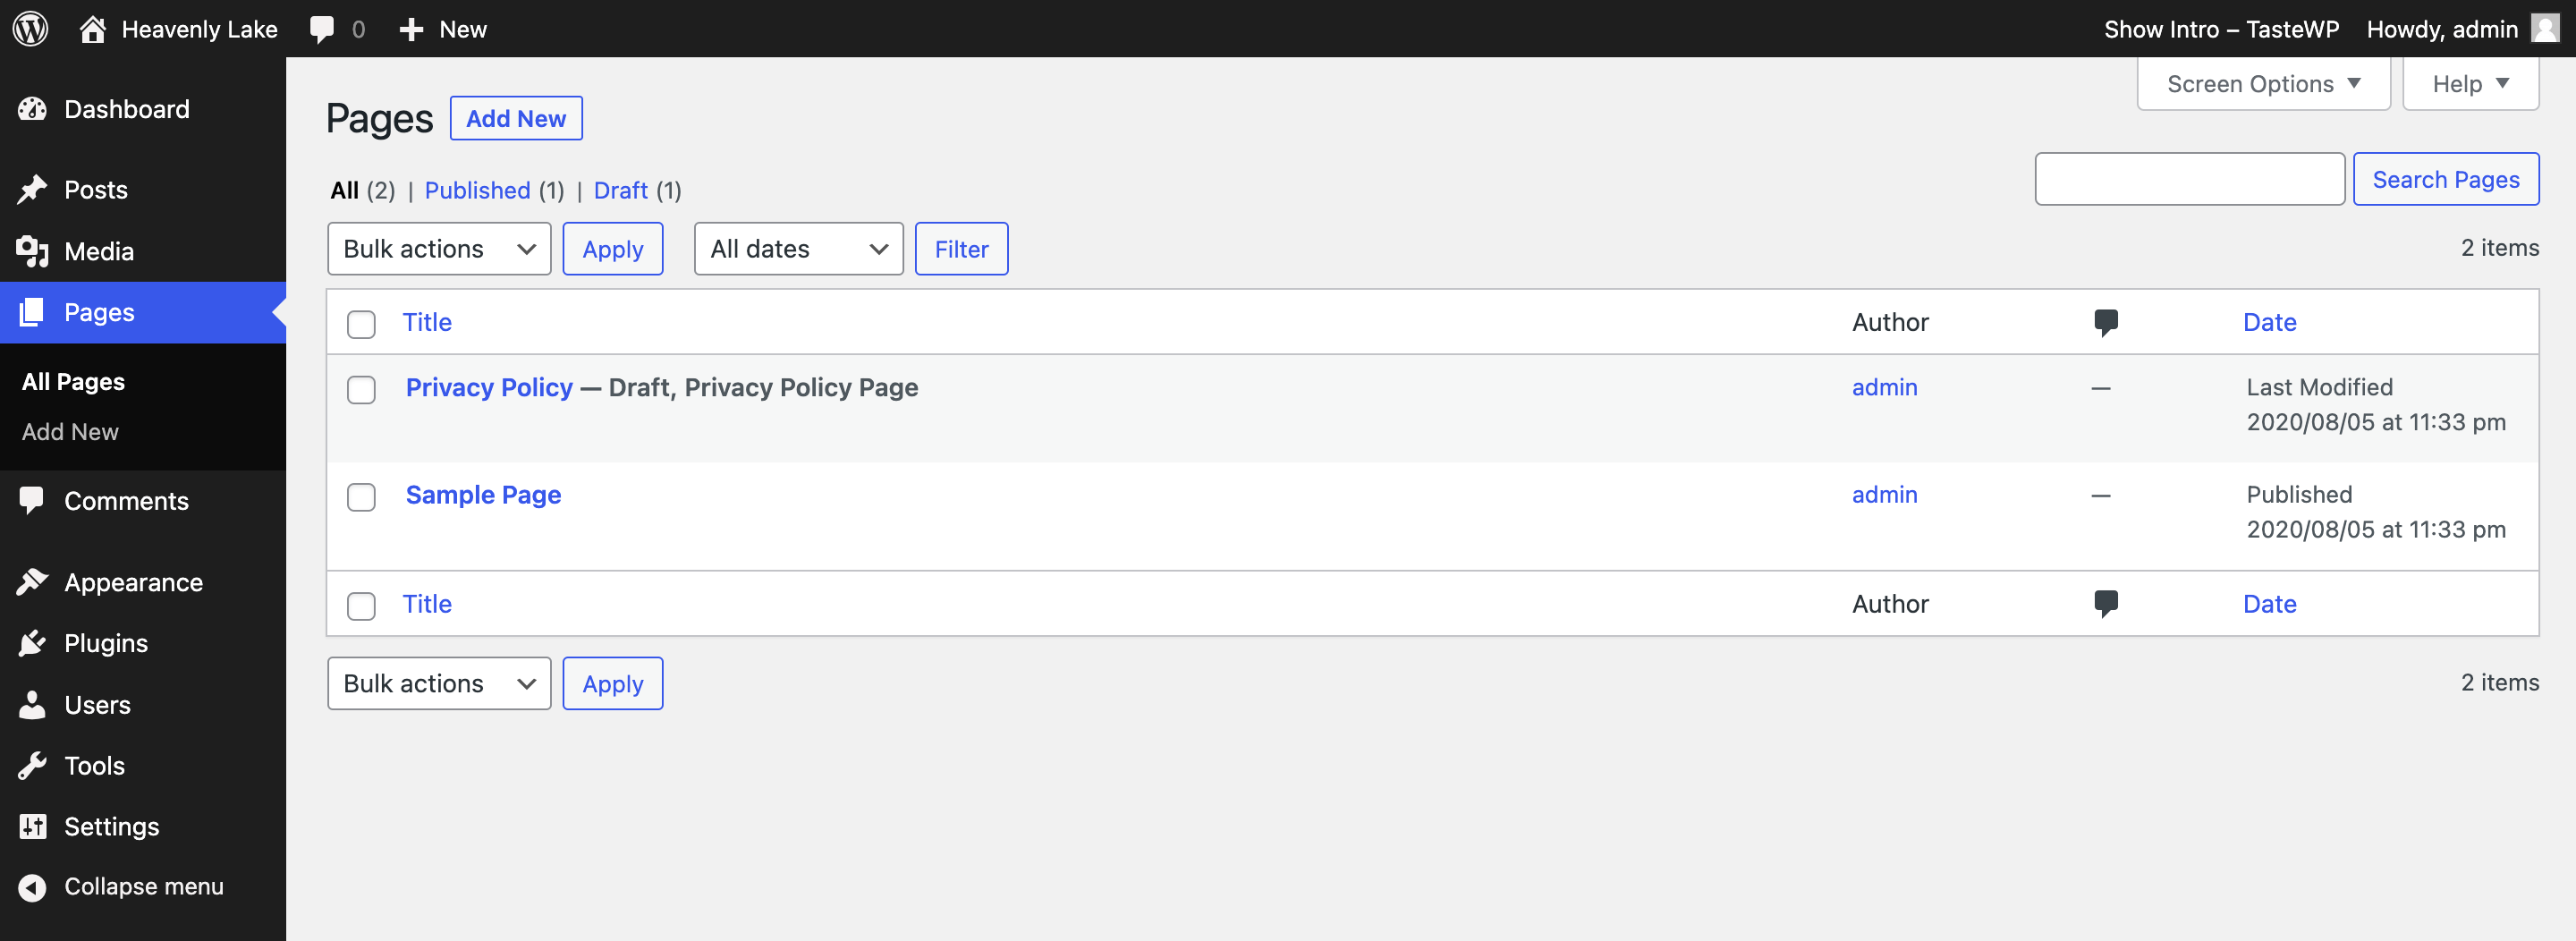
Posts are for content you publish regularly, like blog articles. They show up in your blog feed, they have dates, and they get categories.
Pages are for content that stays pretty much the same most of the time. Your About page, Contact page, Privacy Policy.
They don’t have categories, they don’t show up in your blog feed, and nobody cares what date you published your Contact page.
If you want a page that looks more designed than what the block editor gives you (like a fancy homepage or a landing page), page builders like Elementor let you drag things around and build it visually without writing code.
For a simple About page though, the normal editor is fine. You don’t need a page builder on your first day.
4. Comments: approve, reply, or trash them
Any comment someone leaves on your posts shows up under “Comments.”
You’ll see which ones are pending (waiting for you to approve), which are approved, and which got marked as spam.
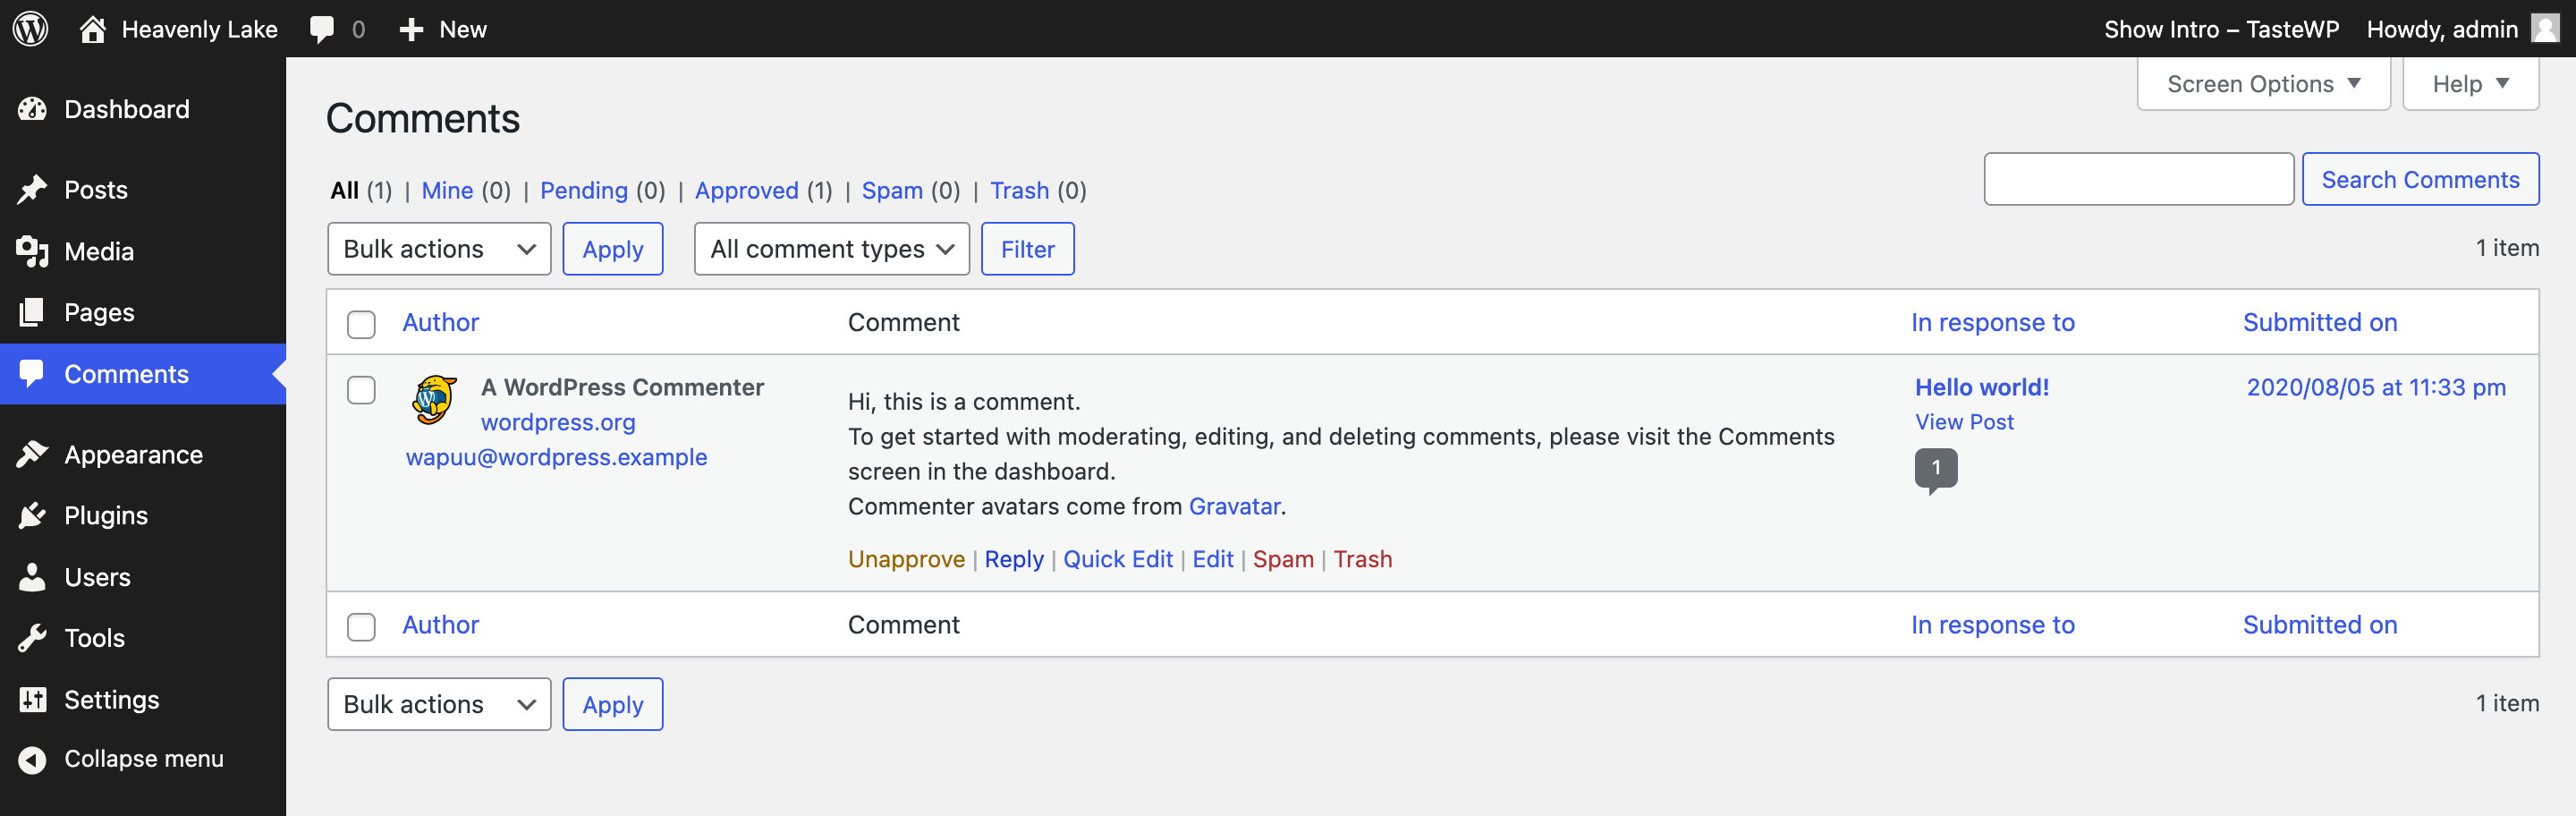
You can hover over any comment and you get options to approve, reply, edit, mark as spam, or trash it.
But I want to give you a fair warning, most of your early comments will be spam. Like, a lot of them.
Random links, weird compliments that have nothing to do with your post, “great article, check out my site” kind of stuff.
Don’t get excited when the comment count goes up on a brand new site. It’s probably bots.
And nowadays with AI agents posting comments everywhere, I’d guess that count is way higher than it used to be, maybe even triple.
A spam filter plugin, like Akismet, helps a lot here.
And if you don’t want comments at all, you can turn them off in Settings, which I’ll get to.
5. Appearance: change how your site looks
Click “Appearance” and this is the place where you control how your site actually looks.
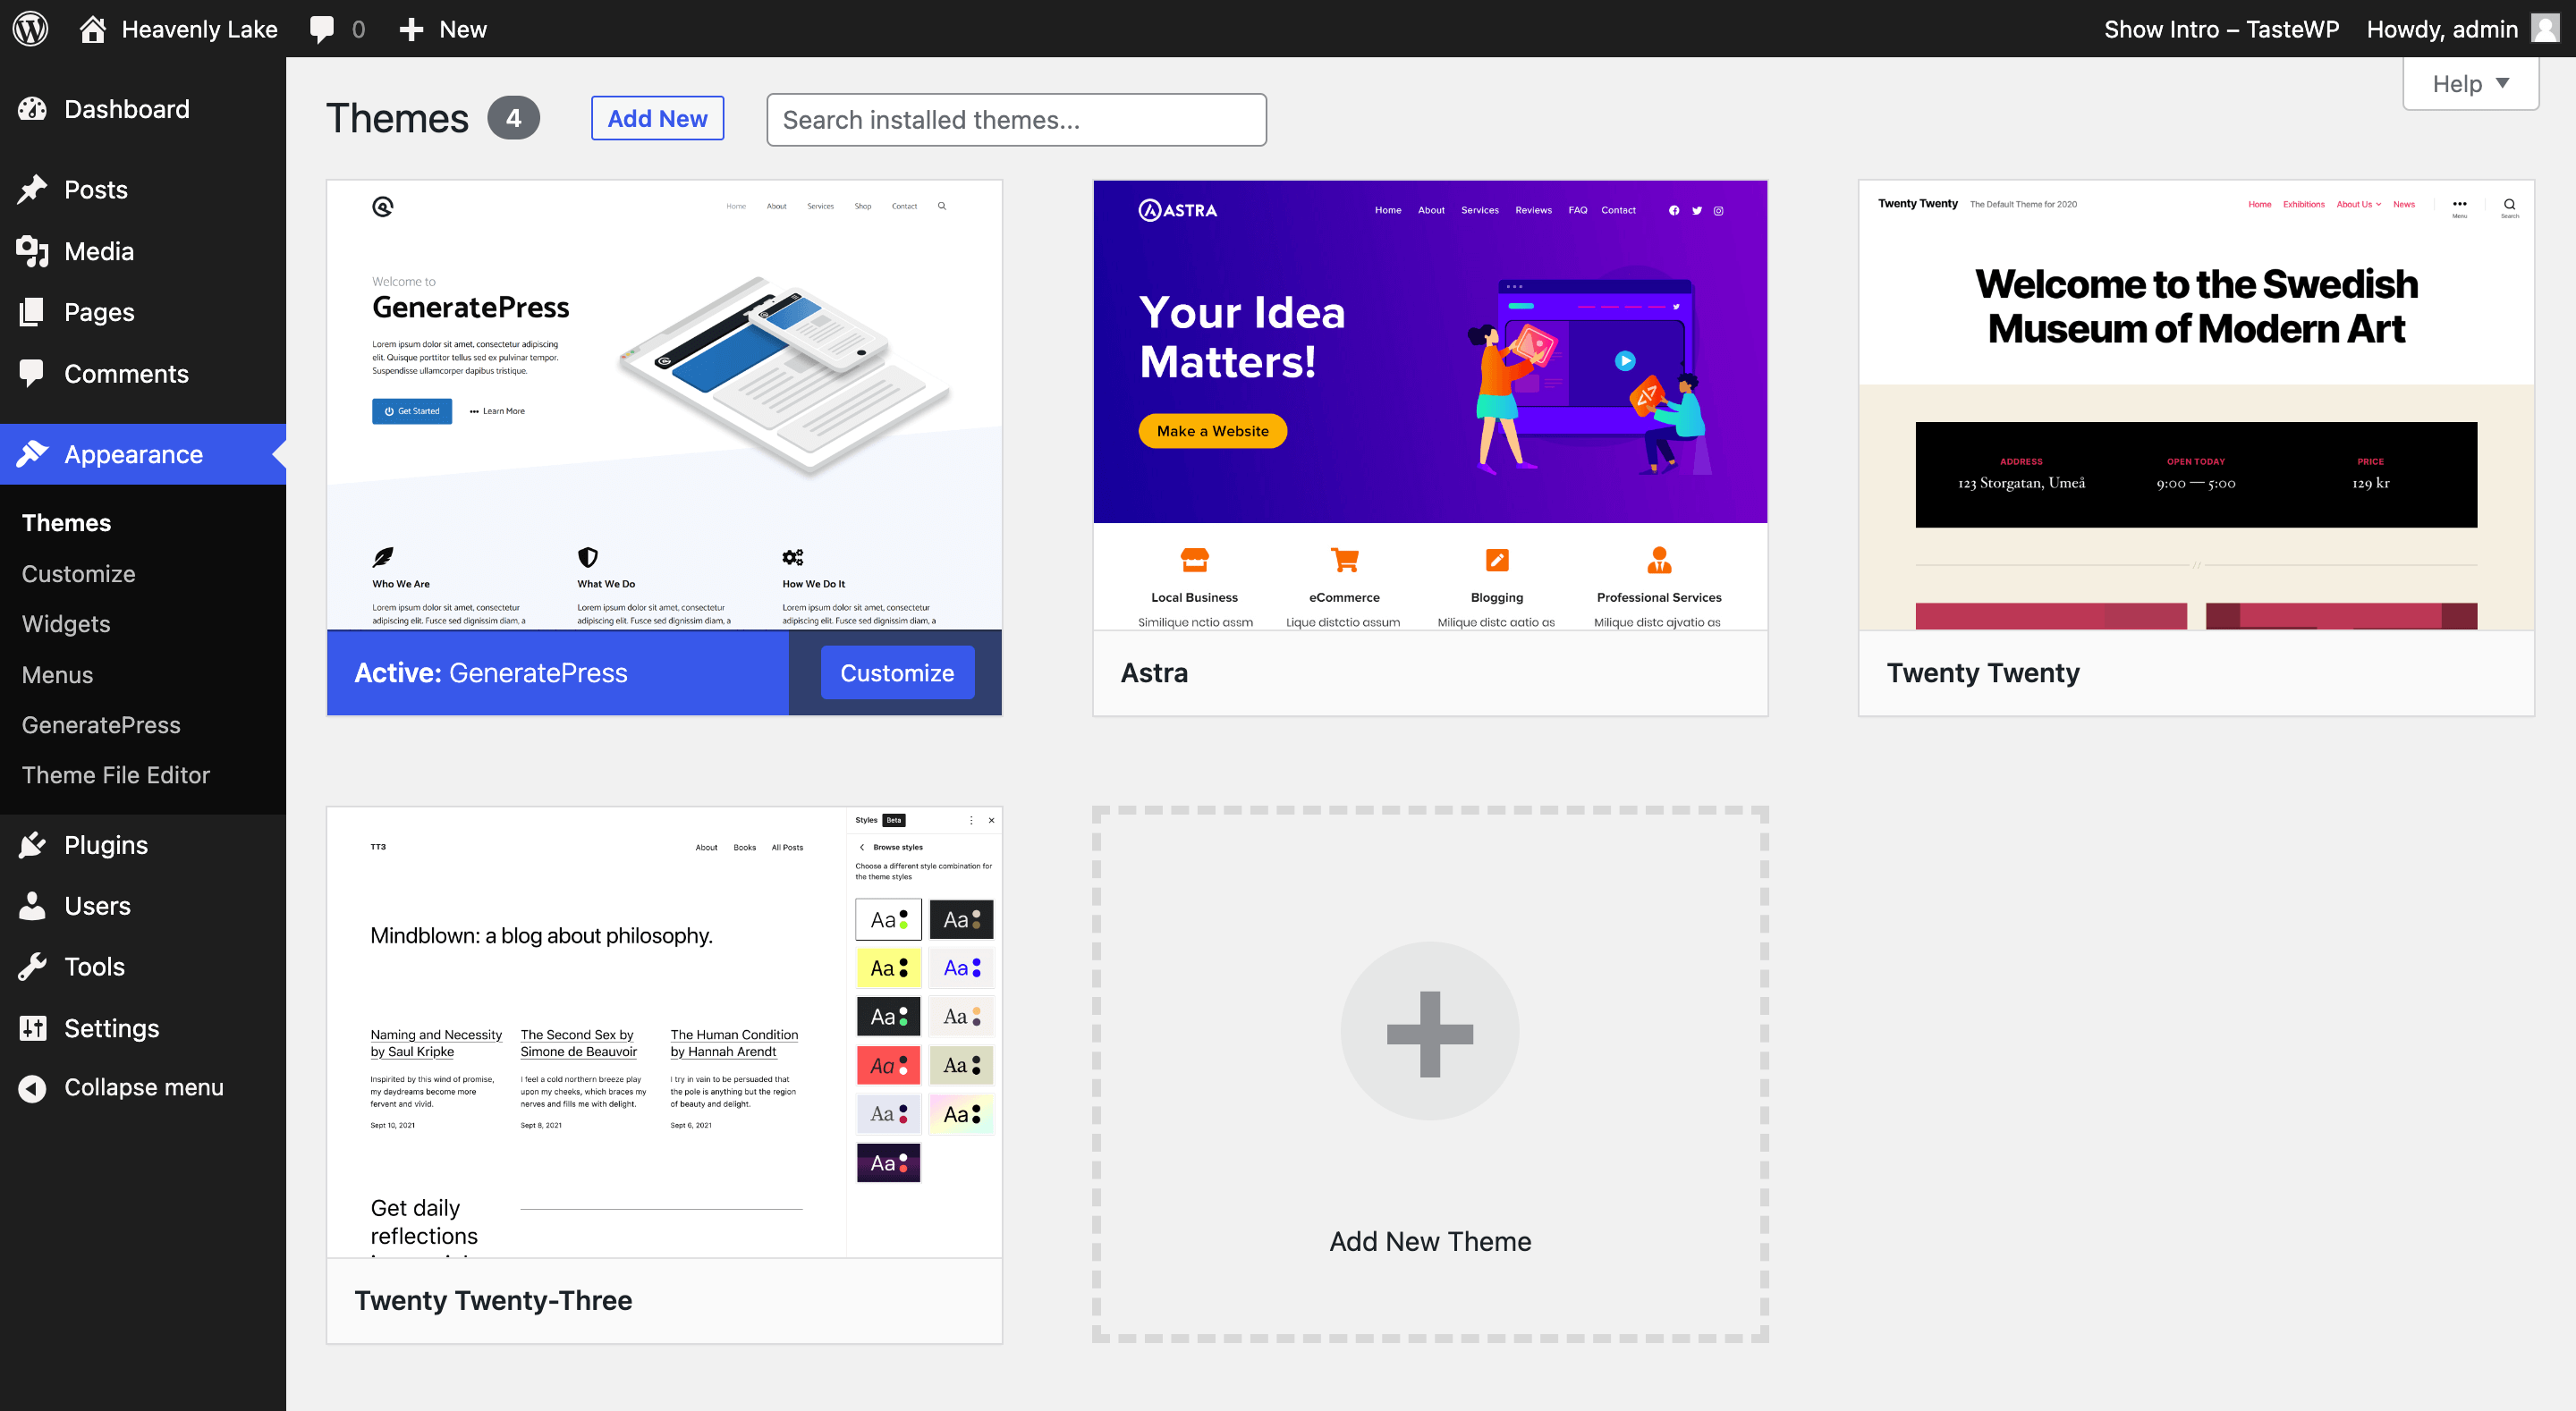
Now, this menu looks different depending on what kind of theme you use, and that part is kind of annoying because most tutorials don’t mention it.
If you’re using an older-style (classic) theme, you’ll see these:
- Themes: pick and activate a WordPress theme, (I recommend Astra). This changes the whole look of your site.
- Customize: change colors, fonts, logo, header, and other settings for your active theme, with a live preview.
- Widgets: add little extras to your sidebar or footer, like recent posts or a search box.
- Menus: build your navigation menu, the links at the top of your site.
If you’re using a newer block theme (like the default Twenty Twenty-Five theme), Customize, Widgets, and Menus mostly disappear.
Instead you get “Editor”, which lets you edit your whole site, header, footer, templates, all of it, with blocks.
It works the same way as the post editor, just for your whole site.
There’s also the Theme File Editor, which lets you edit your theme’s code directly.
On block themes it moved to the Tools menu.
Either way, leave it alone unless you know what you’re doing.
If you do something with one wrong character, your site can go white, and then you’re fixing it over FTP at midnight.
You’ll have to try stuff and mess up a bit before your site looks the way you want.
If you’d rather skip that part completely, there are freelance WordPress designers who can set it up for you.
It’s totally worth it if your time is worth more than the fee, not worth it if you’re on a $0 budget and kind of enjoy tinkering.
6. Plugins: add features without code
Plugins are simply the add-ons that give your site new features.
Like, contact forms, SEO tools, backups, spam filters, pretty much anything you can think of, there’s a plugin for it.
And that’s the coolest thing about WordPress anyway.
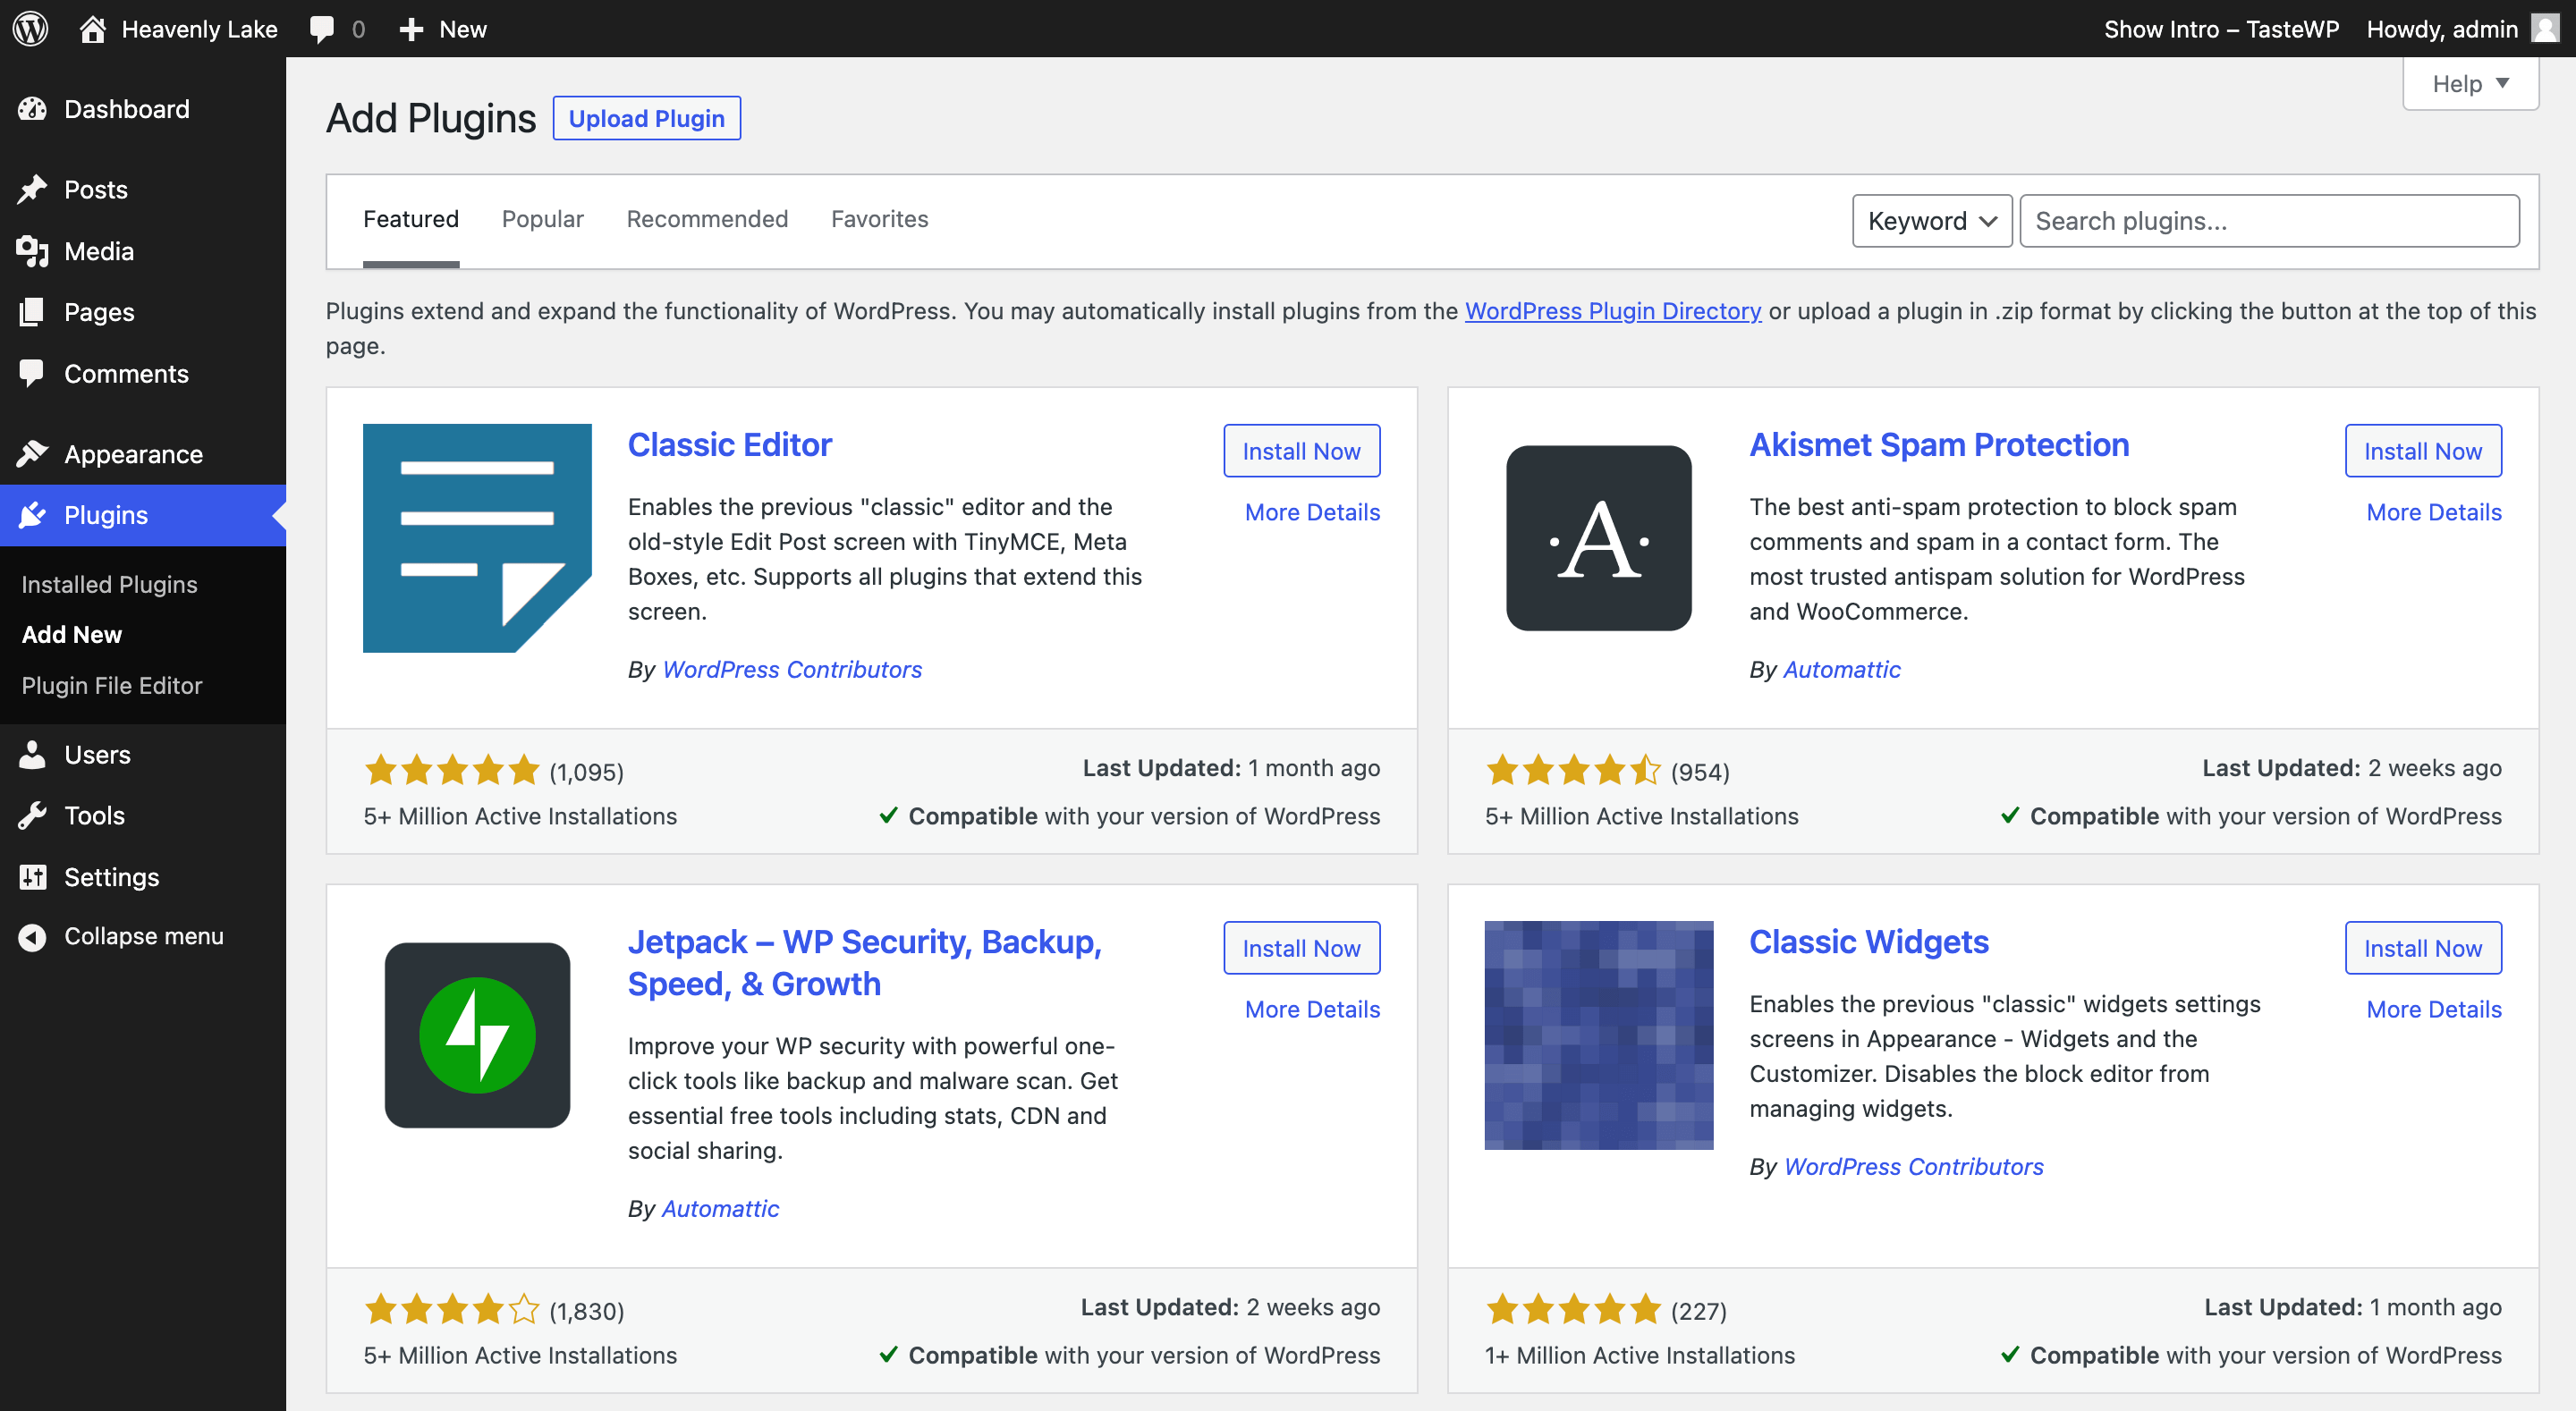
To add one, click “Plugins” in the sidebar, then “Add New Plugin.”
That opens the WordPress Plugin Directory, where you can search thousands of free plugins.
Each one shows ratings, reviews, how many sites use it, and when it was last updated.
I made one of these myself. It’s called Sharelet.
And what it does is, it adds share buttons to your posts and pages for Facebook, X, Pinterest, Bluesky, Threads, Reddit, WhatsApp, and a few more.
It loads no JavaScript and doesn’t track your readers, which most share button plugins can’t say.
It’s free, and you can just search “Sharelet” in Add New Plugin to find it. (Okay, I’m biased.)
Then click “Activate.”
The thing is, installing it alone doesn’t turn it on, and I’ve definitely sat there wondering why a plugin wasn’t working before I realized I never hit Activate.
And I know, plugins are easy to add, so it’s tempting to install ten of them on day one.
Every plugin adds a bit of weight to your site, and badly made ones can slow it down or open security holes.
Before you install anything, check two things: when it was last updated (if it’s been over a year, skip it) and how many active installs it has.
A plugin with 1 million installs and an update last week is a much safer bet than one with 200 installs from 2021.
Being small isn’t bad by itself (mine is tiny), but being small and abandoned is.
7. Users: who can log in (and what they can do)
The “Users” menu is where you manage everyone who can log in to your site.
If it’s just you, there’s only one user, and that’s you, the Administrator.
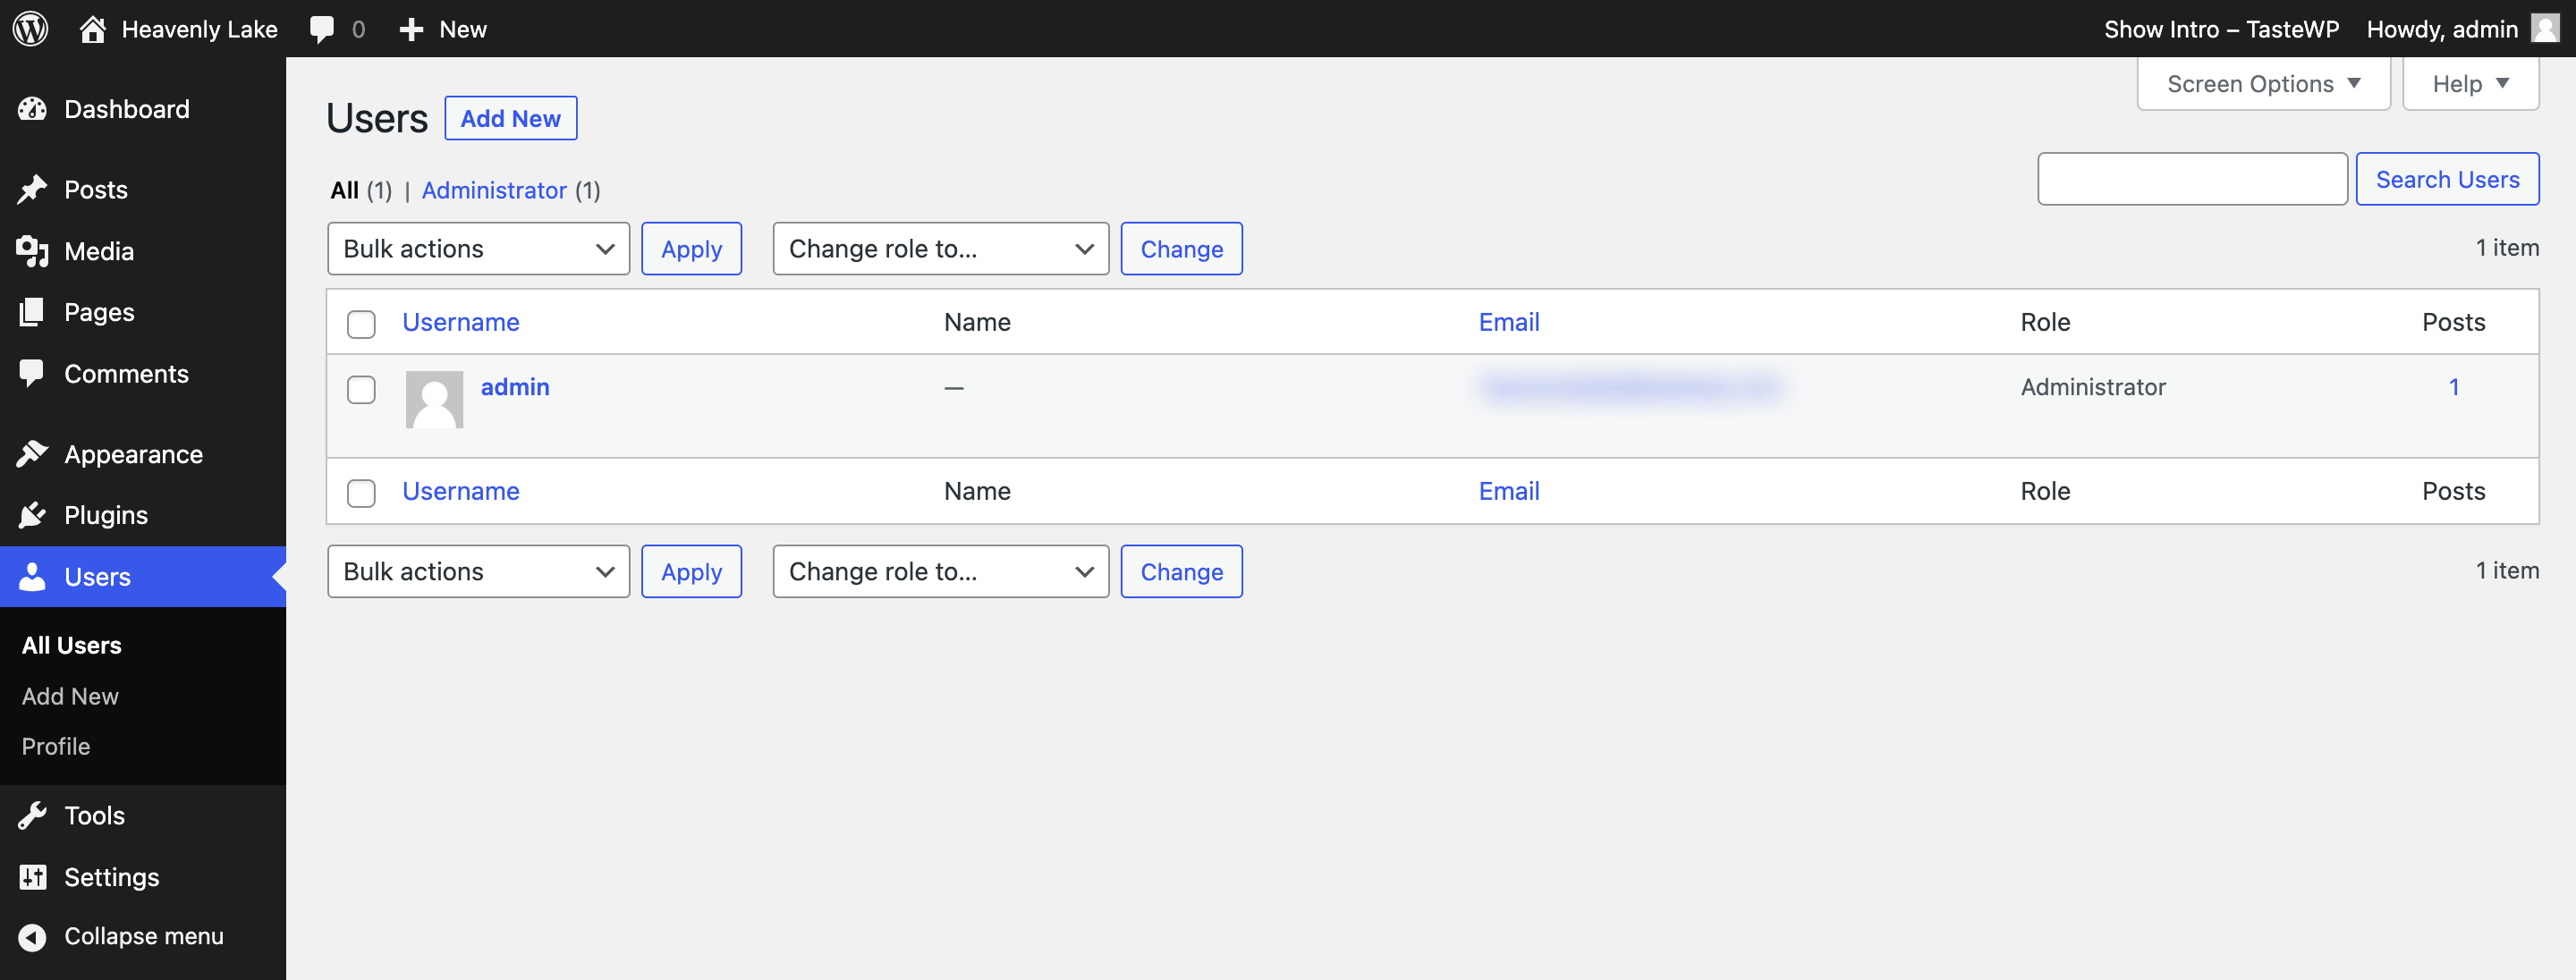
If you bring on a writer or a VA later, this is where you add them. Give them the smallest role that lets them do the job.
An Author can write and publish their own posts.
An Editor can edit everyone’s posts.
An Administrator can do anything, including deleting your whole site, so be careful who gets that one.
You can also click your own name to edit your profile, change your display name, and update your password.
Now, a quick security thing.
“If your admin username is “admin,” replace it. That’s the first thing bots try when they attack WordPress sites.
Not gonna lie, it’s a little annoying to fix, because WordPress doesn’t let you edit a username.
You have to create a new admin user with a different name, log in as that one, then delete the old “admin” user and give its posts to the new account.
Also, use a strong password, at least 12 characters with letters, numbers, and symbols. And turn on two-factor login if you can.
The free Jetpack plugin can do that.
8. Tools: import, export, and Site Health
You won’t visit “Tools” much. But when you need it, you really need it.
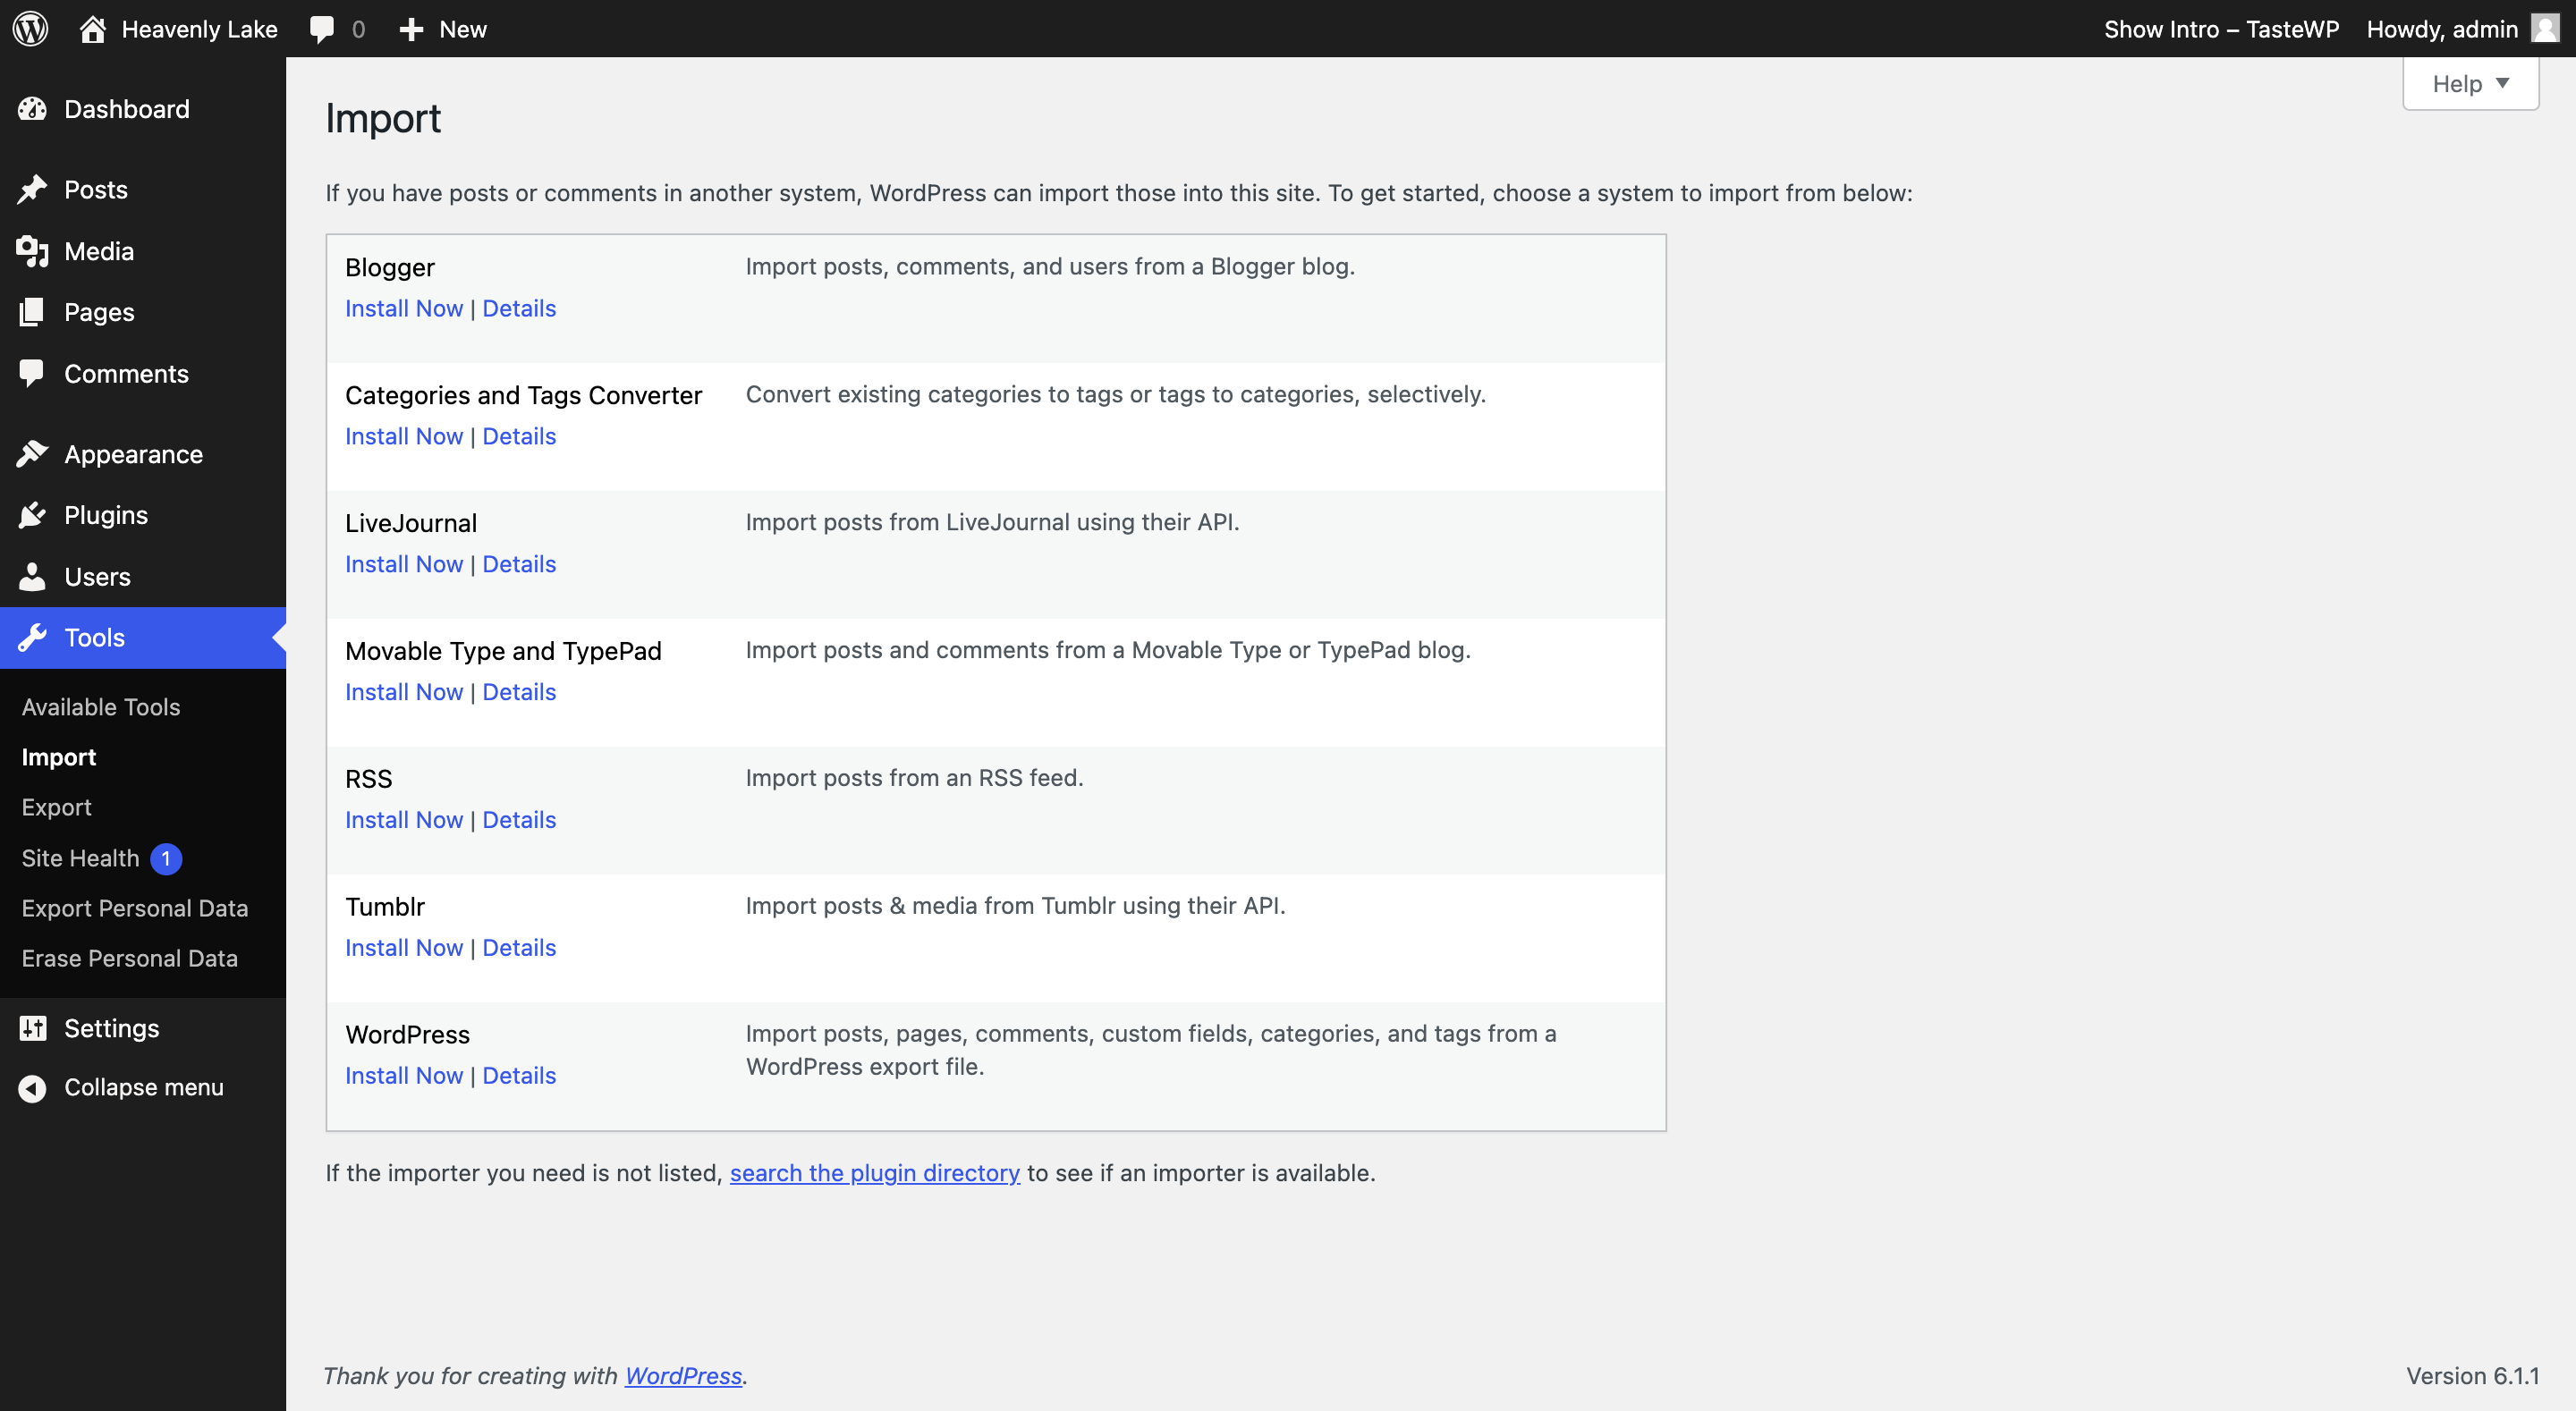
Import lets you bring content in from another platform, like Blogger, Tumblr, or another WordPress site.
Export lets you download your posts, pages, and comments as a file, which is handy if you’re moving your site or just want a copy.
Site Health is one of those things you should check every now and then.
It checks your site and tells you if something’s off, like an outdated PHP version, inactive plugins you should delete, or security warnings.
Some of it reads pretty technical, but the “critical issues” part is usually clear enough to act on.
9. Settings: the stuff to set before you publish
“Settings” controls how your whole site behaves. Most of it you set once and never look at again.
But a couple of these can mess things up if you skip them.
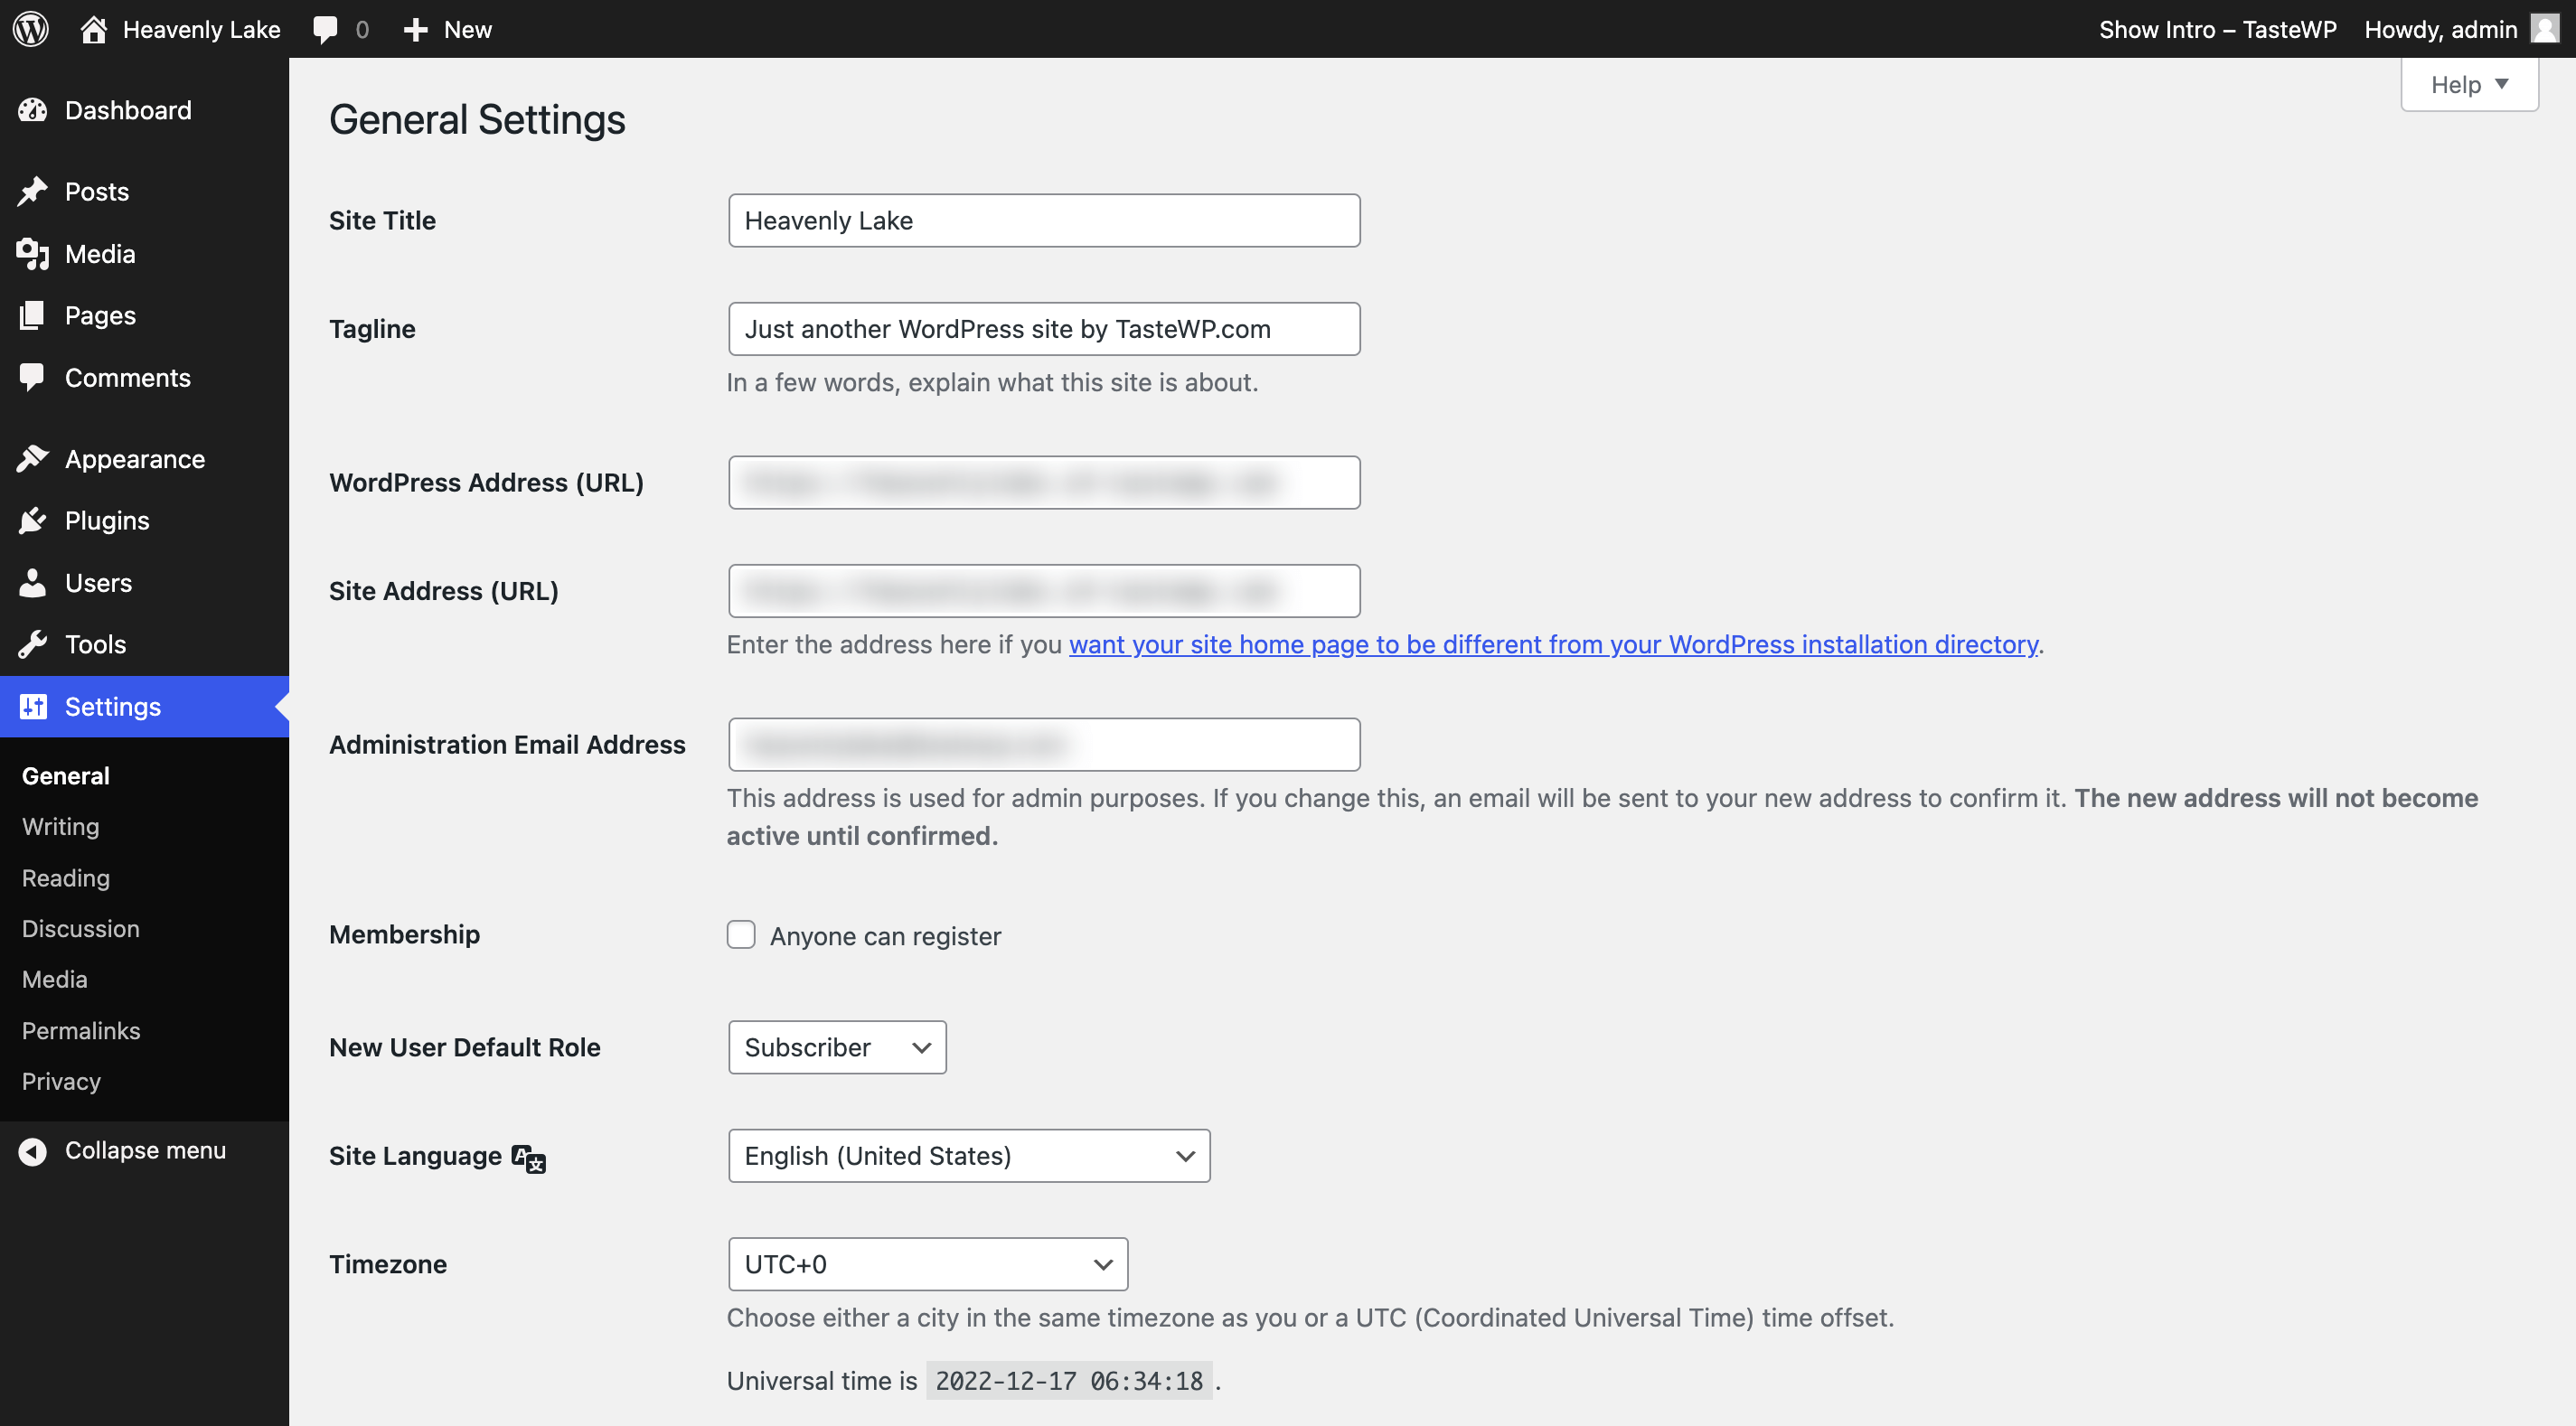
General: your site title, tagline, site URL, timezone, and date format. This is also where the “Membership” option is, which lets anyone register an account on your site.
You can leave it off unless you have a reason. Otherwise you’ll get tons of fake user signups.
Writing: your default post category and a few editor options.
I’d say change the default category from “Uncategorized” to something real, otherwise every post you forget to put in a category lands there.
Reading: choose whether your homepage shows your latest posts or a static page, and how many posts show per page.
There’s also a checkbox called “Discourage search engines from indexing this site.” Make sure it’s unticked when your site is ready to go live.
If it’s ticked, Google and Bing are basically told to stay away, and your posts won’t show up in search (but you still need an SEO plugin like Rankmath to make this work better).
Some hosts tick it by default while you install the WordPress. It’s the kind of thing you don’t notice for weeks.
Discussion: Simply put, the comment settings.
Whether comments are allowed, whether they need approval first, and avatar settings. If you don’t want comments at all, turn them off here.
Media: default image sizes WordPress creates when you upload. You can leave these alone.
Permalinks: this decides how your post URLs look. Pick “Post name” so your URLs look like yourdomain.com/how-to-use-wordpress instead of yourdomain.com/?p=123.
Do this before you publish anything, because changing it later breaks old links.
Privacy: pick or create your Privacy Policy page.
That’s the whole sidebar.
Where to go from here
If you’re nervous about breaking your real site while you learn, TasteWP gives you a free throwaway WordPress site to play around in.
Install weird plugins, switch themes ten times, delete things. Nothing you do there touches your actual site.
If you’re just starting out with zero traffic, I’d hold off and learn the basics yourself first, you’ll understand your site way better for it.
Anyway, open your dashboard, untick that search engine box if it’s ticked, and go delete “Hello world!”
Frequently Asked Questions
- How do I sign in to WordPress and get to my dashboard?
- Type yourdomain.com/wp-admin in your browser and log in with your WordPress username and password. On Hostinger, you can also go to Websites in hPanel and click Admin Panel next to your site. If your site is on WordPress.com, sign in at wordpress.com instead.
- What are the main parts of the WordPress dashboard?
- Everything sits in the left sidebar: Posts, Media, Pages, Comments, Appearance, Plugins, Users, Tools, and Settings. You’ll use Posts, Pages, Appearance, and Plugins the most when you’re starting out.
- What’s the difference between posts and pages in WordPress?
- Posts are for content you publish regularly, like blog articles. Pages are for things that rarely change, like your About, Contact, or Privacy Policy page.
- Can I try WordPress for free before building my site?
- Yes. TasteWP lets you spin up a free test WordPress site, so you can play with themes and plugins without touching your real site.
- What should I do first after logging in to WordPress?
- Go to Settings and set your site title and permalinks, then pick a theme in Appearance and add only the plugins you need. After that, create your About and Contact pages and publish your first post.