
Are you a WordPress newbie looking for a guide on how to use the WordPress Admin Dashboard?
Don’t worry, you can learn the basics with this beginner’s guide.
We’ll walk you through the different parts of the WordPress Admin Dashboard, explain what each part does, and show you how you can use it to create amazing content for your audience.
Let’s get started!
Ready, set, blog!
Learn how to start a blog, even if you have no experience.
Disclosure: Our website is reader-supported. If you purchase any product through our partner links, we may earn a commission at no extra cost to you.
How to Get to WordPress Admin Dashboard
You probably know what WordPress is, but I’d like to explain a few more words about it here.
With self-hosted WordPress, you get open-source software that you can install on your own web host. This means that you’ll have full control over the look and feel of your website or blog. It’s totally up to you to decide how it looks and functions.
The WordPress admin dashboard is your gateway to the world of WordPress, giving you access to all the features and functions that make WordPress the best CMS platform for creating websites.
From here, you can create posts and pages, manage themes, plugins, and other settings, as well as monitor the performance of your website.
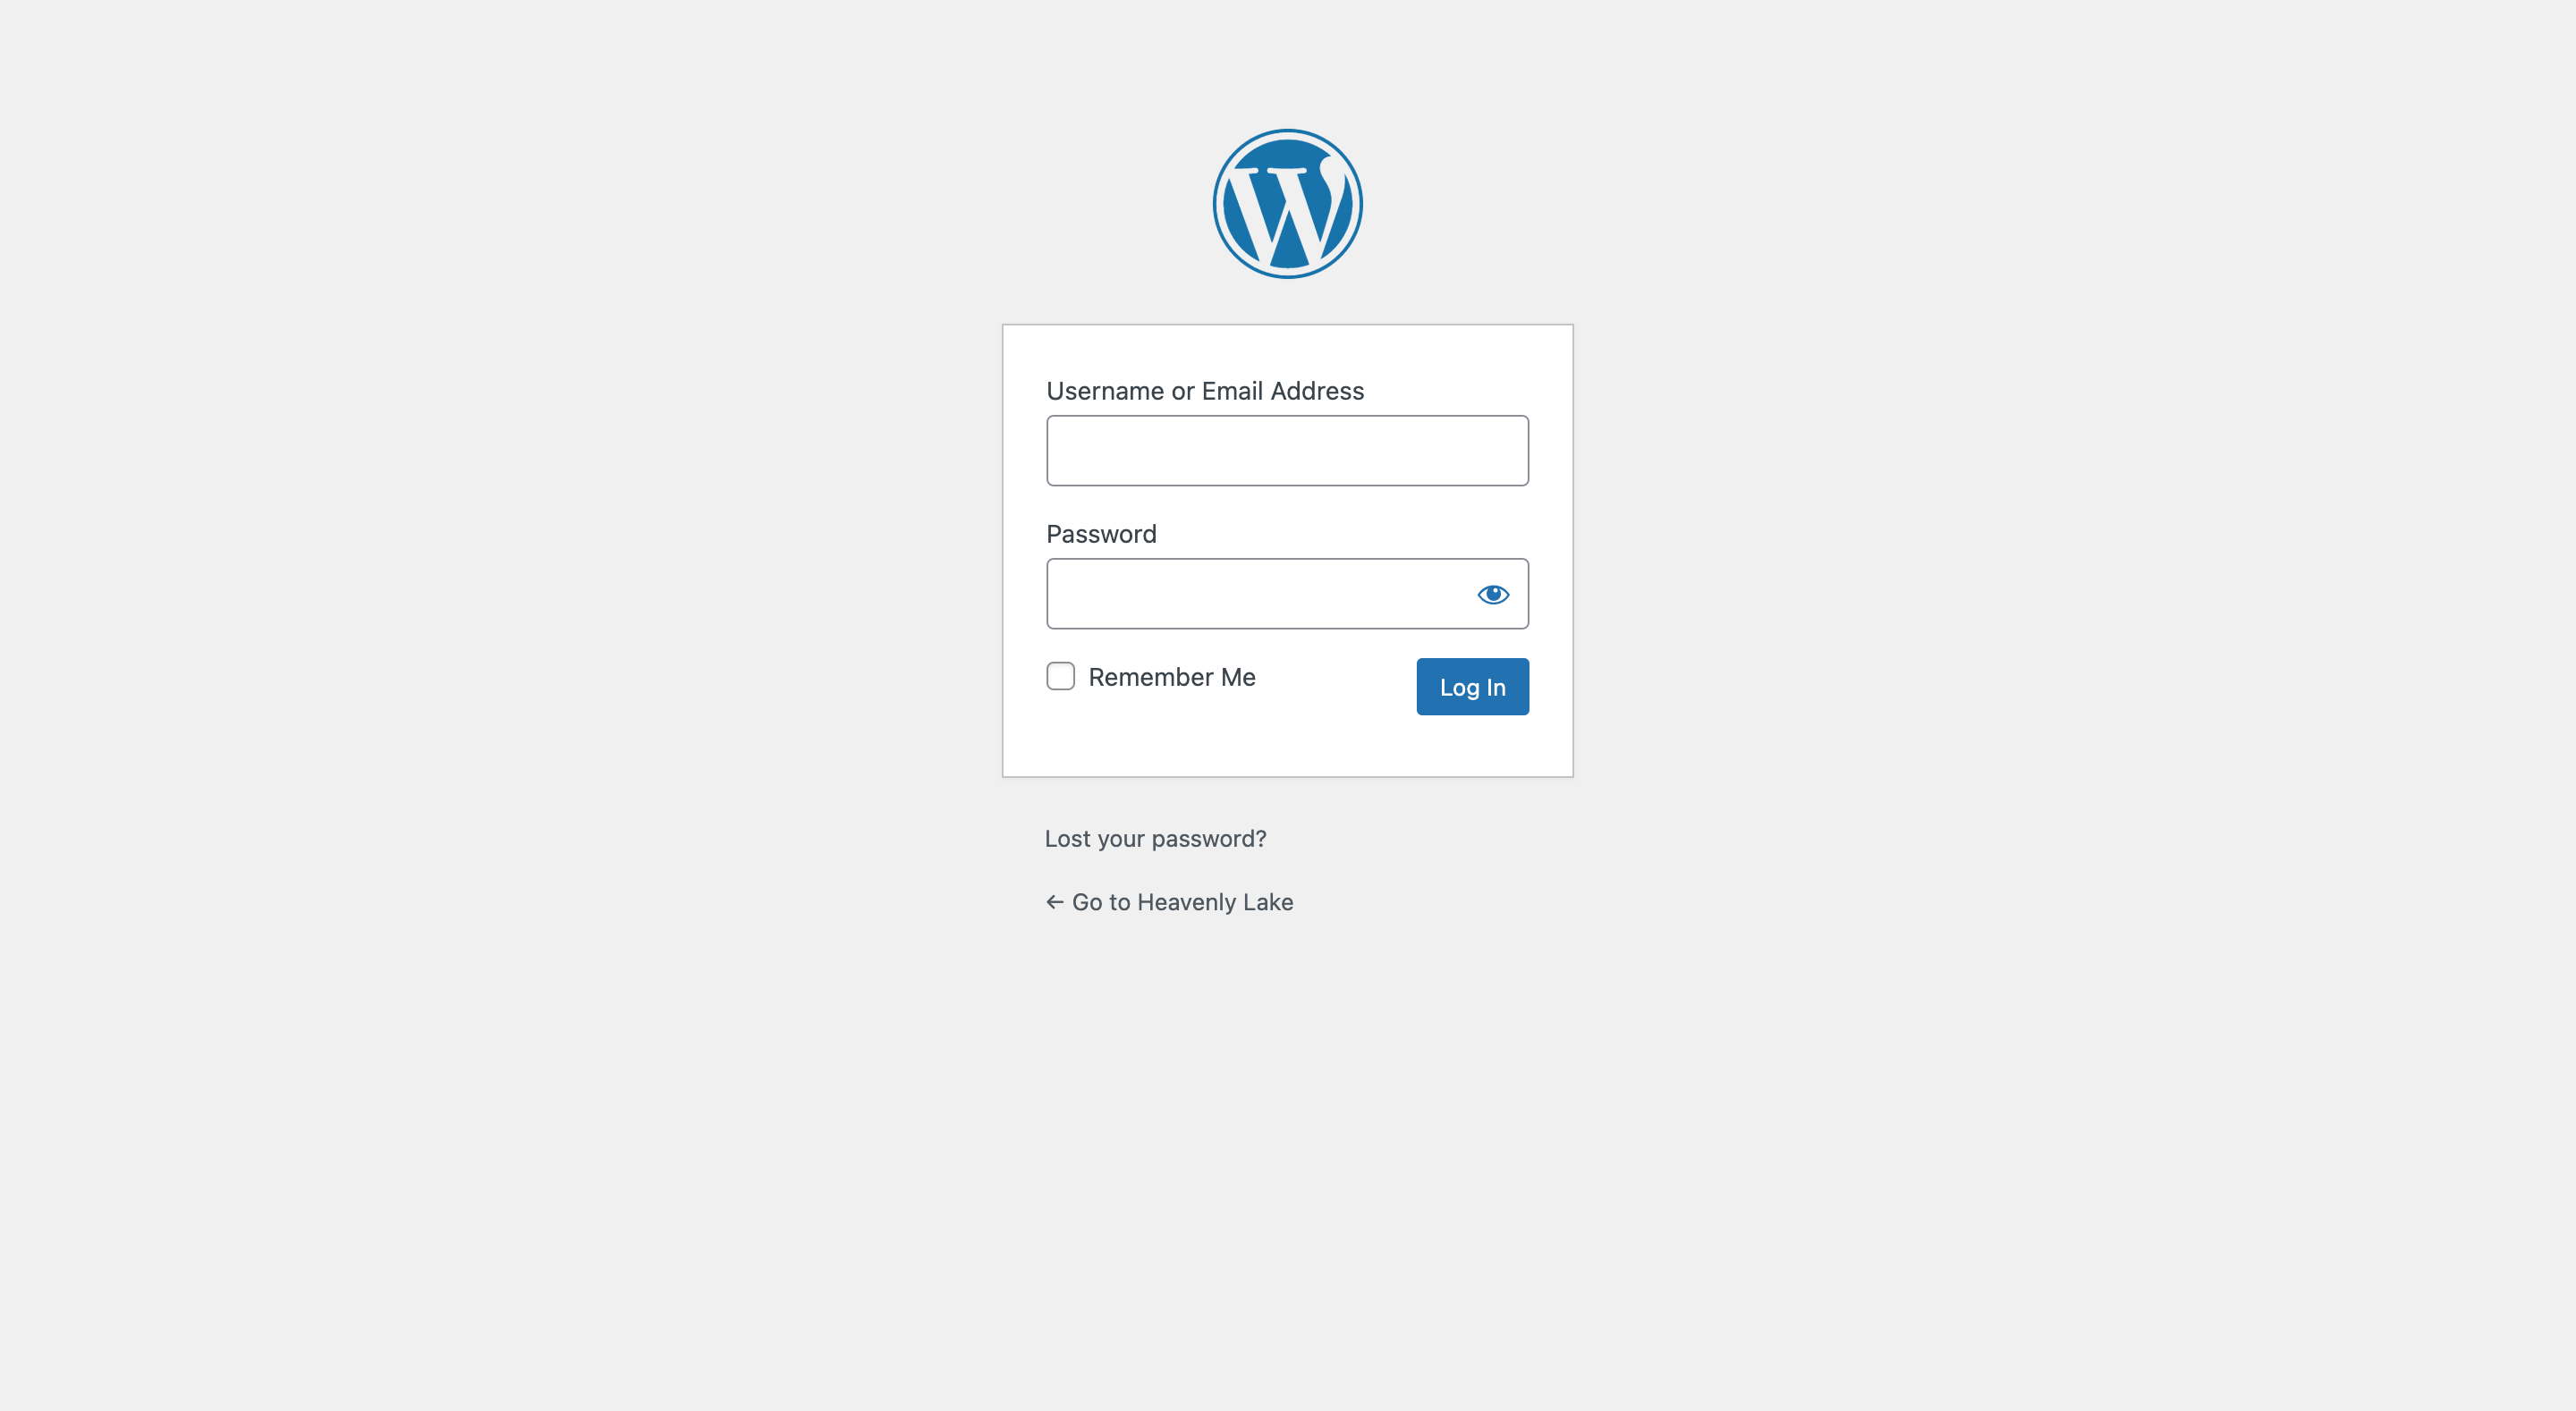
To access your WordPress admin dashboard, you simply need to open your web browser and enter the following URL in the address bar: www.yourdomain.com/wp-admin.
This will take you to the WordPress login page.
Here, you will need to enter your username and password to log in to the WordPress dashboard.
If you’re using Bluehost as your hosting provider, simply login to your Bluehost account and head over to the “My Sites” tab, and then click on the “Log in to WordPress” button.
Once you have logged in, you will be presented with the WordPress dashboard, which is divided into several sections.
Don’t panic – these are all simple tasks that will help you get started.
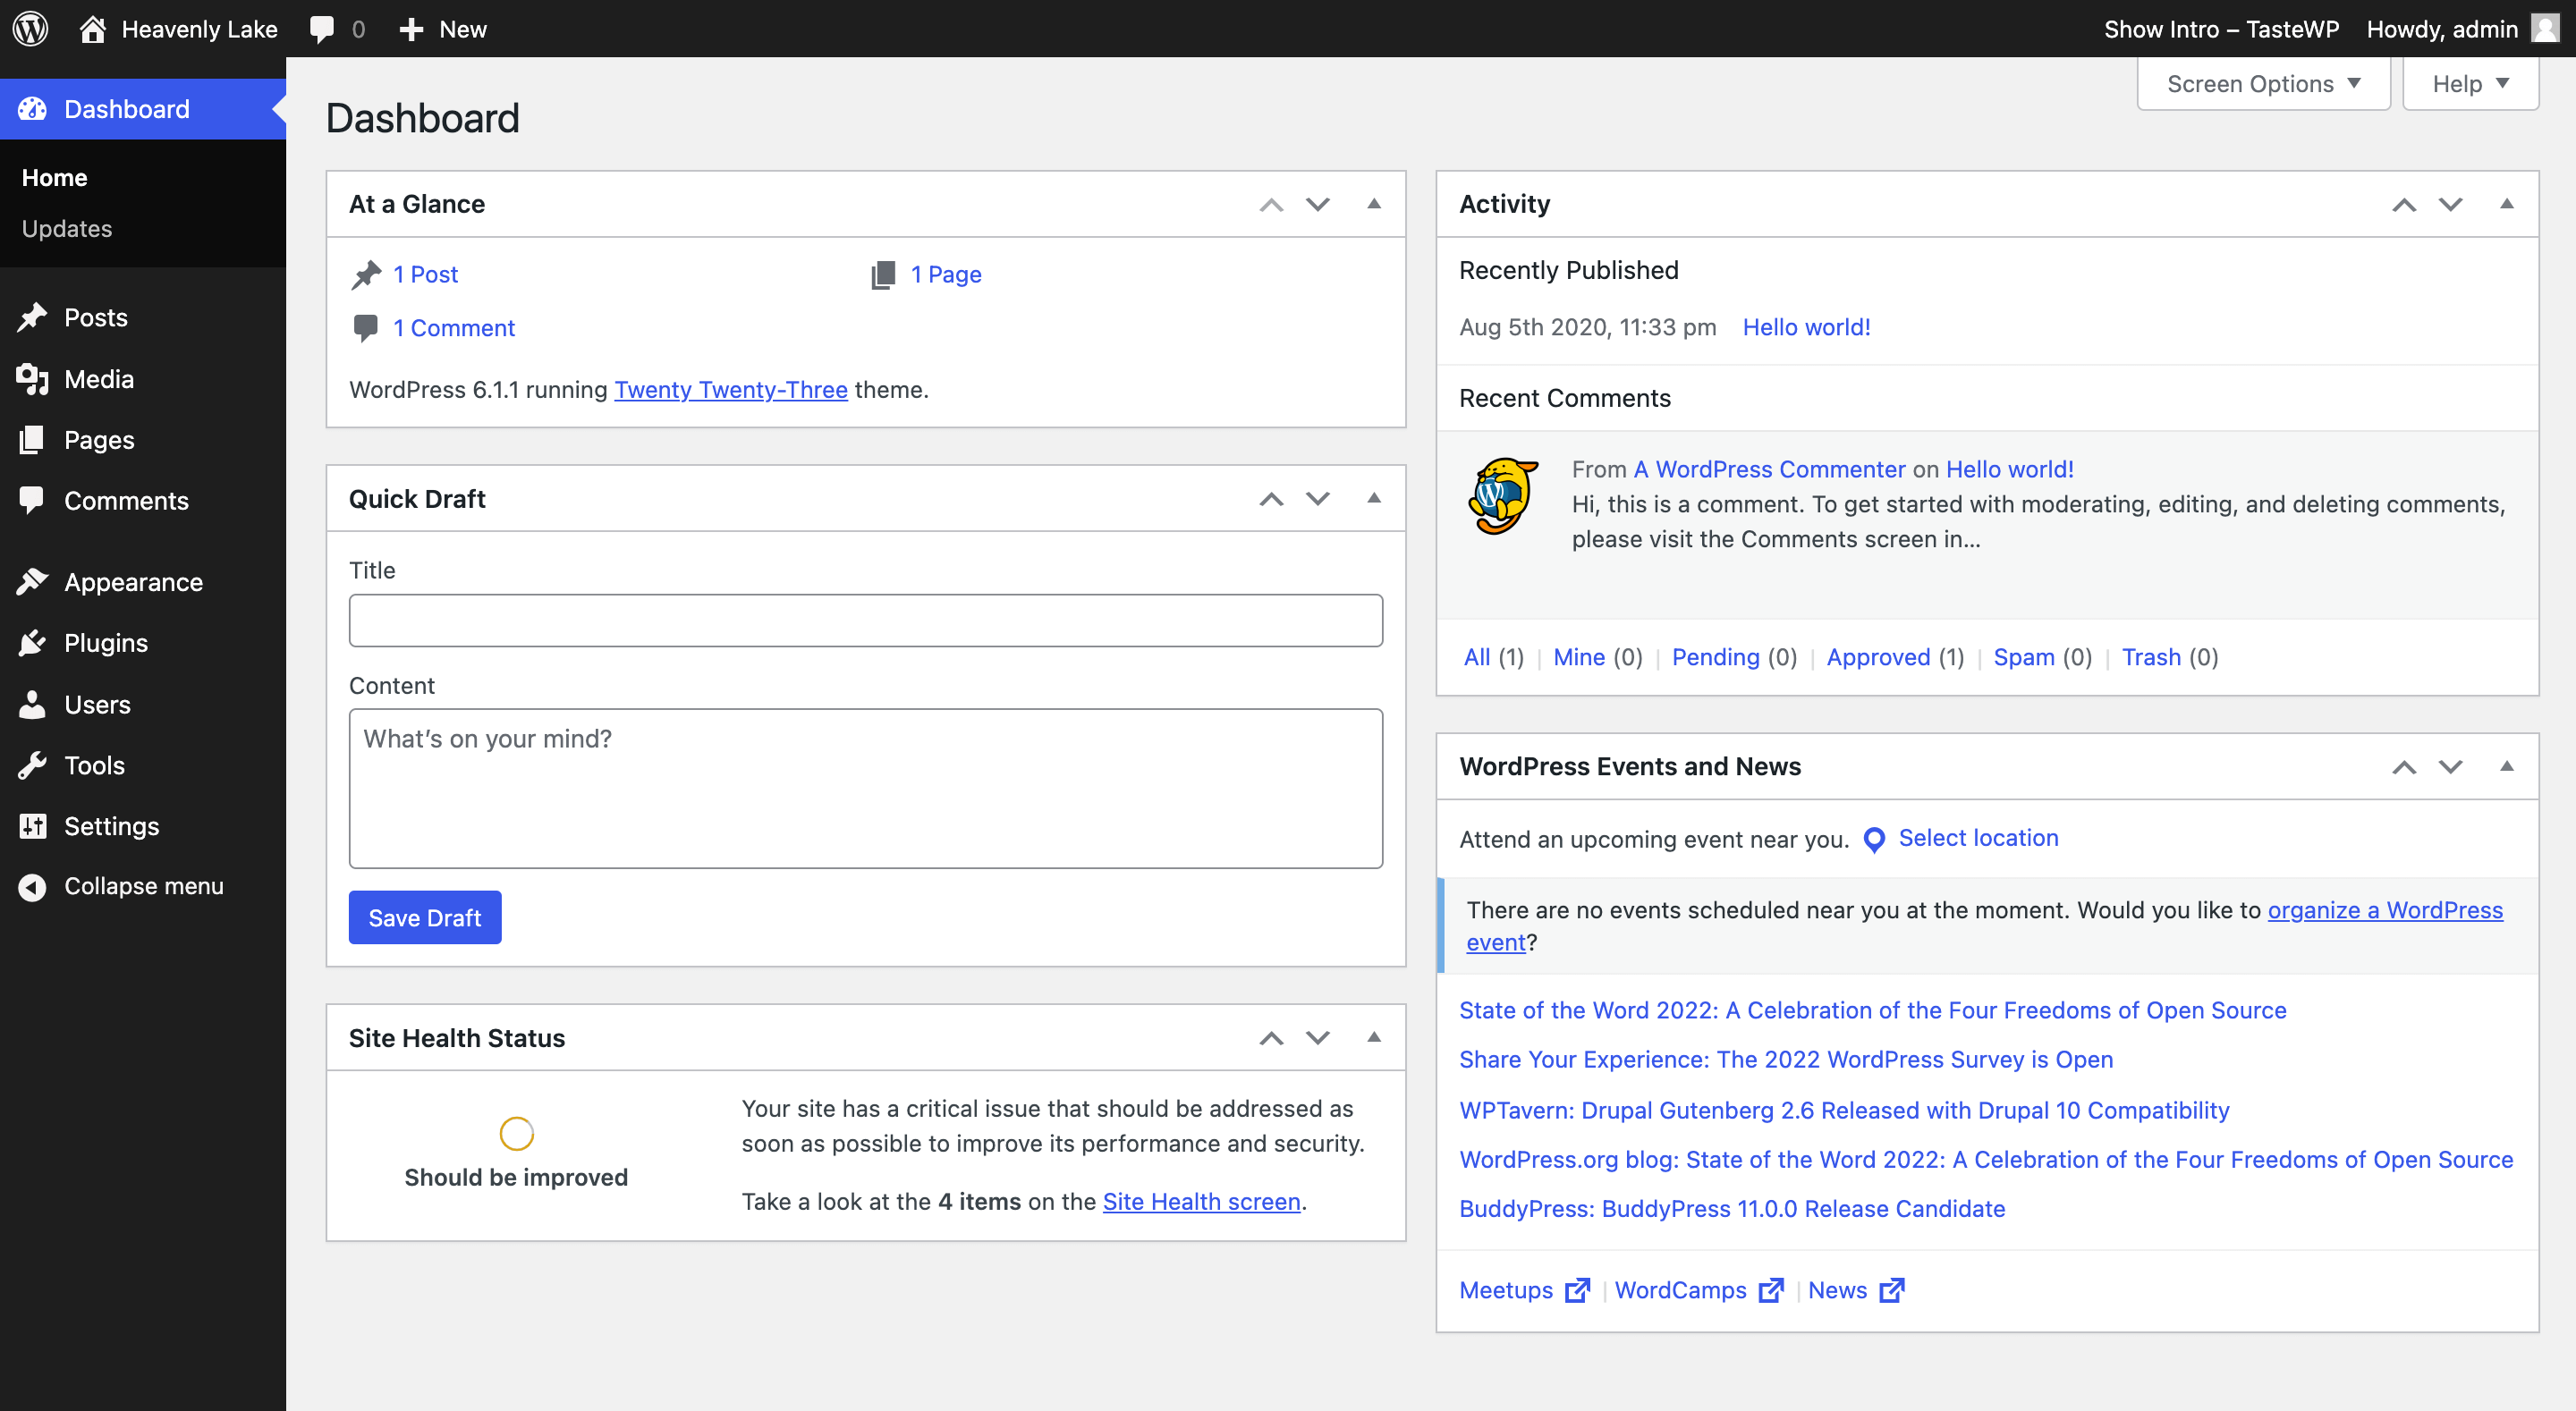
Welcome to your WordPress dashboard!
Your WordPress dashboard is the place where you can manage all aspects of your website. From the dashboard, you can create new posts and pages, customize your site design, install new plugins, and more.
By clicking on the “Screen Options” button at the top right of your dashboard, you can easily control what appears on your dashboard and tailor it to your specific needs.
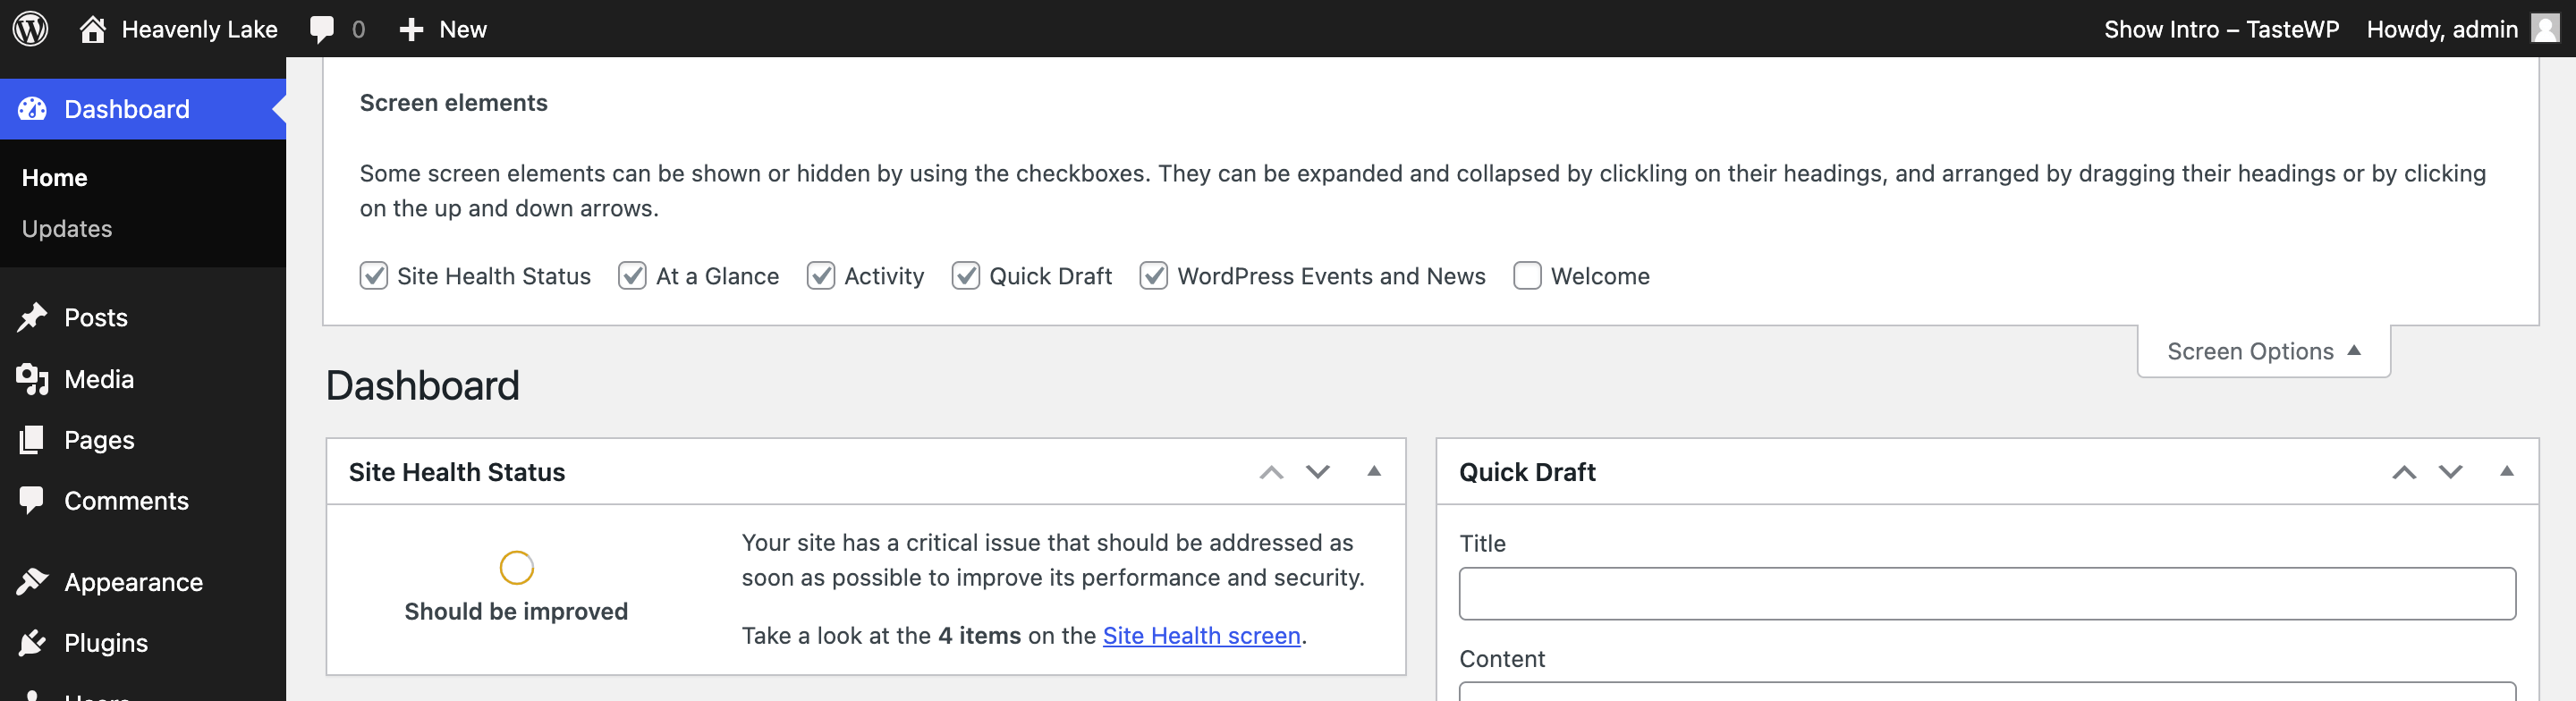
This makes it easier to quickly access the information you need on the dashboard.
However, the options may differ depending on if you have the plugins installed or not.
So before taking any action, I suggest you read this post carefully.
Ready?
1. Posts
From the Dashboard, navigate to the “Posts” tab on the left-hand side of the screen.
Once you’re in the Posts area, you’ll see your list of posts.
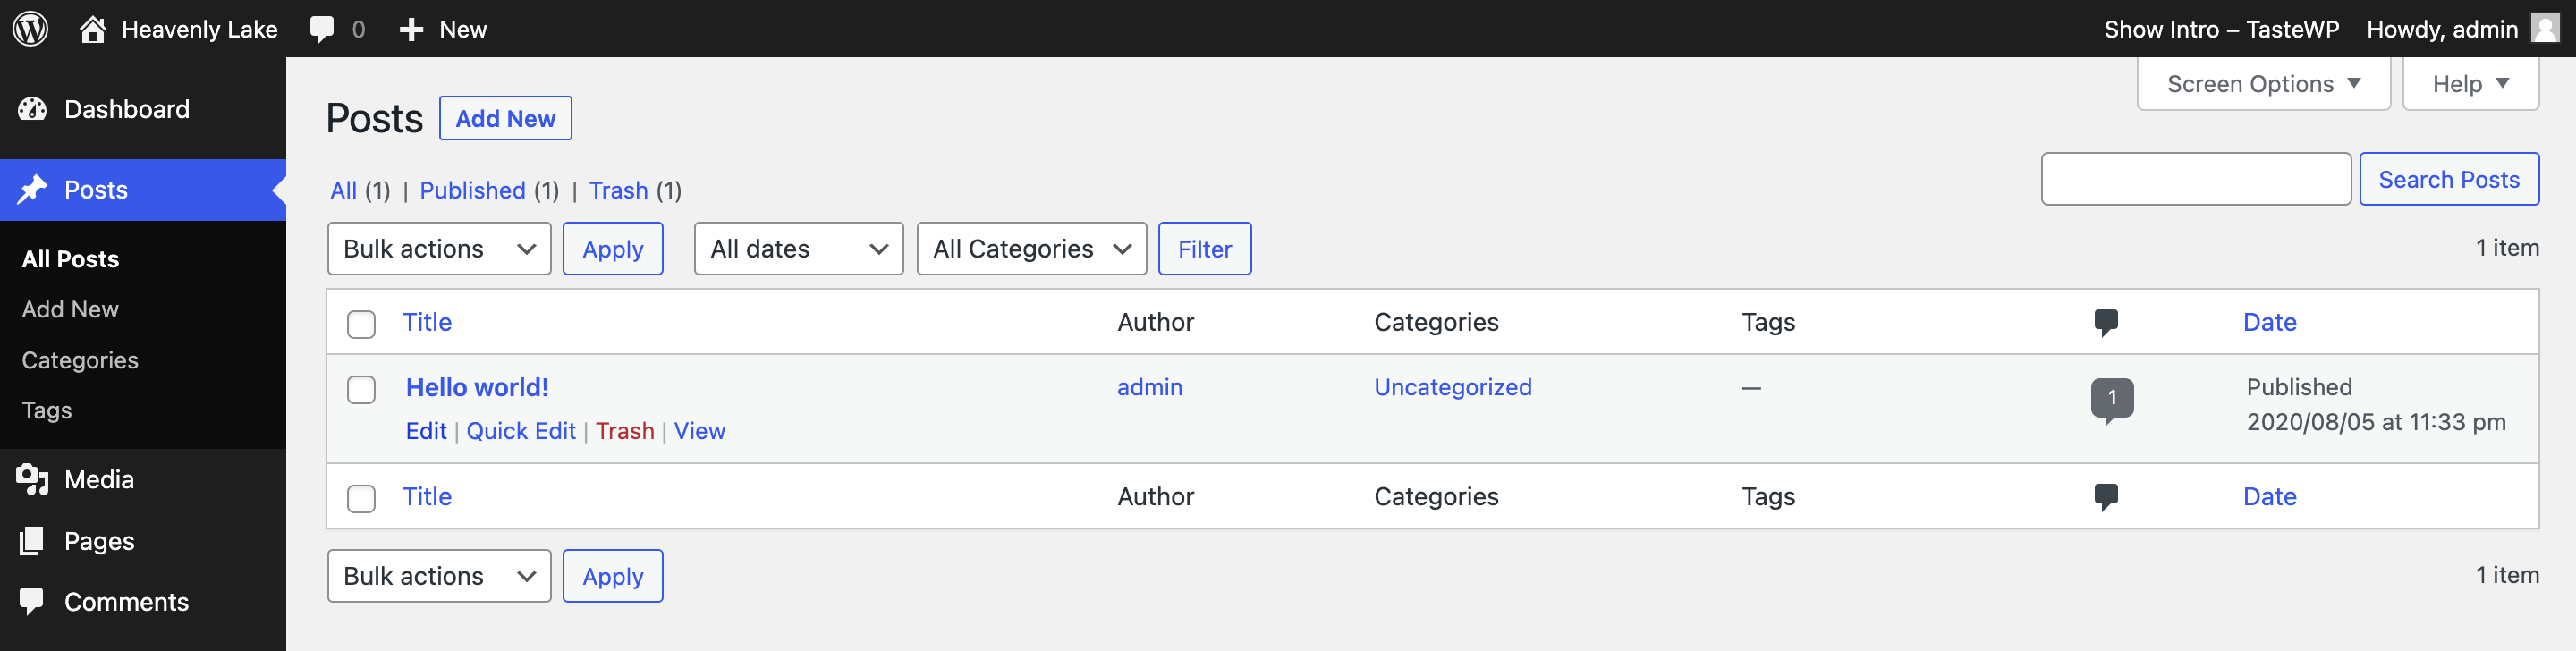
If you’re just starting out, you’ll likely see only one post. To create a new post, click the “Add New” button at the top of the page. This will take you to a new page where you can create your post.
Now that you’re on the post editor, you’ll notice a few different areas you can use to create your post.
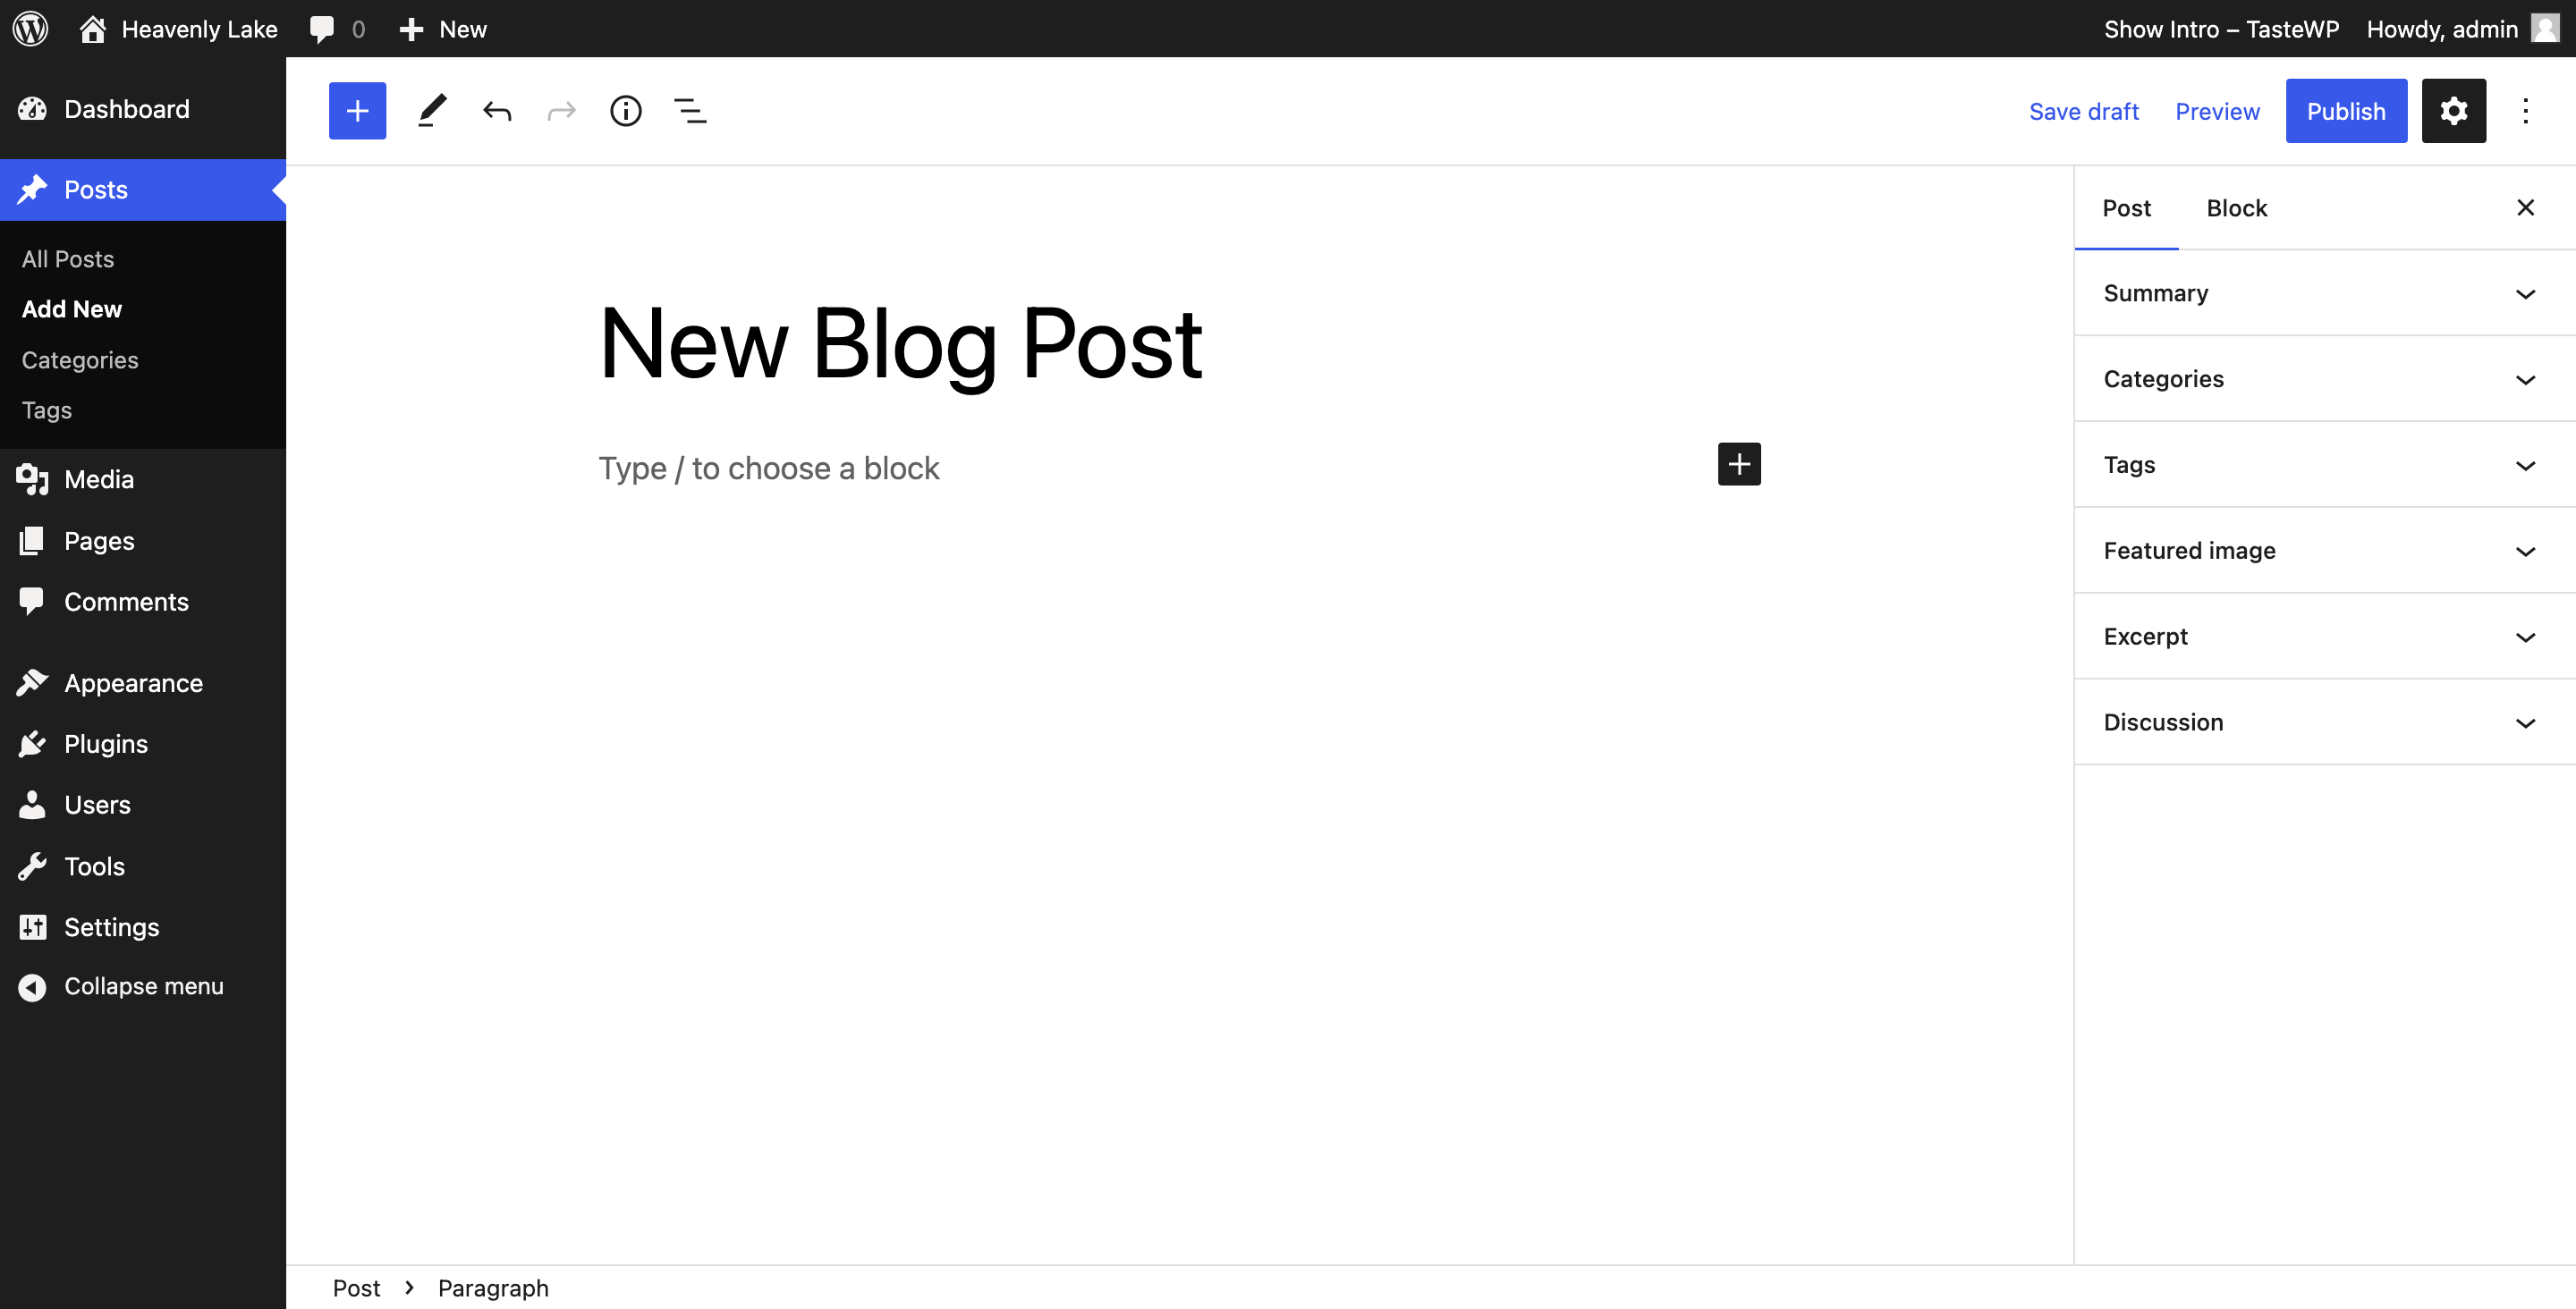
The first area you can use is the title. This is where you’ll enter the title of your post. Once you’ve entered the title, you’ll want to scroll down to the content writing section. This is where you’ll enter the main body of your post.
The next area you’ll use is the “Categories” section. Here, you’ll be able to group your post into different categories for easy organization. You can also add tags to your posts.
Once you’ve created your post, you’ll want to click the “Publish” button to make your post public. And that’s it – you’ve just created your first post from your WordPress Dashboard!
2. Media
To access the Media section of your WordPress dashboard, go to the left-hand sidebar and click on “Media”. You’ll be taken to the Media Library, which is where you can manage all of your media files.
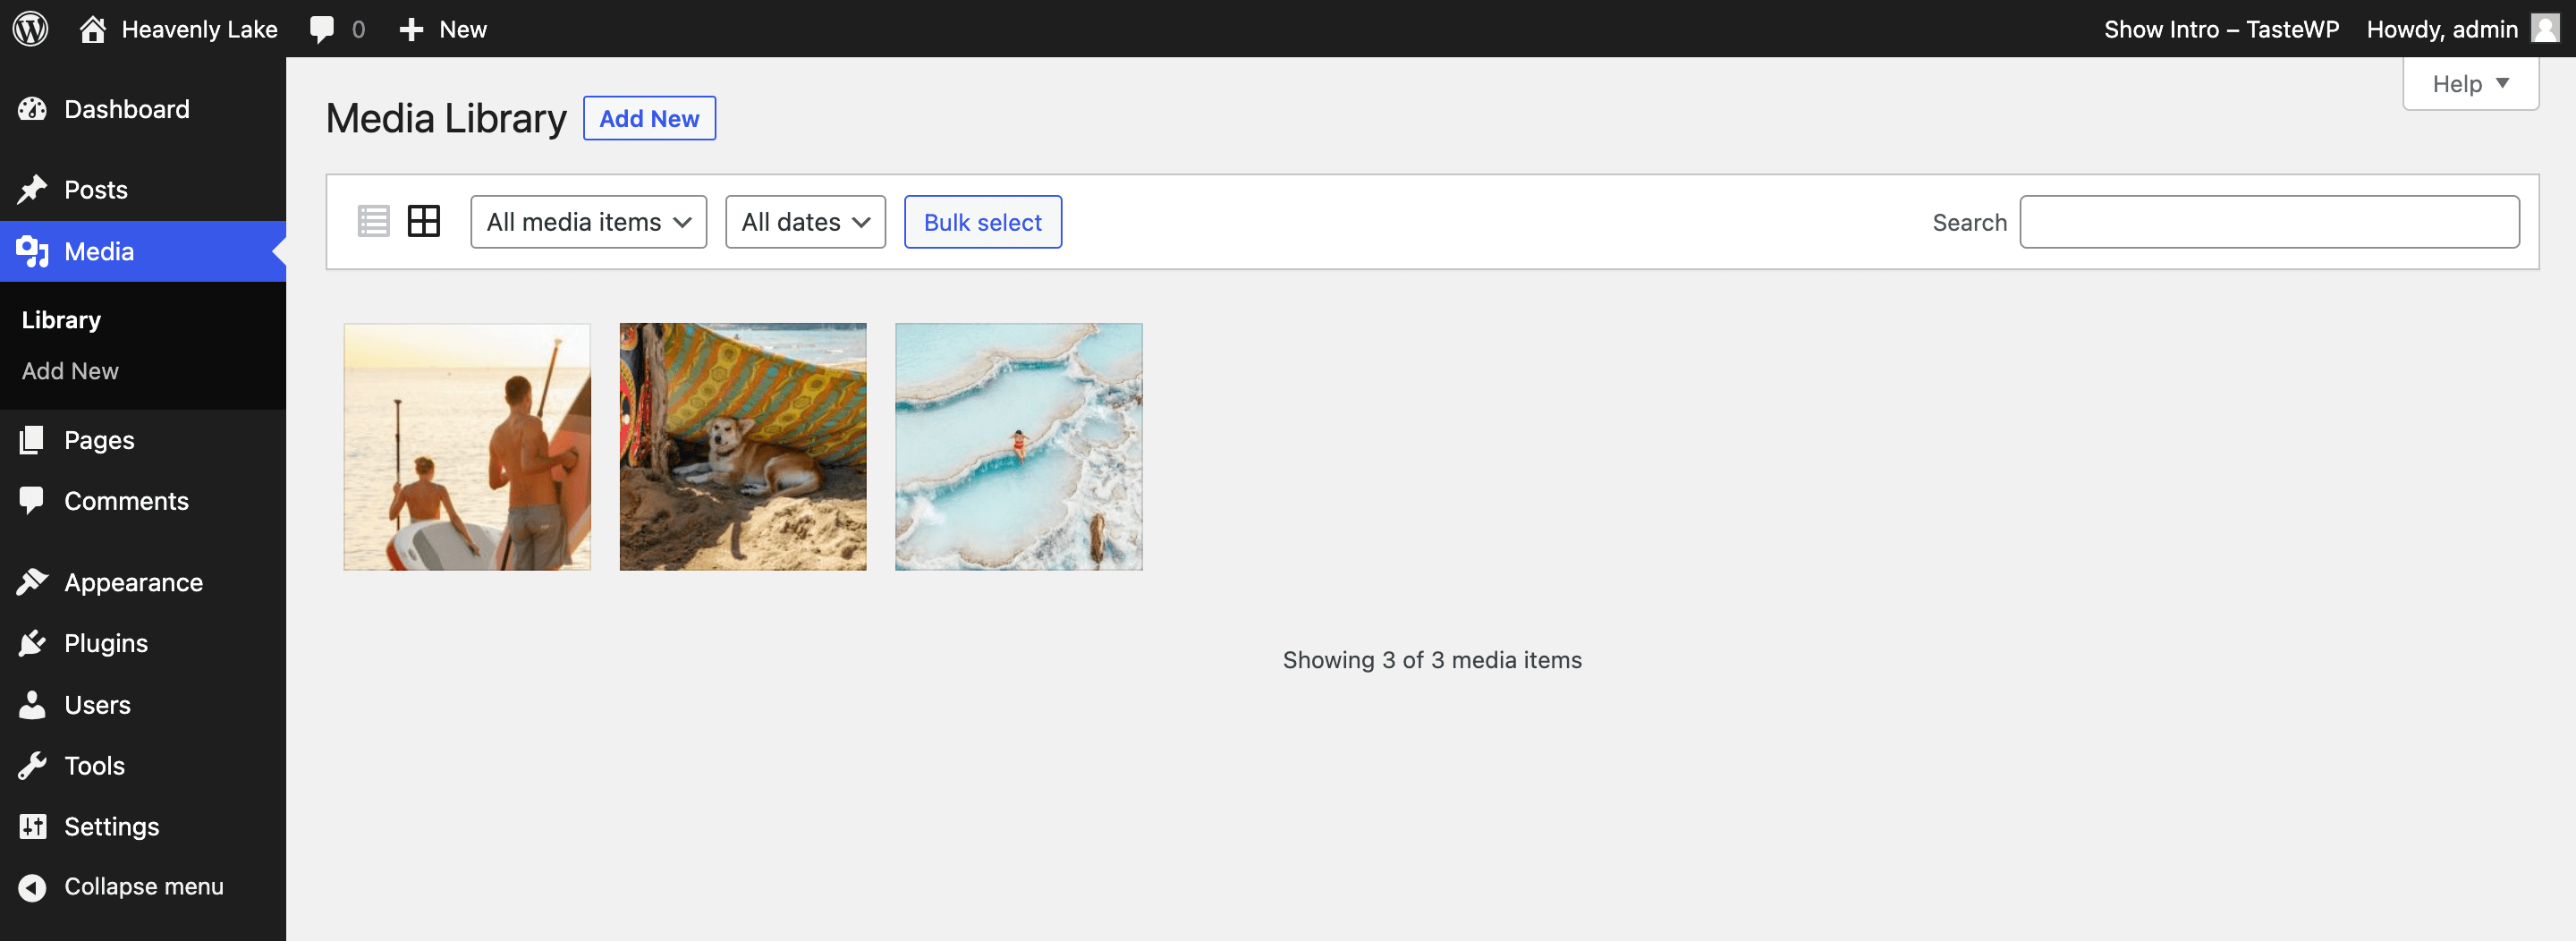
The media library keeps all of the media files you added to your content and makes it easy for you to find the file you’re looking for.
You can click on each file to view it and make changes. You can also use the search bar to quickly find specific files.
The “Add New” link in the Media Library will allow you to upload new media files. You can upload images, videos, PDF files, and other types of media.
3. Pages
In the WordPress dashboard, Pages can be accessed by clicking on the “Pages” tab in the left sidebar. This will open the Pages section, where users can create, edit, and manage all the pages on their website.
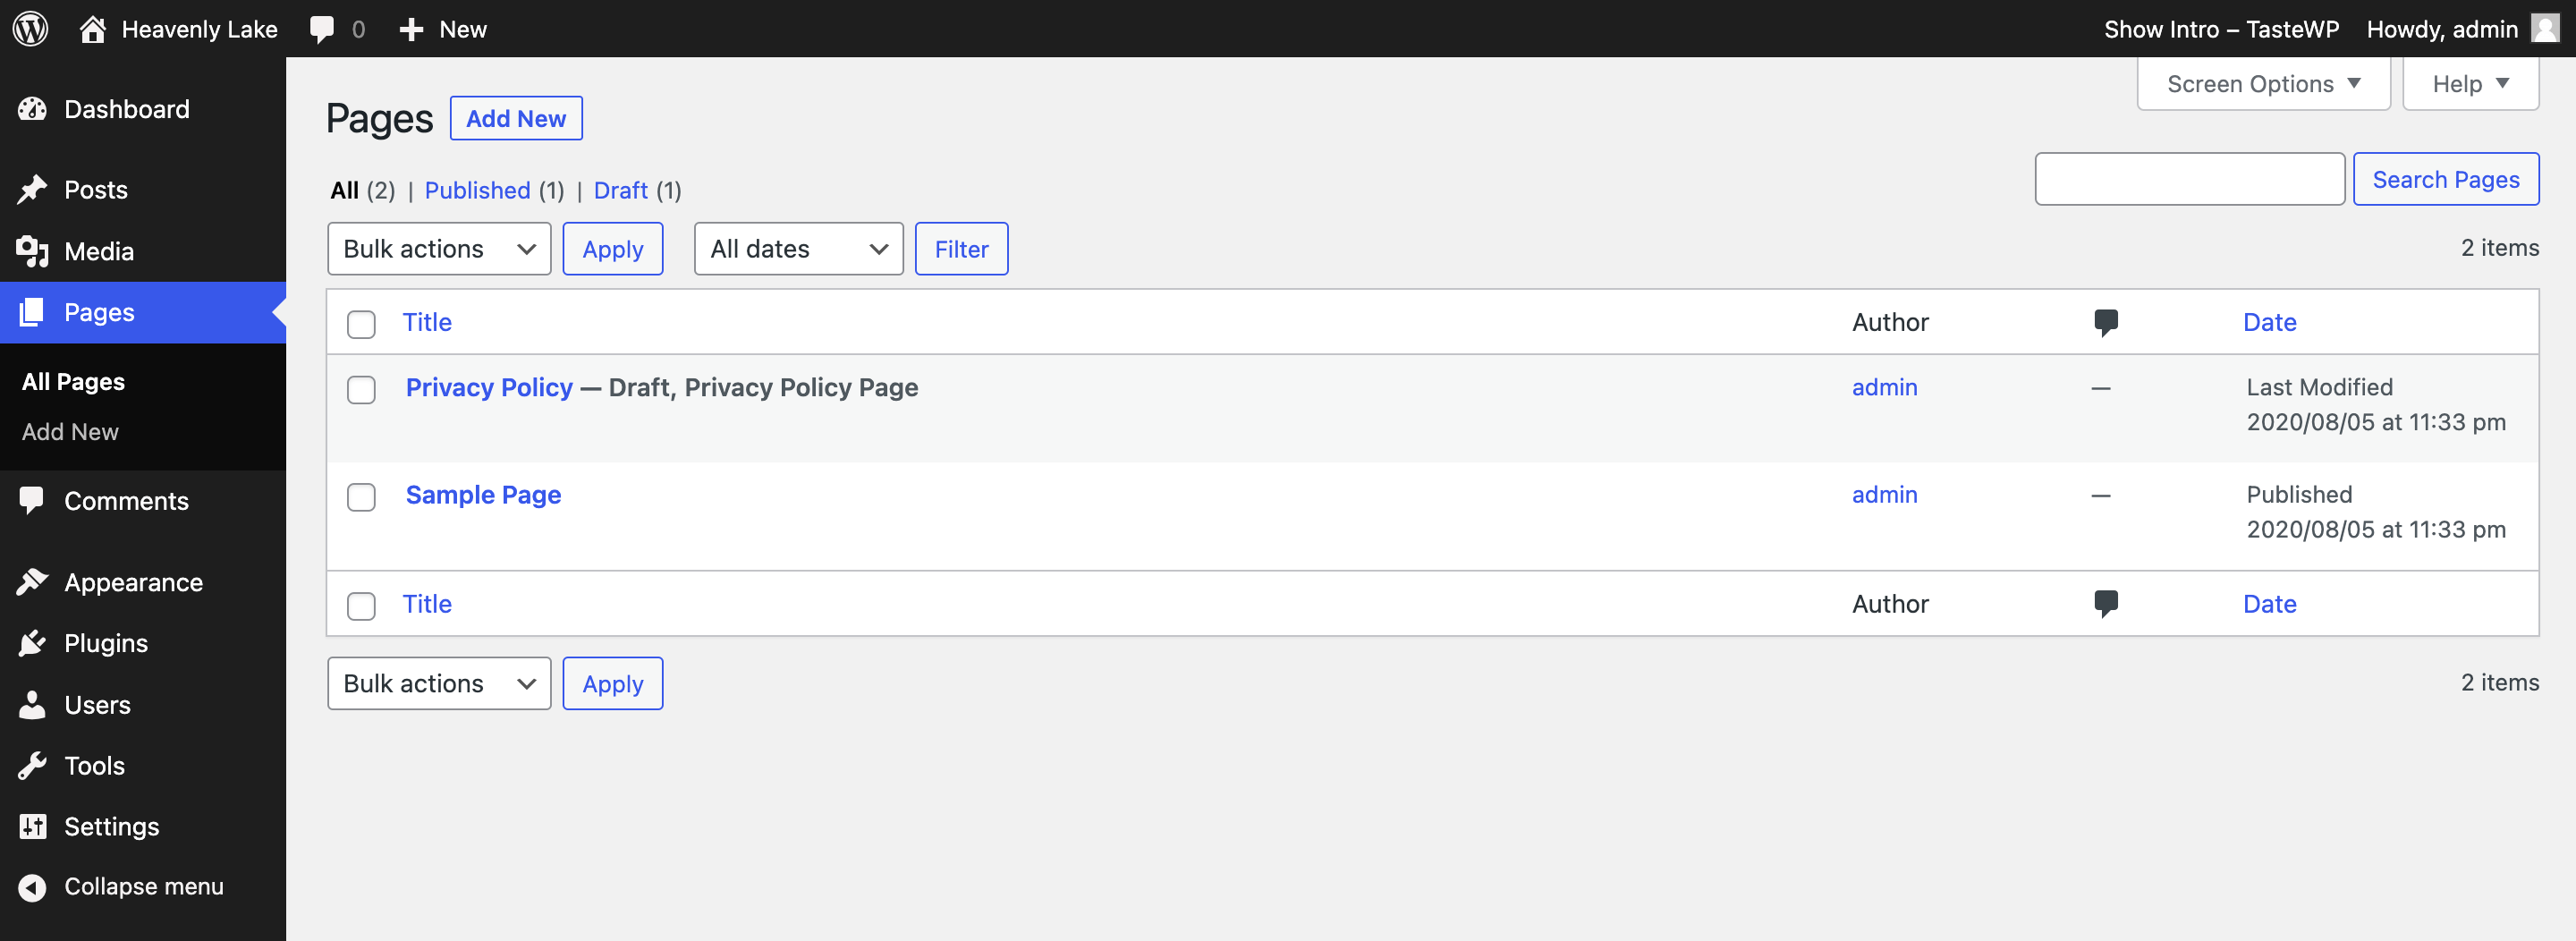
WordPress Pages and Posts are two of the main types of content available in the WordPress Content Management System. Both provide different types of content and serve different roles in a website.
Pages are intended to provide a static resource that is not regularly updated, while posts are any content that you’d like to publish regularly.
Pages are usually used to provide important information about the website, such as contact information, privacy policy, or an about page.
If you’re looking to create something more than a basic page, you can also use page builders like Elementor.
It’s one of the powerful WordPress page builder plugins that allows you to create stunning pages without needing to write any code. With a drag-and-drop interface, you can quickly and easily create pages that look and feel professional without needing to be an experienced web designer.
4. Comments
On the WordPress dashboard, comments are managed under the “Comments” section. Here, you can view all the comments left by visitors on your blog posts, as well as moderate and manage them.
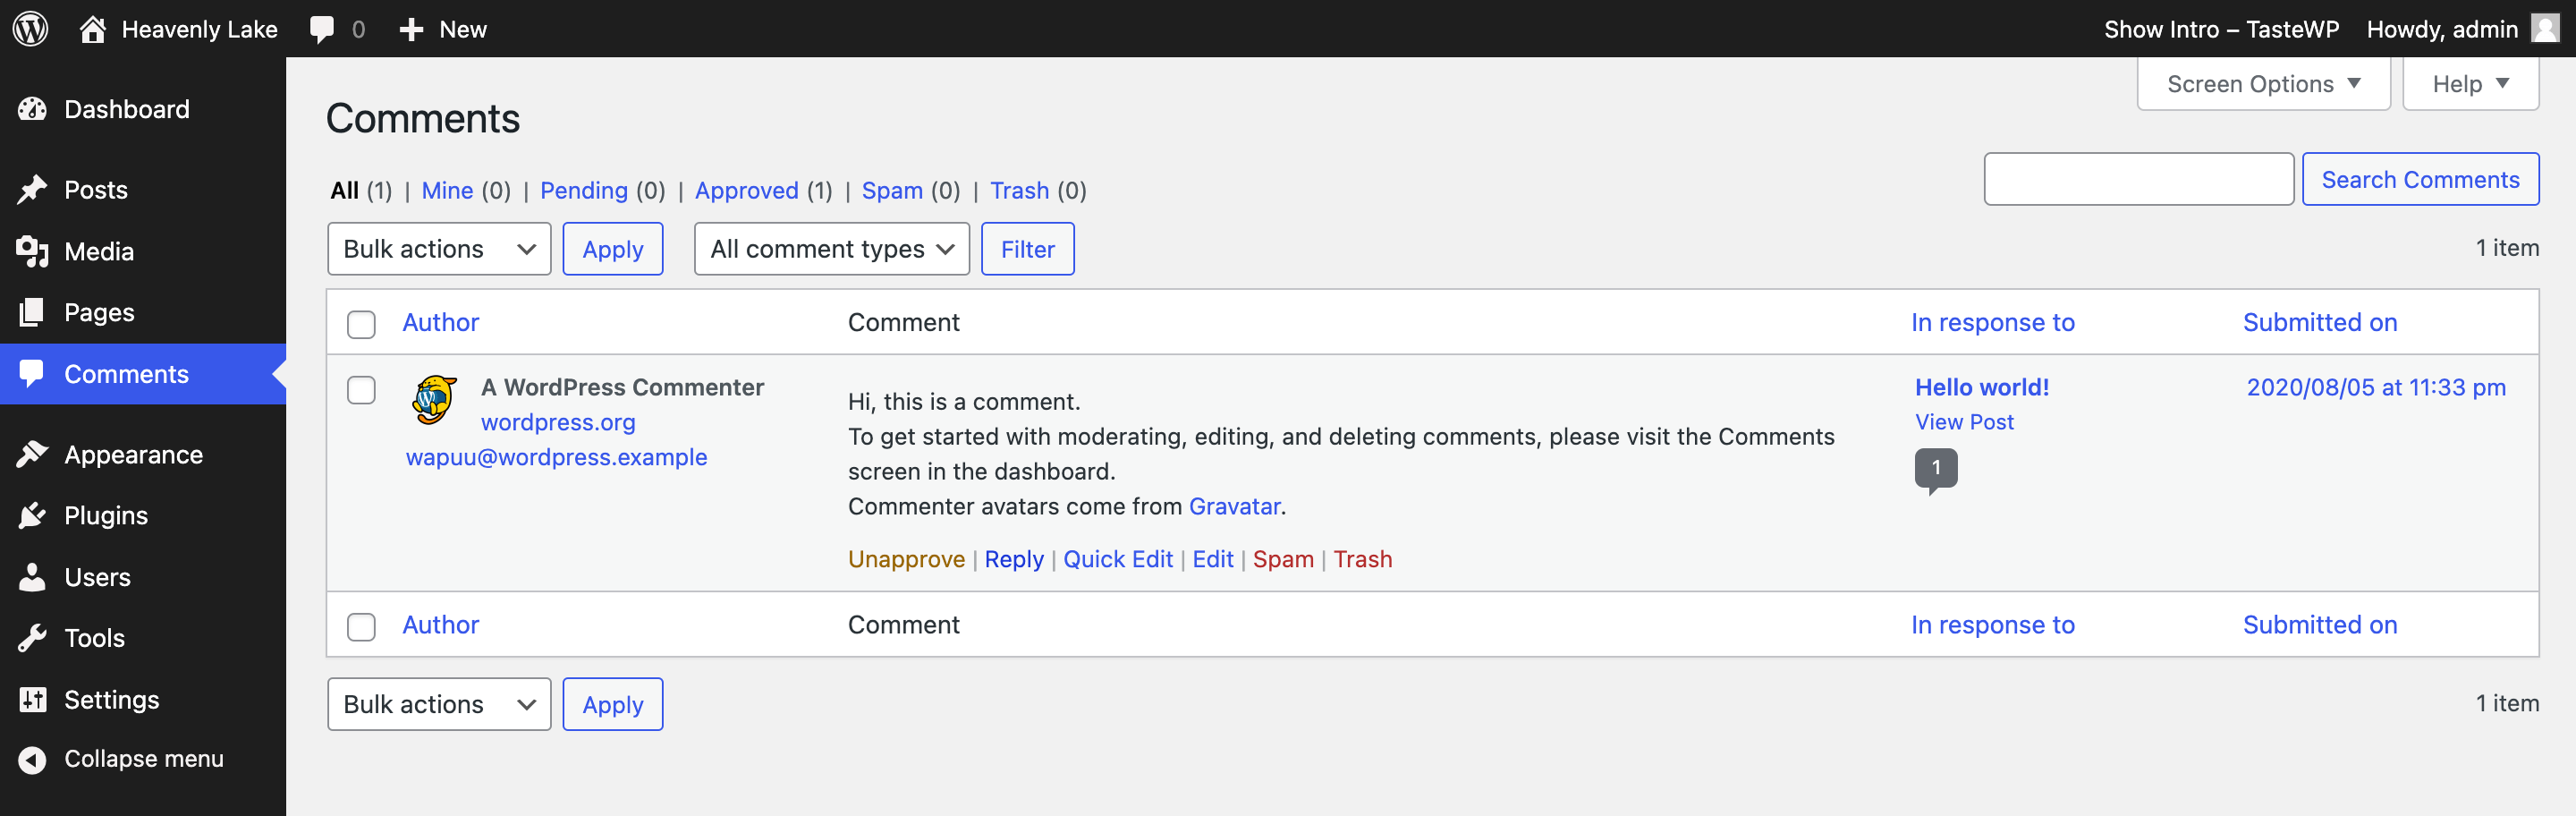
At a glance, you’ll be able to see the comments that need to be moderated, as well as those that have already been approved and pending. From the comments section, you can approve, unapproved, mark as spam, and delete or edit individual comments.
5. Appearance
When you first open the WordPress dashboard, you will see the “Appearance” tab on the left side of the page.
This is where you can make changes to the overall design and layout of your website. You can change the font, colors, background, header, and footer in this section. You can also upload and manage custom themes, create custom menus, and manage widgets.
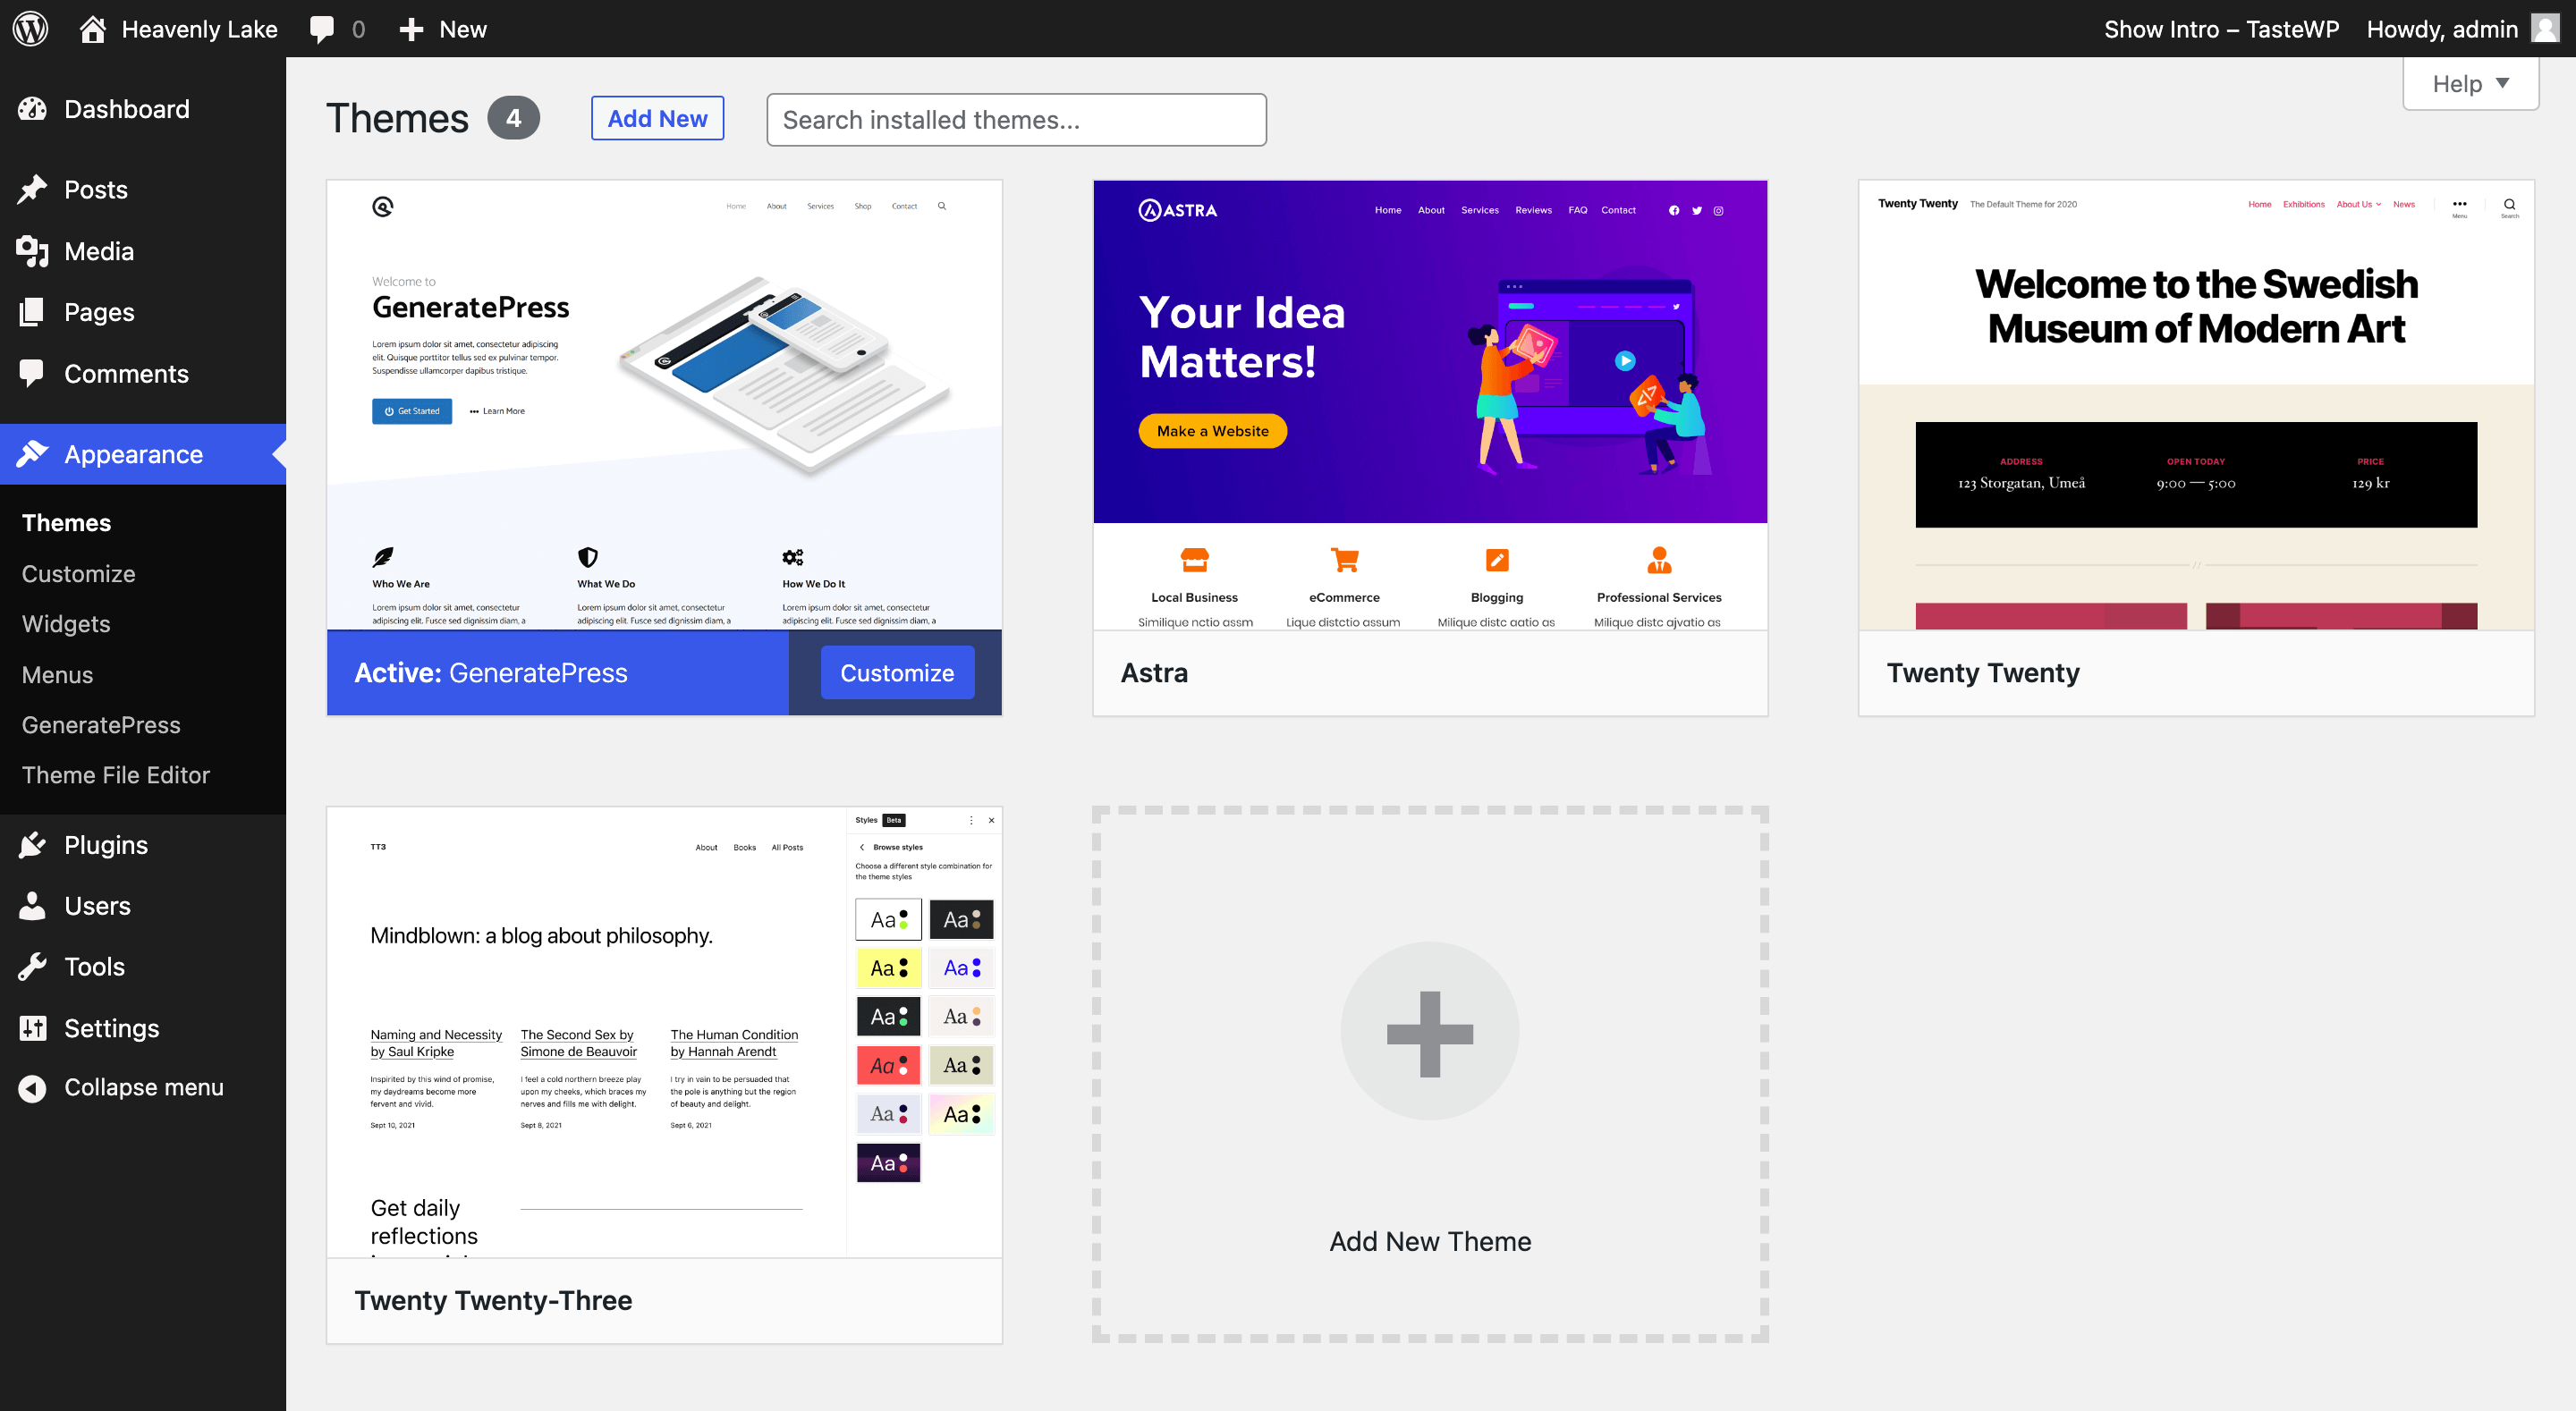
The appearance section of the dashboard contains a few key features:
- Themes – This option allows you to select and activate a WordPress theme for your site. Themes can change the overall look and feel of your site.
- Customize – This section allows you to customize the current theme that has been activated on your WordPress website.
- Widgets – Widgets allow you to add extra functionality to your site, such as a calendar, recent posts, or a contact form.
- Menus – The Menus option allows you to create custom menus for your site, such as the main navigation menu or a footer menu.
- Theme Editor – The Editor option allows you to make changes to the code of your WordPress theme. This is a critical feature, so it’s normally used only by experienced developers.
And yes, designing a WordPress site can be a bit of a challenge, but with some practice, you’ll be able to design a website the way you want.
If you’re looking to design a WordPress site but don’t want to get your hands dirty, there are plenty of freelance website design gigs that can help you, so take the time to explore them and make sure you are getting the most out of your WordPress site.
Keep in mind that the design of a website can make a lasting impression on visitors.
A good website design should be attractive, modern, and user-friendly, providing visitors with an enjoyable experience that encourages them to stay on your site.
6. Plugins
The Plugins tab in the WordPress dashboard is a key element of the WordPress platform that allows users to extend their WordPress site’s functionality and add new features.
There are thousands of plugins available for WordPress and you can find them in the WordPress Plugin Directory or from other sources. Some plugins are free and some require a fee.
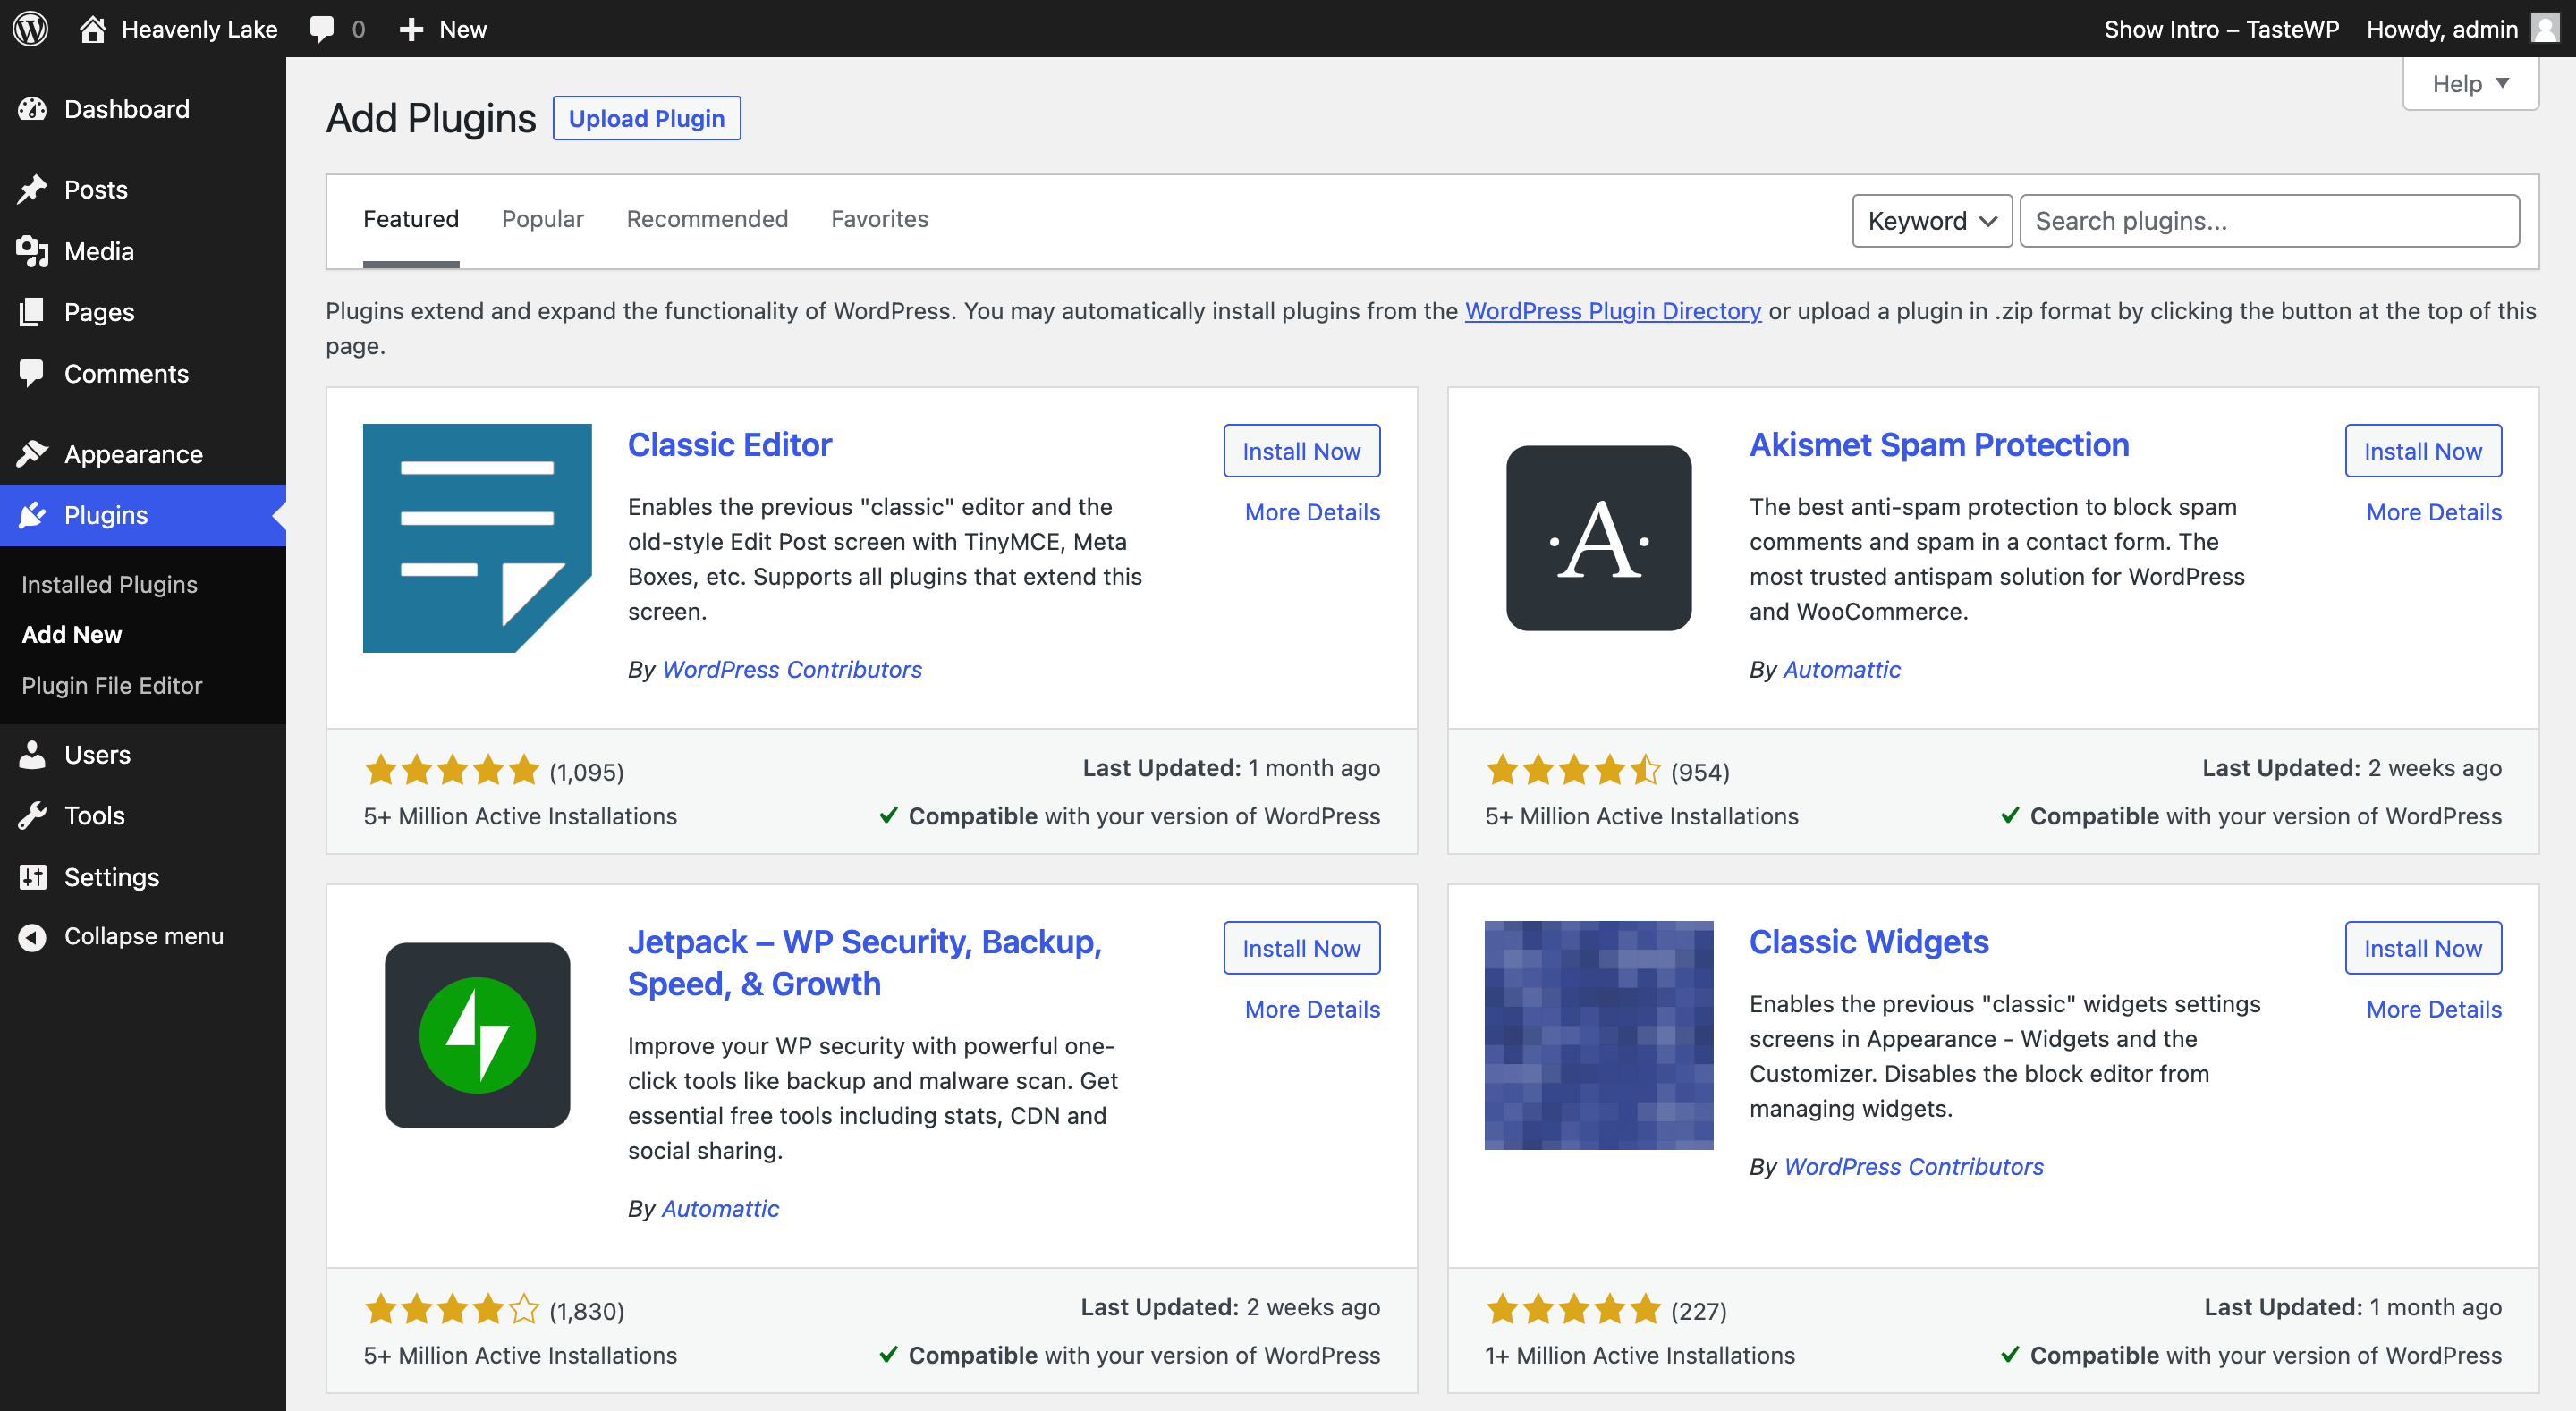
Installing plugins is relatively easy and can be done in a few simple steps.
From the WordPress admin dashboard navigate to the “Plugins” tab. From there, click “Add New.”
This directory is a collection of plugins that have been reviewed and approved by the WordPress team. Plugins are rated and reviewed by users, so you can get an idea of which ones are the best before you make a decision.
Once you’ve found the plugin you’d like to install, you can click the “Install Now” button on the plugin page. This will install the plugin on your website and activate it.
You’ll then be able to use the plugin on your site.
It’s important to keep in mind that while plugins are incredibly useful, they can also be dangerous. Make sure to read all of the instructions carefully and only install plugins from trusted sources.
To help you out, we’ve tested different plugins and have come up with an exclusive list that will make picking one easy as pie.
You can trust that these WordPress plugins are reliable, user-friendly, and compatible with most themes.
7. Users
The “Users” tab in WordPress can be used to manage all user accounts on your website. You can quickly create new users and assign them roles, view all user accounts, and edit your own profile information.
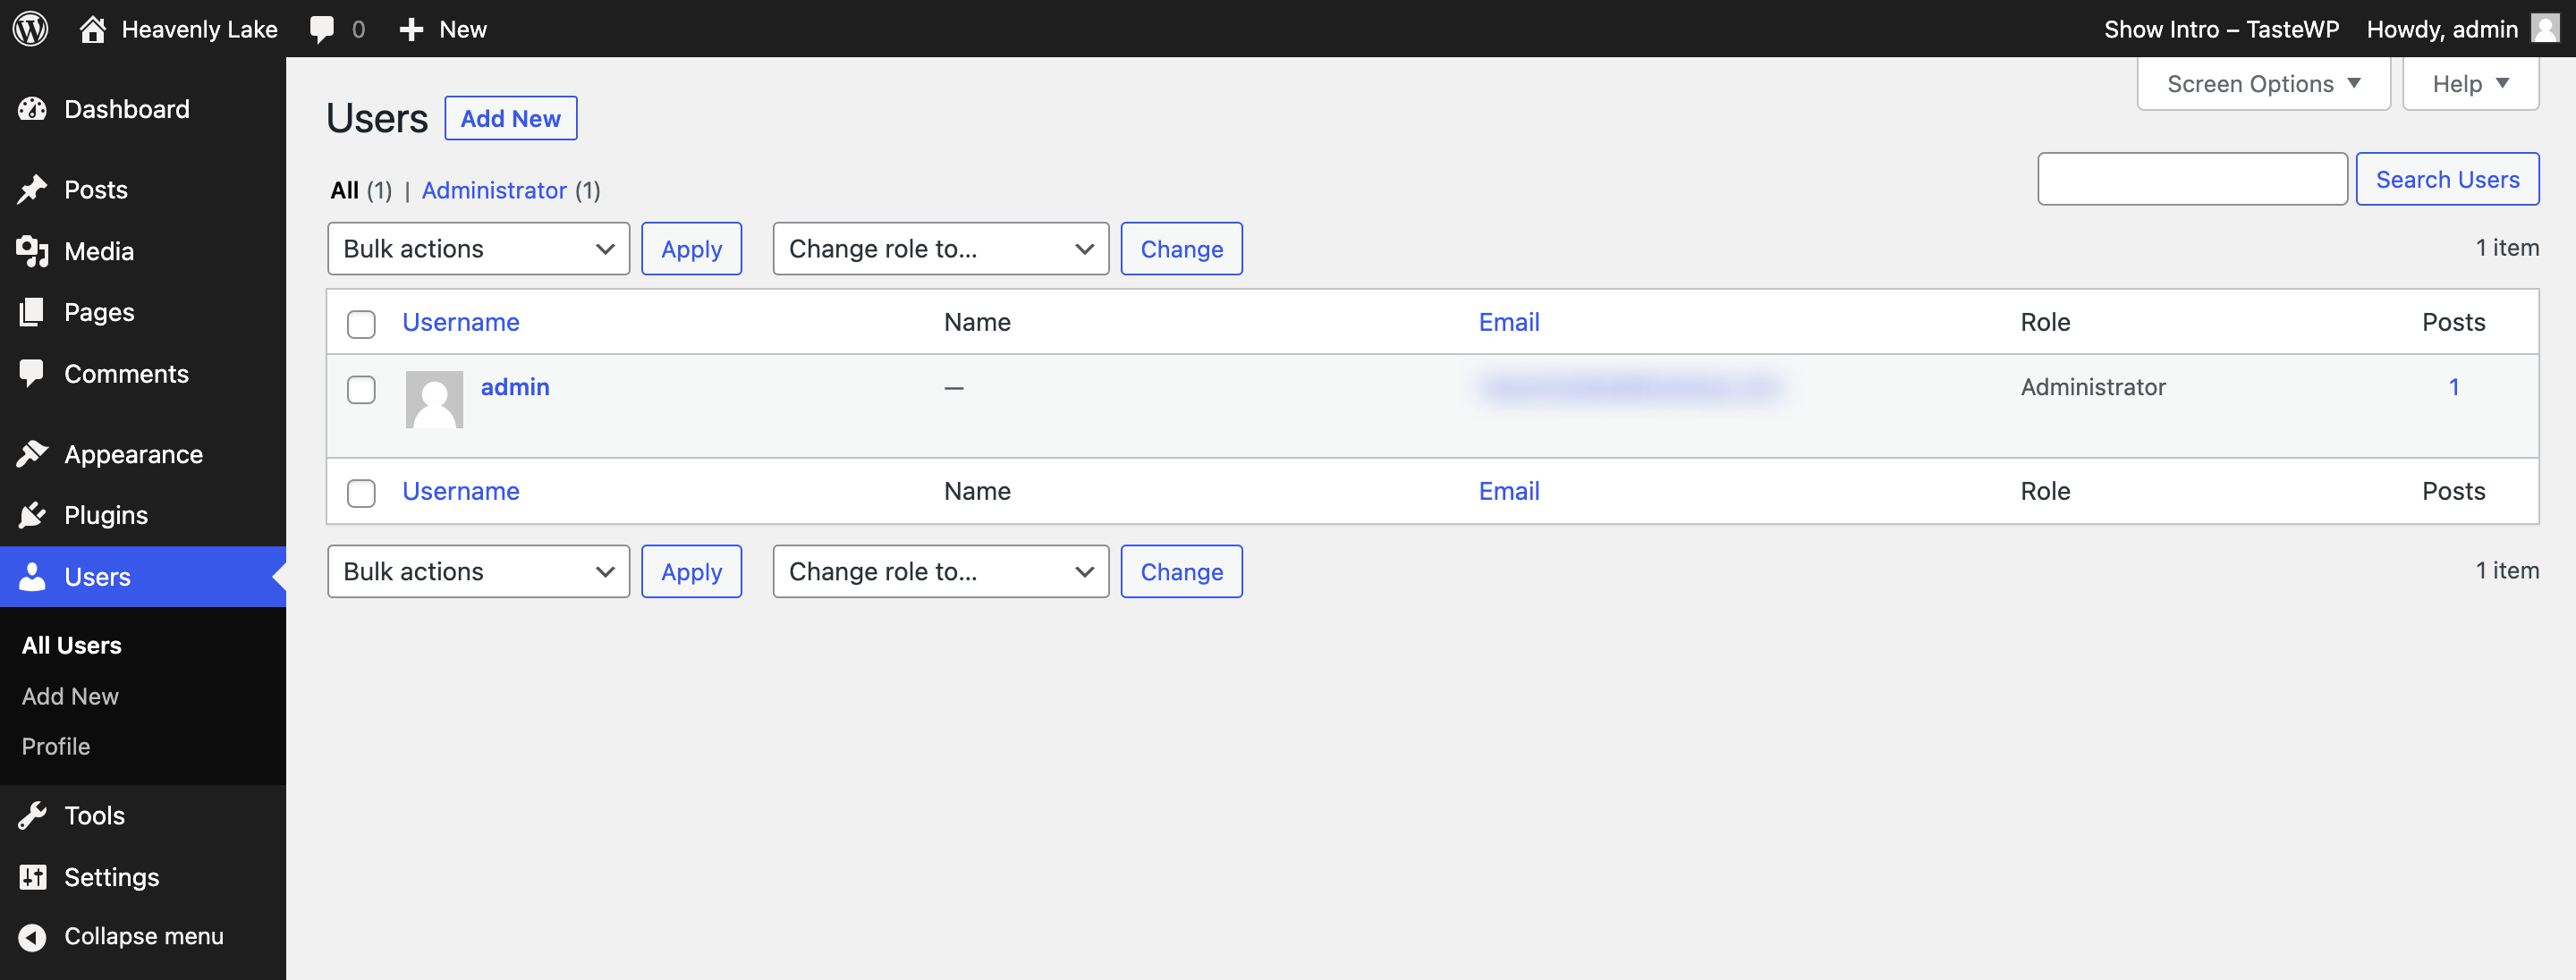
Note: Leaving your admin username as “admin” makes it much easier for hackers to gain access to your site. To protect yourself, you should avoid using phrases like admin as your administrator username at all costs.
You should use a strong password ideally at least 12 characters long and include a combination of letters, numbers, and symbols.
It’s also important to require regular password changes so that passwords do not remain the same over time.
Additionally, if possible, you should enable two-factor authentication on each account as an extra layer of security against potential intruders. You can use the Wordfence plugin to enable this.
8. Tools
The “Tools” section provides users with a range of options to help them manage their WordPress website.
This section has features such as the “Export” tool which allows users to easily export content from their WordPress site, and the “Import” tool which allows users to import content from other websites or platforms like Blogger.com.
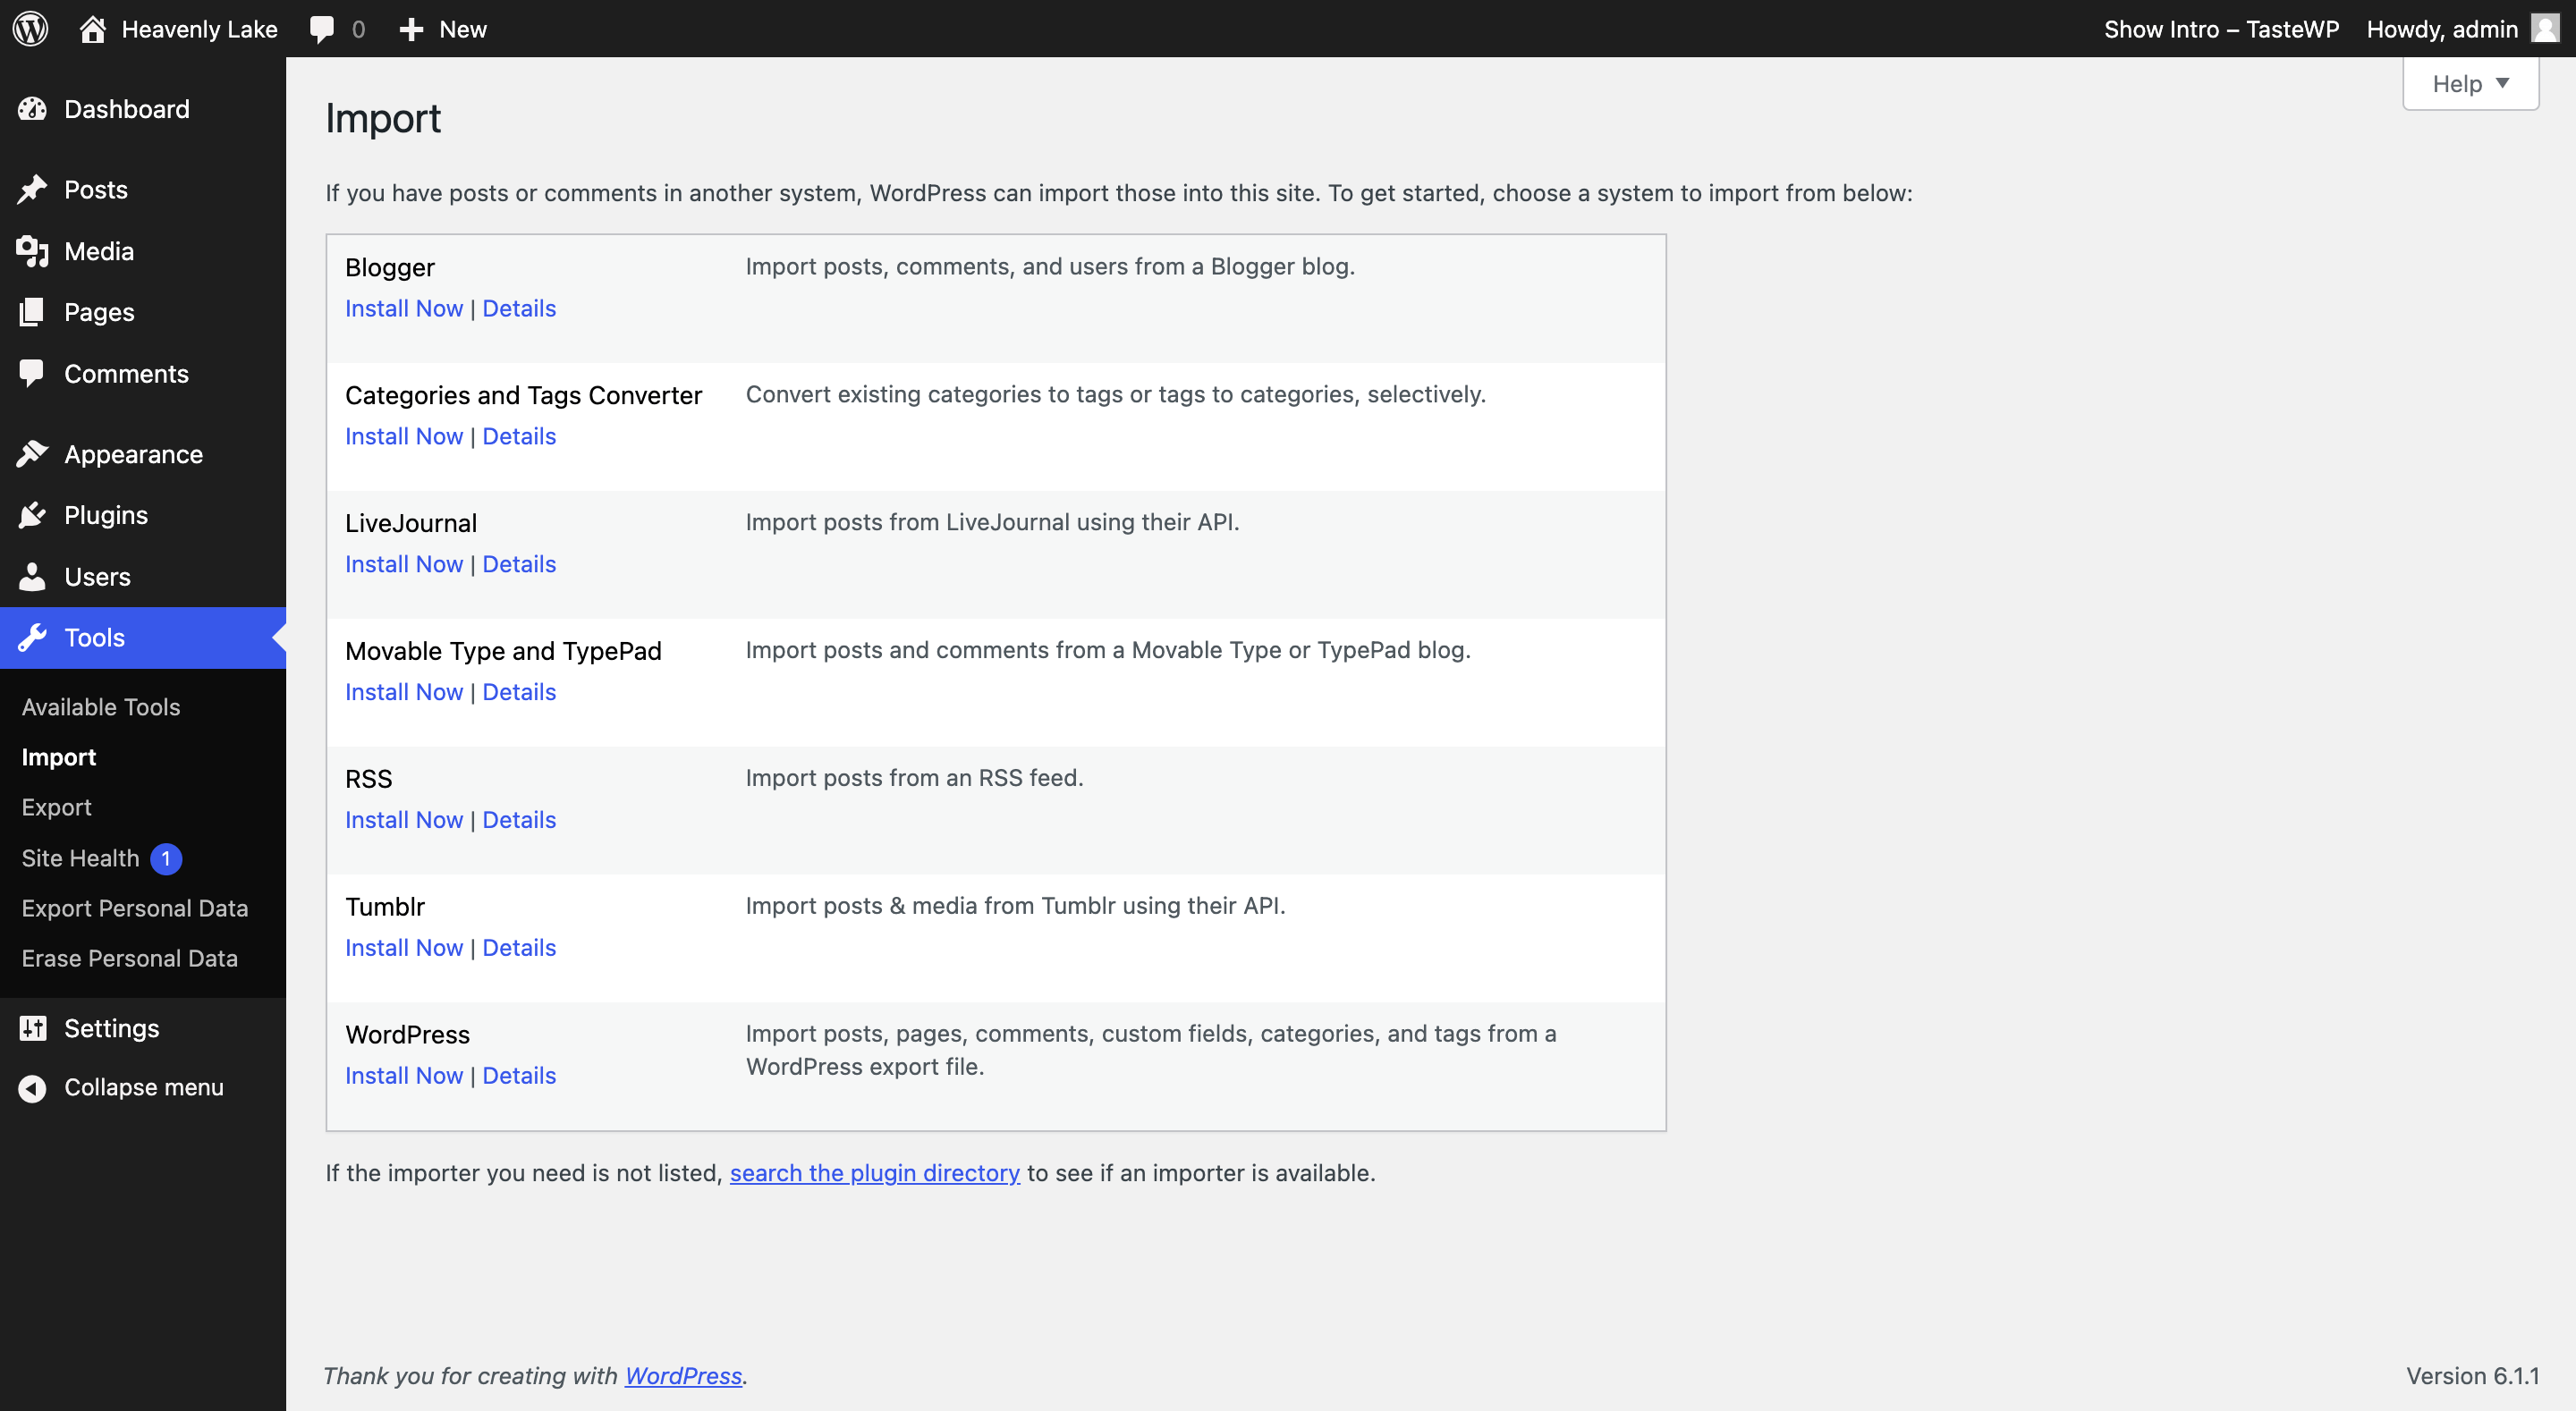
The goal of “Site Health” is to ensure that all aspects of a website are functioning properly and efficiently. In addition to this, it also helps you recognize any potential problems before they become more serious.
9. Settings
In the “Settings” section of WordPress, you can control almost every aspect of your website. This includes everything from the language you use to the way your content is displayed. It also covers the privacy of your site and how much control you have over it.
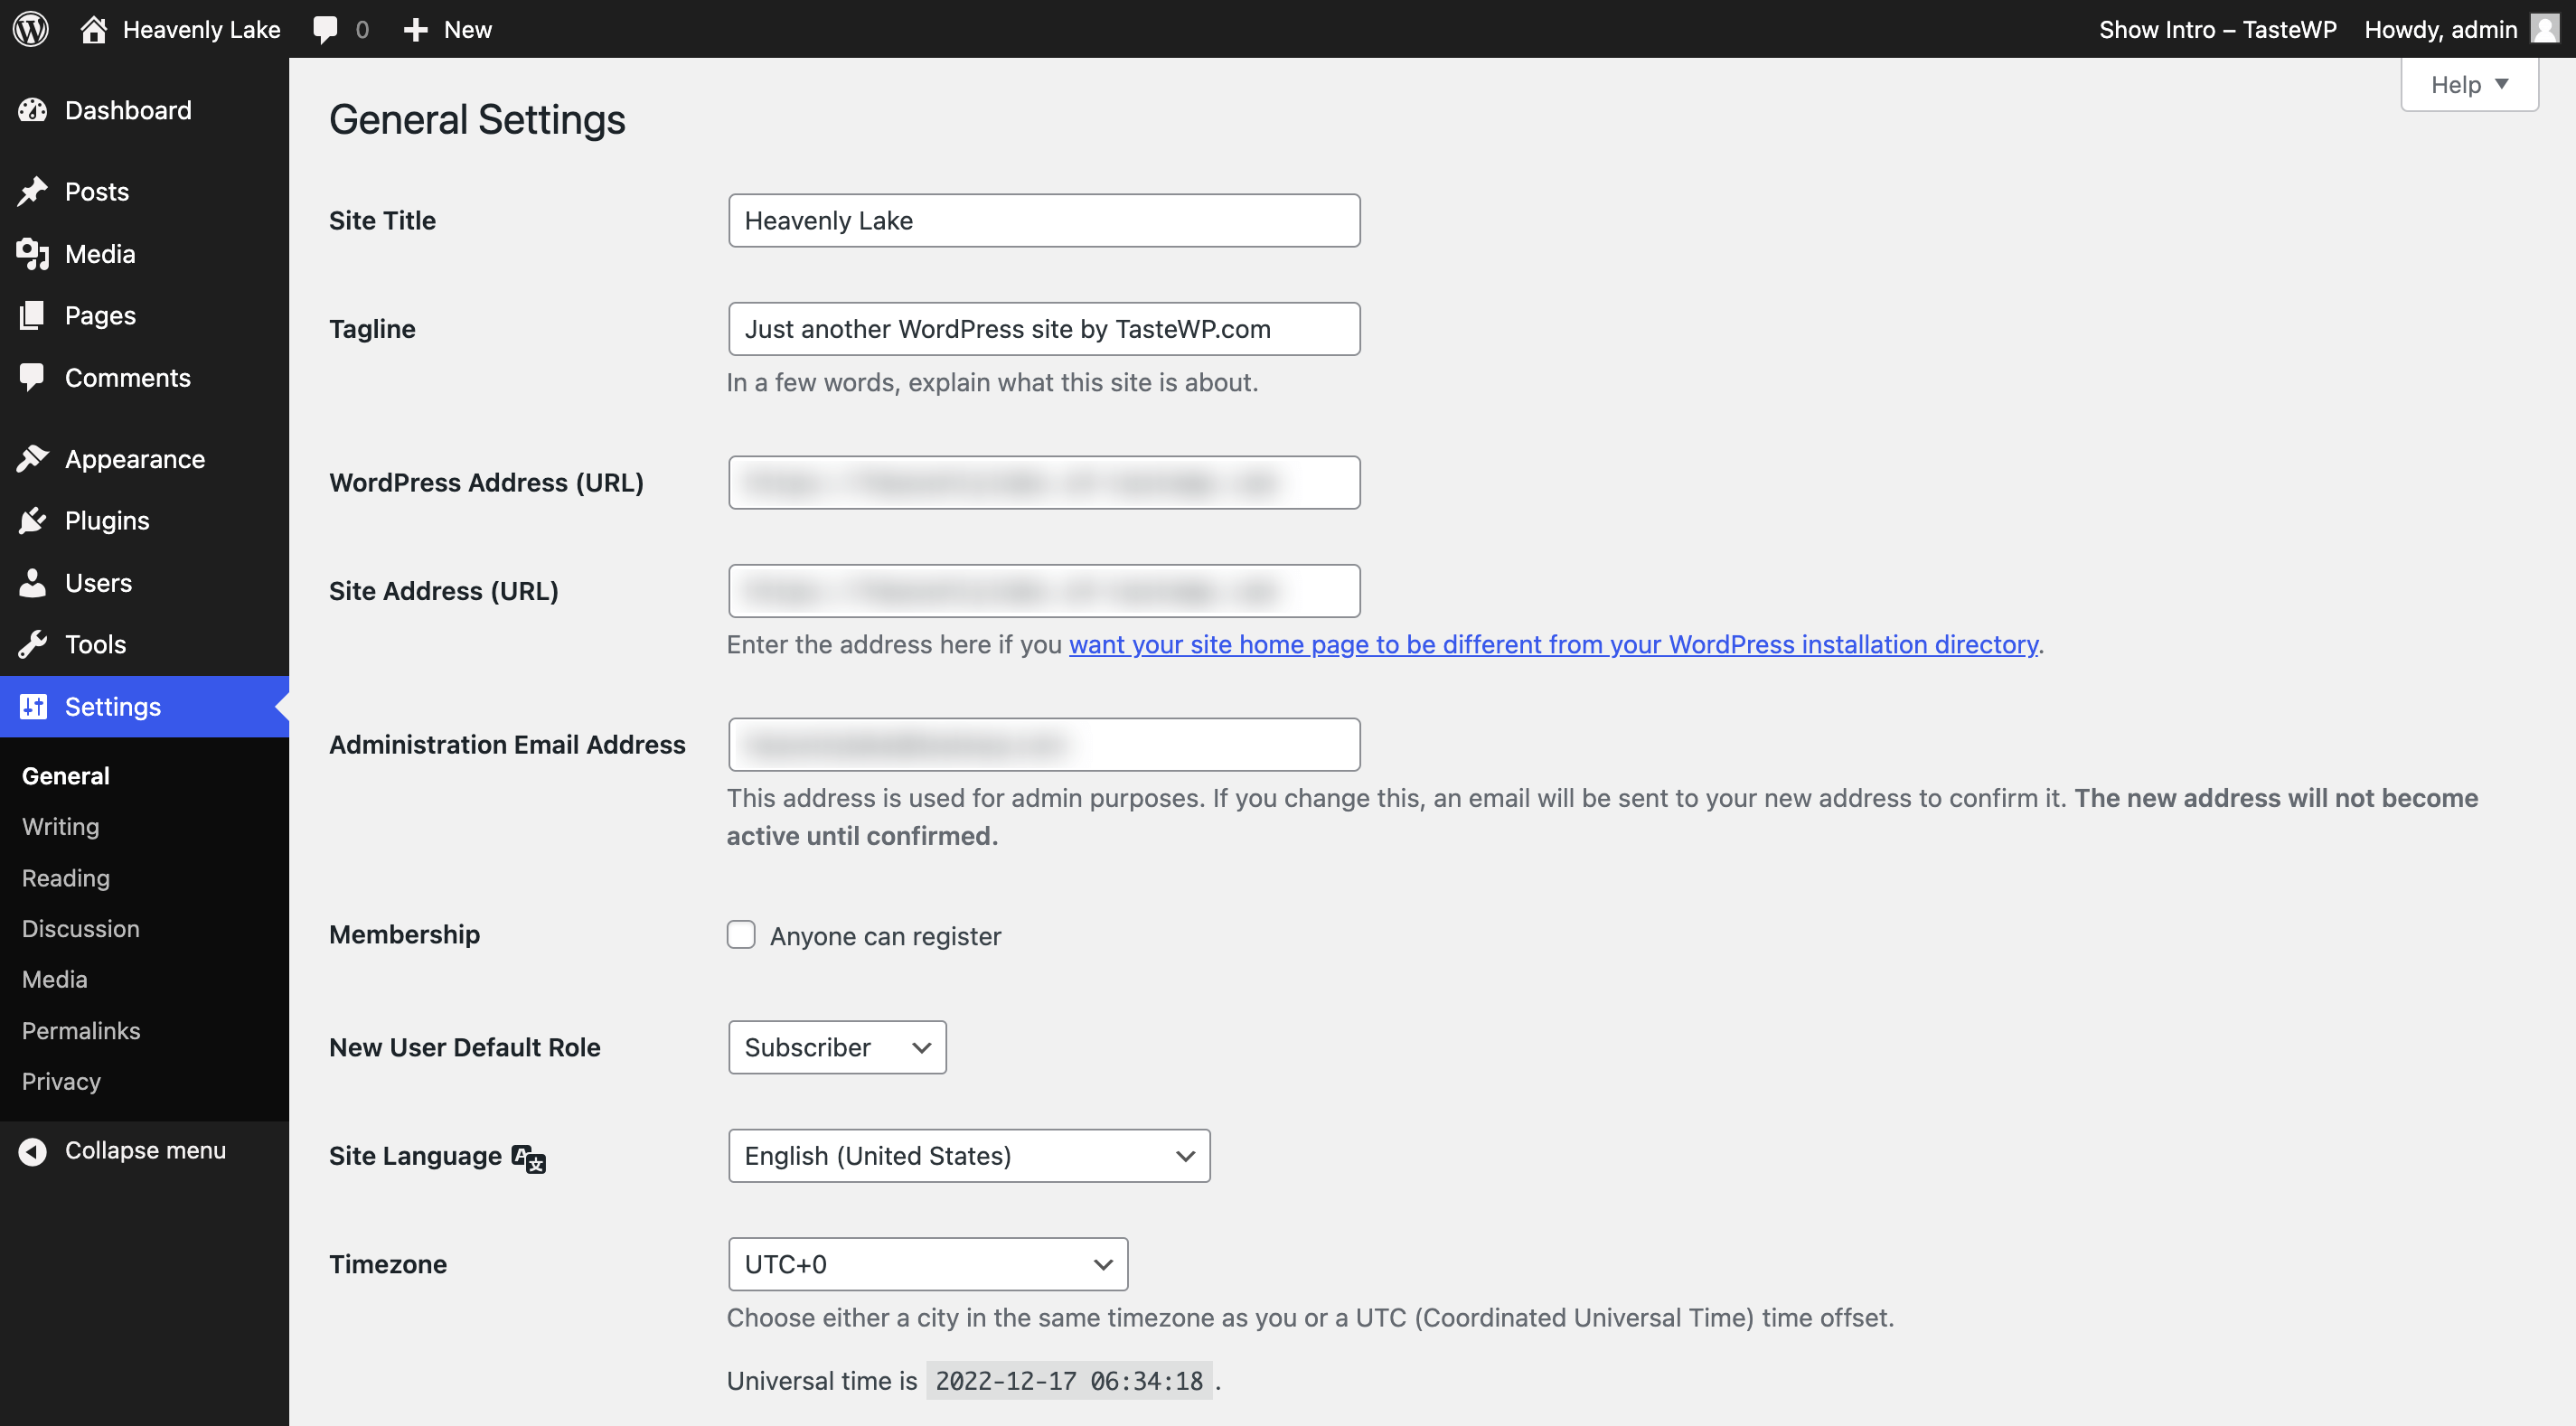
Let’s take a look at some of the most important settings that you can find in the Settings section of your WordPress website.
The “General Settings” section allows you to control the basic details of your site. This includes the title, the URL, and the site’s tagline. You can also choose to display the date and time format.
In the “Writing” section, you can set up the default post category and update services, as well as configure the “post via email” feature and more.
The “Reading” section is where you can configure the website’s home page, set the number of posts to show on the home page and configure the RSS settings for the website.
The “Discussion” section is where you can configure comment settings, such as whether or not to allow comments and how comments are moderated. You can also set up user registration and set up user avatars here.
The “Media” section is where you can configure settings related to uploading media files to the website, such as the size of images, how to store media files, and whether or not to generate thumbnails.
The “Permalinks” section is where you can set up the URL structure of the website, which impacts the SEO of the website.
The “Privacy” section is where you can set up the website’s privacy policy.
Don’t forget that it’s important to take the time to understand what each of the settings does and to configure the settings properly.
Wrapping Up
We hope this article has helped you understand WordPress as a total beginner.
With a little bit of knowledge and some practice, you’ll be able to create a website or blog that’s both attractive and functional.
If you’re looking for a way to test out a WordPress theme or plugin before you commit to using it, you can use a tool like TasteWP. It’s a great way to experiment and explore WordPress for free.
So don’t be intimidated by the interface, take some time to explore the platform and learn all it has to offer.
If you are looking for more hands-on assistance, WP Buffs offers 24/7 WordPress maintenance services, such as support for site speed optimization, debugging, and more.
This service is great for when you need assistance with more technical issues or if you just want more control over your website.
Happy WordPressing!

28 thoughts on “How to Use WordPress Admin Dashboard (Beginner’s Guide)”