
Starting a new WordPress blog is an excellent idea.
When you start thinking about how to start a WordPress blog on HostGator, It’s good to choose WordPress for a better future. And with HostGator, you just going to make a good choice if you’re expecting to start your self-hosted blog quickly.
WordPress is commonly known as blogging web software. However, its flexibility offers much more than blogging software to even build your business website also.
The best part is if you want to start a blog representing your business, WordPress has that everything to manage what you’ll need in the future.
Let’s begin!

Disclosure: Our website is reader-supported. If you purchase any product through our partner links, we may earn a commission at no extra cost to you.
Introduction to the Way
If you’re interested in creating blogs or websites before, I hope you’ve known about these website building and blogging platforms, such as:
- blogger.com
- wix.com
- weebly.com
- tumblr.com etc.
All of these free platforms are great. But, free platforms have serious limitations for starting your own blog.
Even if you have a problem with one aspect of your website or blog, you are limited to the solutions your platform offers. Because they hosted your files and all the things on your blog.
When it comes to starting a WordPress blog with HostGator, this is called a self-hosted blog, a more of a DIY solution.
WordPress is used by millions of businesses and individuals to create a website or blogs.
Since it’s born in 2003, WordPress has grown to be the world’s most popular content management system (CMS).
It’s easy to use, flexible, and customizable, making it a top choice for site owners who want to get up and running quickly.
Because you host your blog’s files on your hosting space.
So, you’ll have full control over your blog to make it looks perfect with design, options, and whatever features you want to be added.
Let’s start your WordPress blog, follow the guide!
1. Sign Up for HostGator
In general speaking, Web hosting is the service that enables you to publish your blog on the Internet. When you sign up for a web hosting service, which means you’ll rent some space on a physical server from that web hosting company to store all the files and data need for your blog to serve it properly for your visitors.
To build your blog you need to sign up for a Web hosting plan.
HostGator is a popular hosting provider that offers easy and affordable hosting plans for users. The best thing is you can start with as low as a $2.75/month low-priced introductory offer.
→ Click here to head over to HostGator and hit the yellow “Get Started” button.
It already powers millions of websites and they offer quite cheap prices compared with other hosting providers. It will help you to make the right decisions to manage your blog cost within your budget.
Mainly HostGator will offer you:
- A free domain name (for the first year)
- SSL certificate included
- One-click WordPress Setup
- Plans starting at $2.75/month
- 24/7 customer support.
- 45-day money-back guarantee
The shining part is the free domain name, pricing, and money-back guarantee. Unlike other web hosting service providers, HostGator offers you a 45-day money-back guarantee so no risk.
2. Choose Your Hosting Plan
Web hosting services come in different sizes in different cases such as Shared hosting, dedicated hosting, VPS, managed hosting, and more. In this case, Shared hosting is perfect for your new blog.
First, Select a plan you preferred. I can recommend you to go with the “Baby Plan” because it has more unlimited features. However, if you’re planning to start just a single blog, the “Hatchling Plan” is perfect for your work.
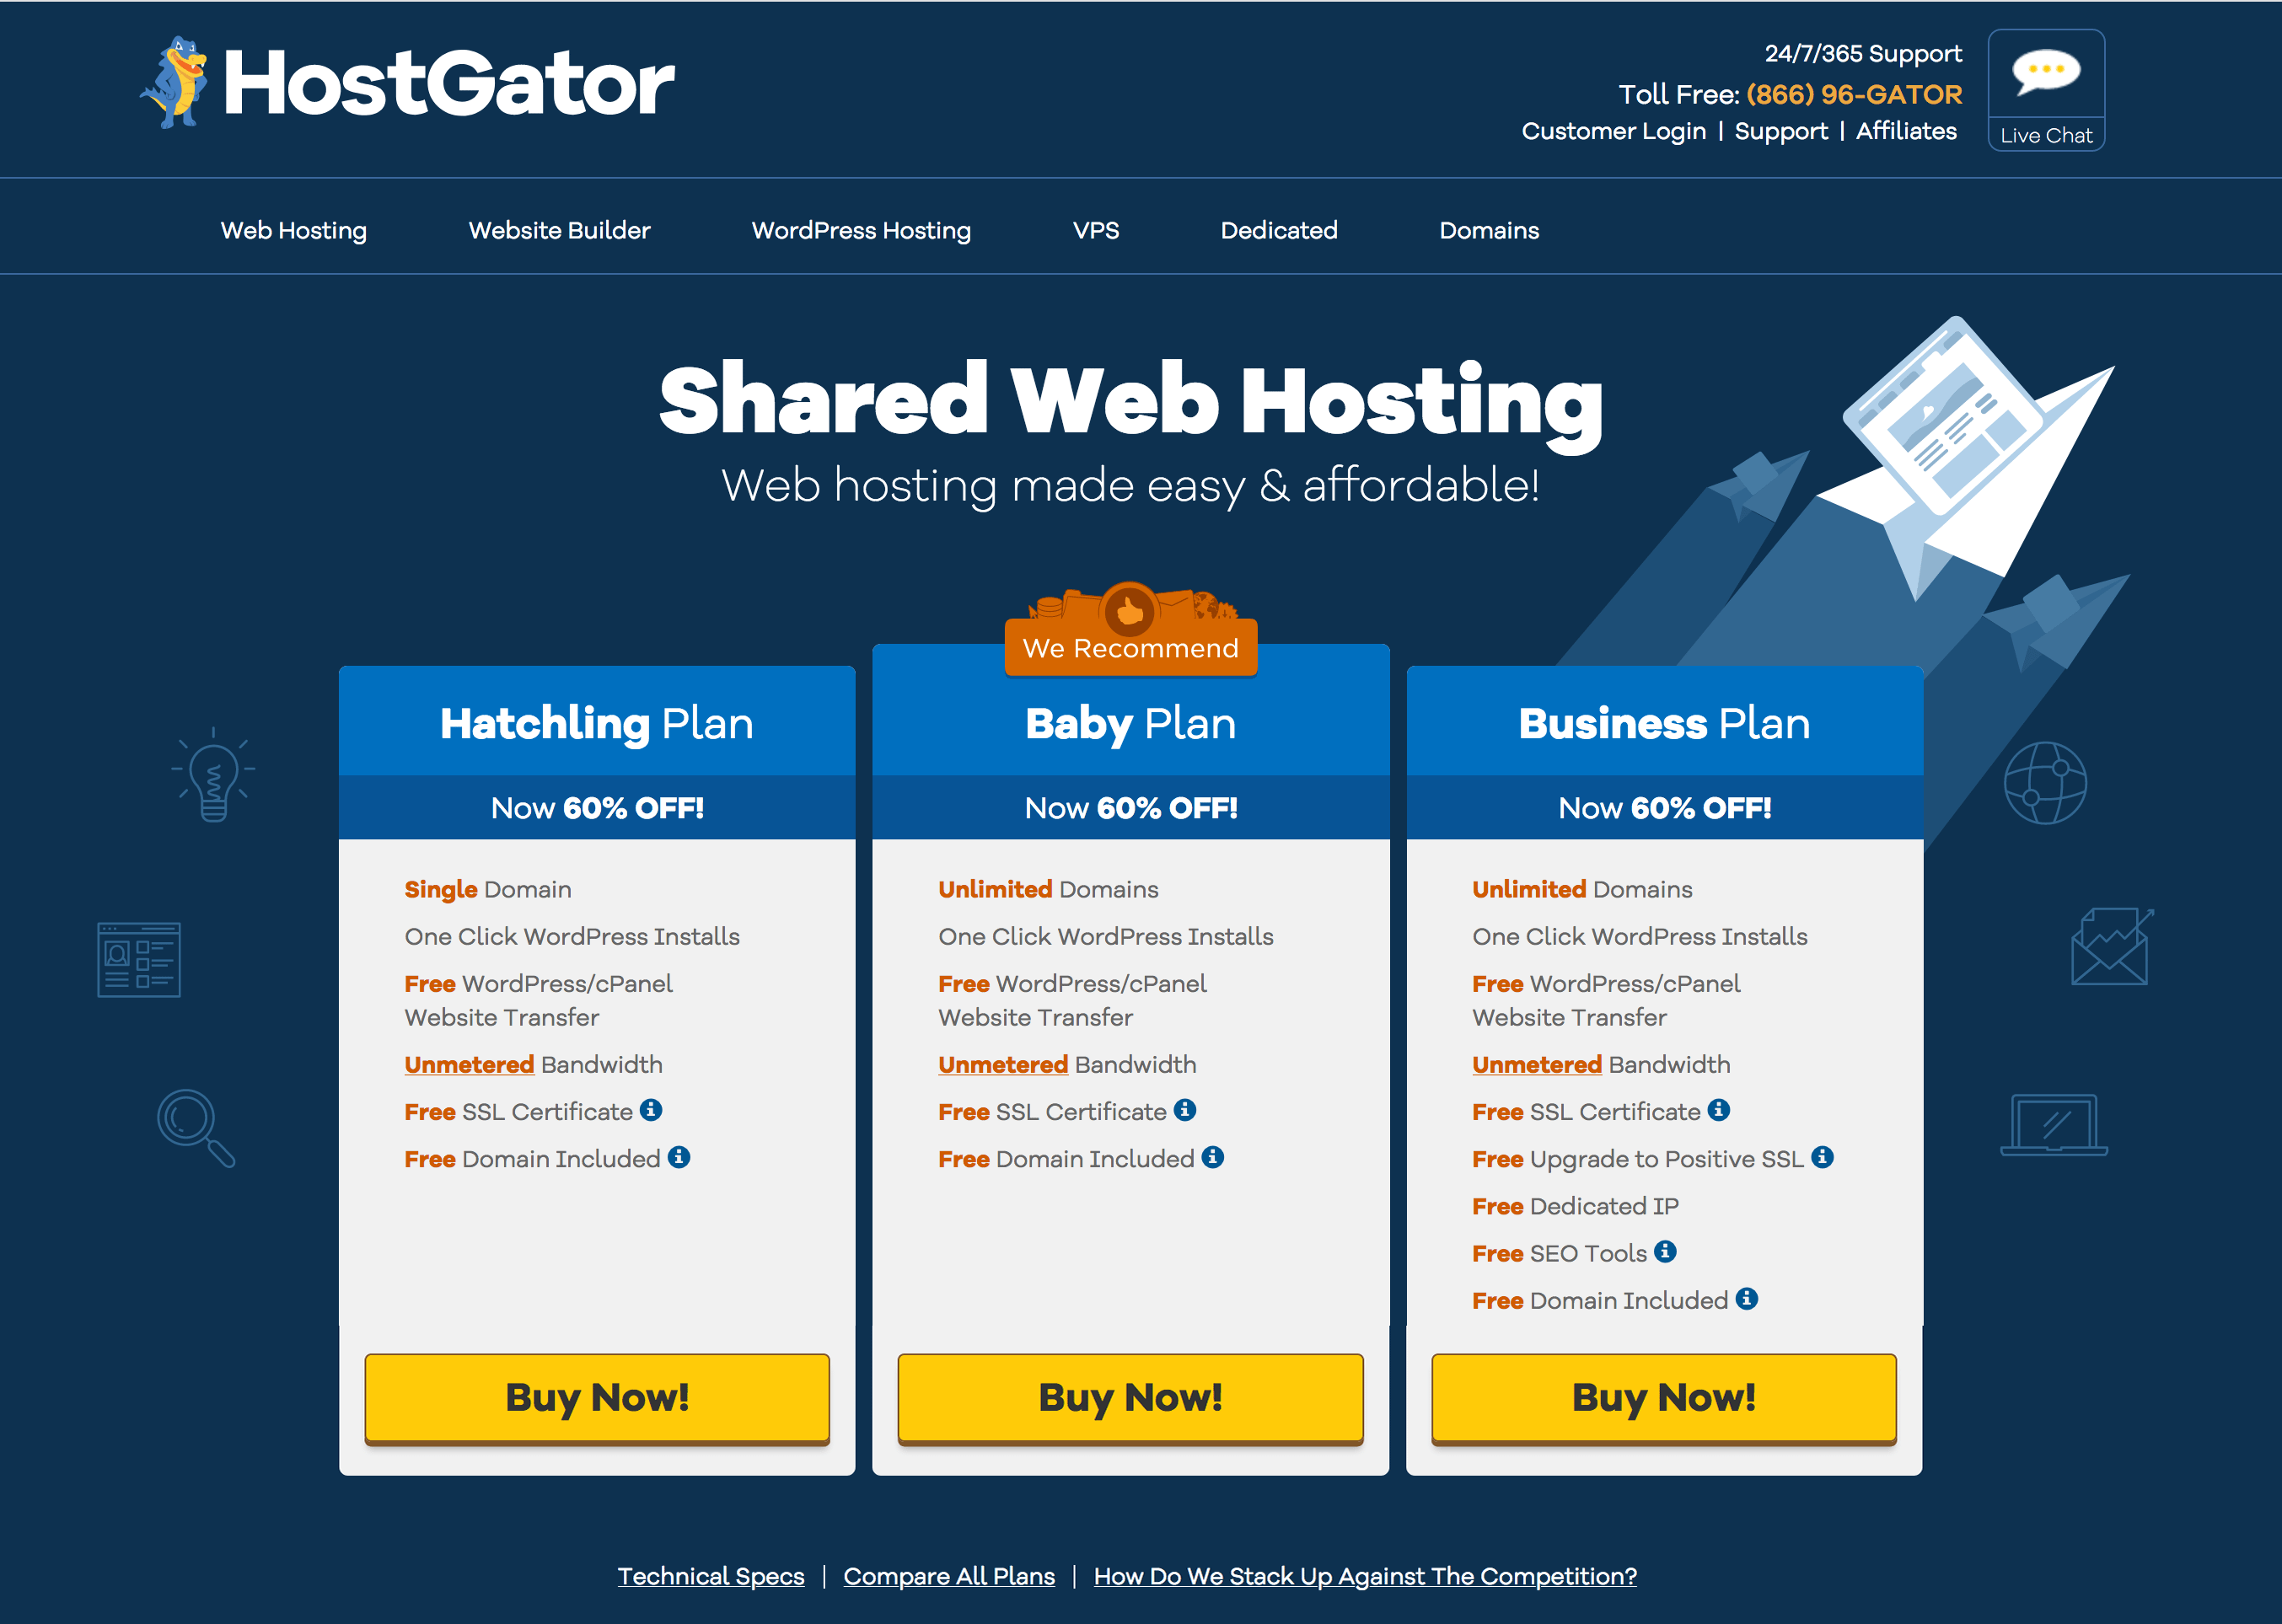
When your blog needs more resources, you can upgrade to a large hosting plan as your requirements. But if you don’t have a large number of blog visitors, Shared hosting is good for you.
3. Pick an Awesome Domain Name for Your Blog
It’s time to name your blog!
HostGator offers a FREE domain for the first year and a FREE SSL certificate. If you’re not heard it before, an SSL certificate is a digital certificate that provides authentication and enables an encrypted connection for a blog.
Simply, the padlock icon in the address bar on the web browser.
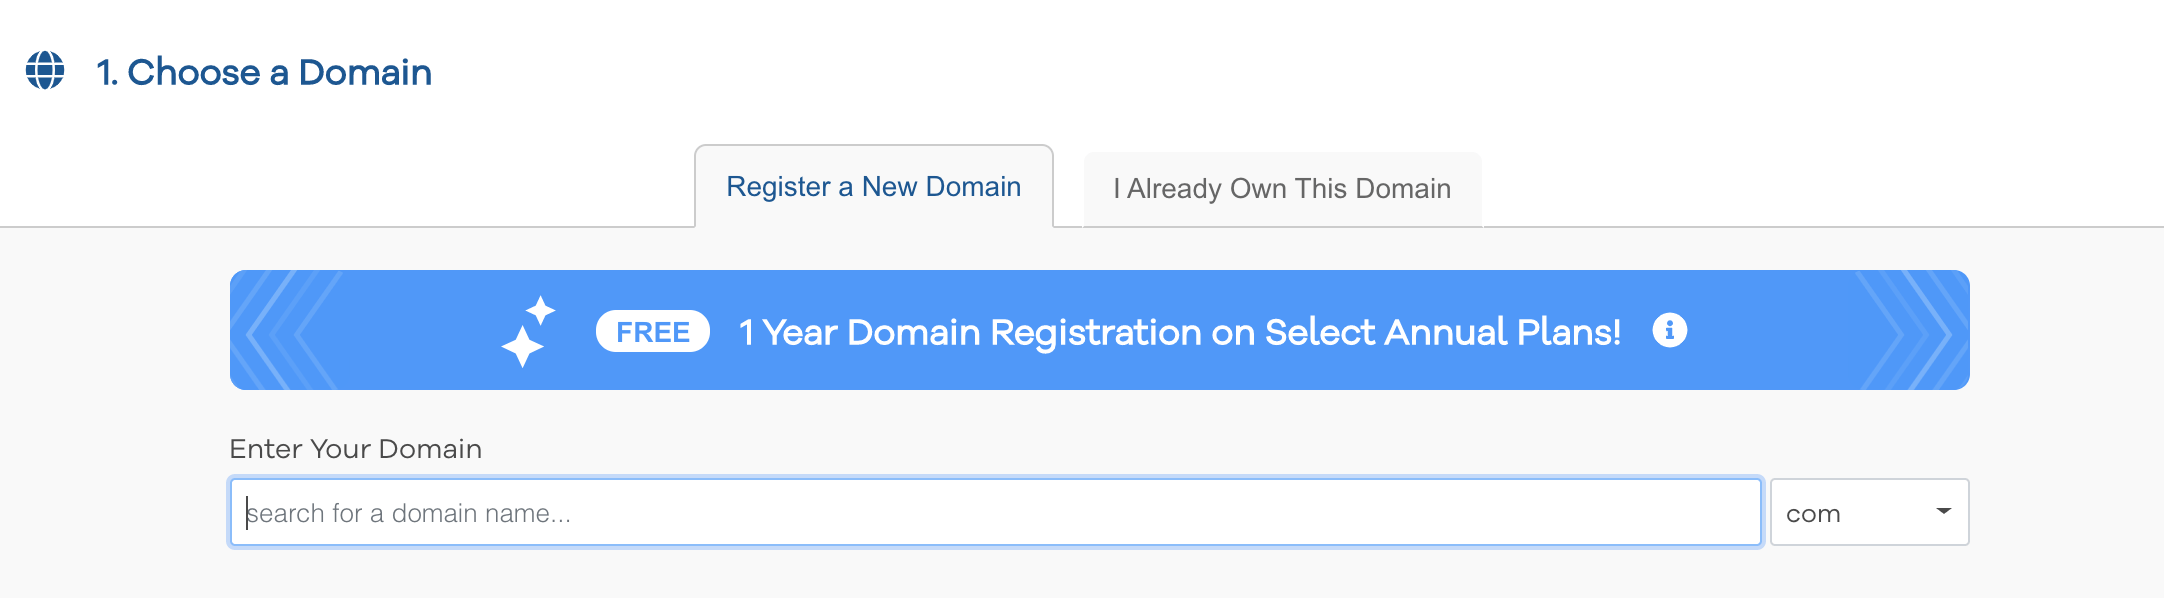
Take your time and enter the domain name (your web address) you want to be on your blog. It can be your name, company, organization name, or whatever name you want to be as your domain name.
But, remember that you can’t change it again once more!
4. Complete Hosting Registration
In this step, you have to choose your package correctly. You can choose a package pricing on how far in advance you want to pay.
If you can pay for 36 months (3 years), your monthly cost will be reduced from the normal price to $2.75/month (only for the first year) and you can save more money and you will get hosting for 3 years!
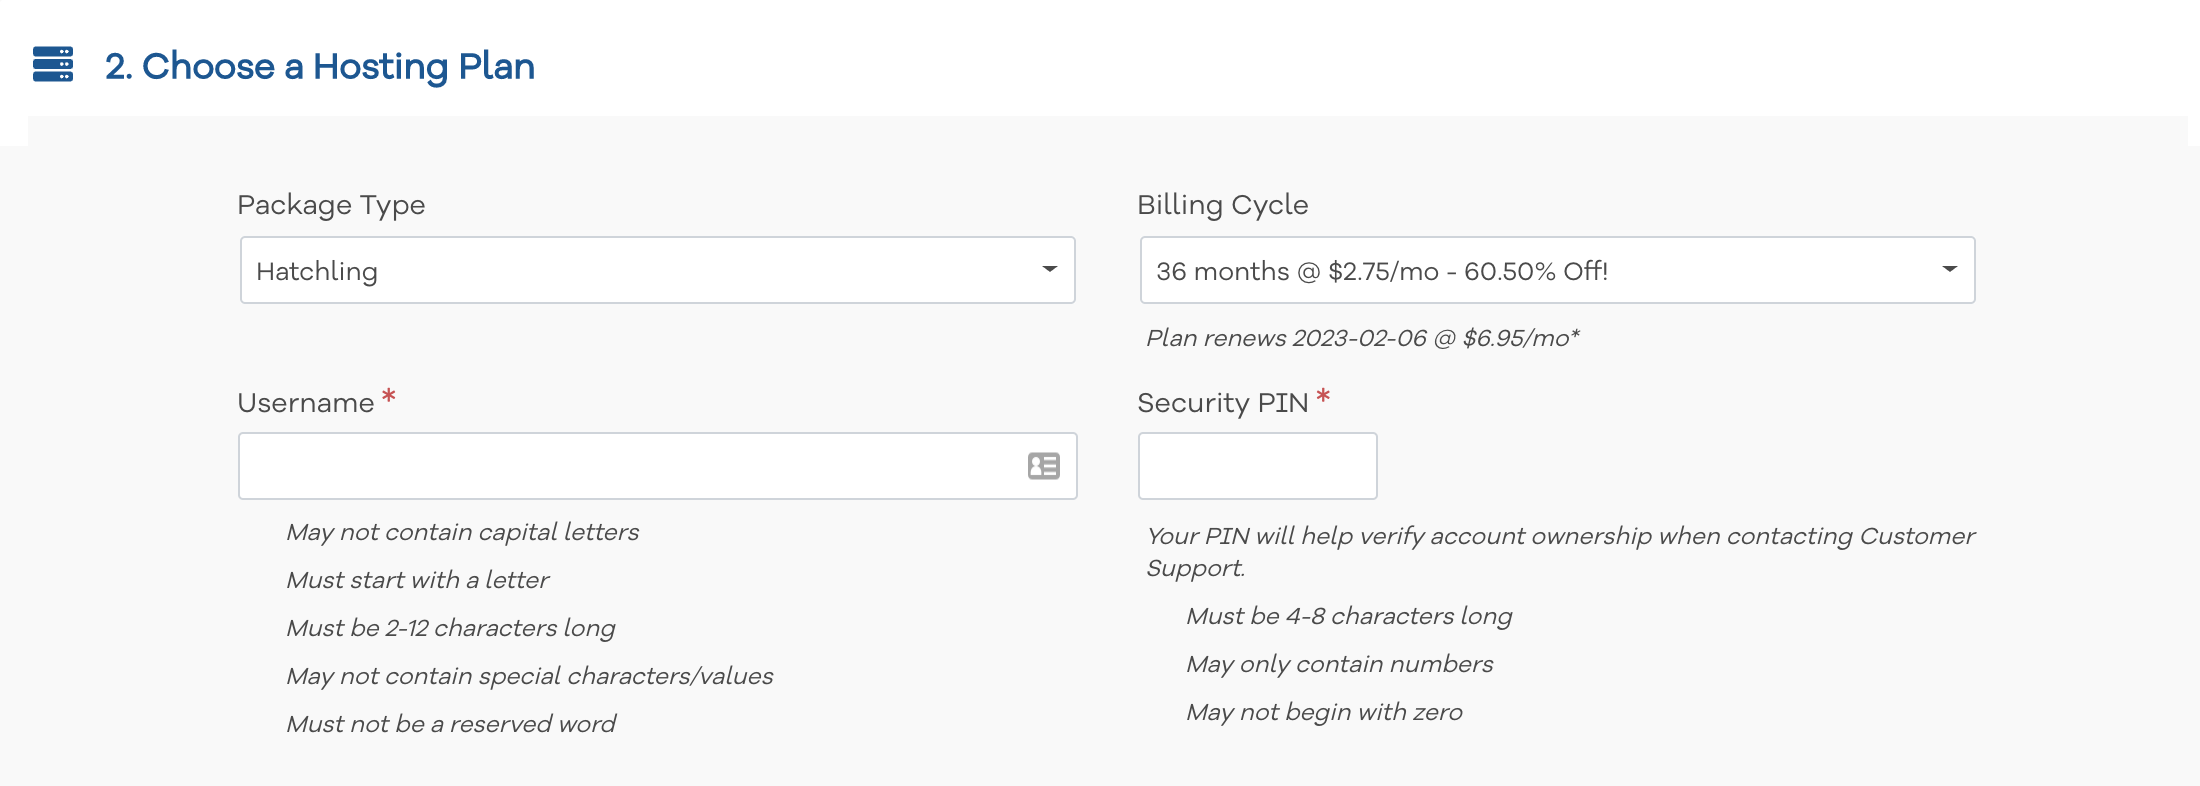
They also offer monthly payment options starting at $10.95, which is a little more expensive for a month than the price you will pay with annual plans. If you go with annual plans you can save more for the coming up years.
Once you select your billing cycle, step forward to billing info to purchase your hosting.
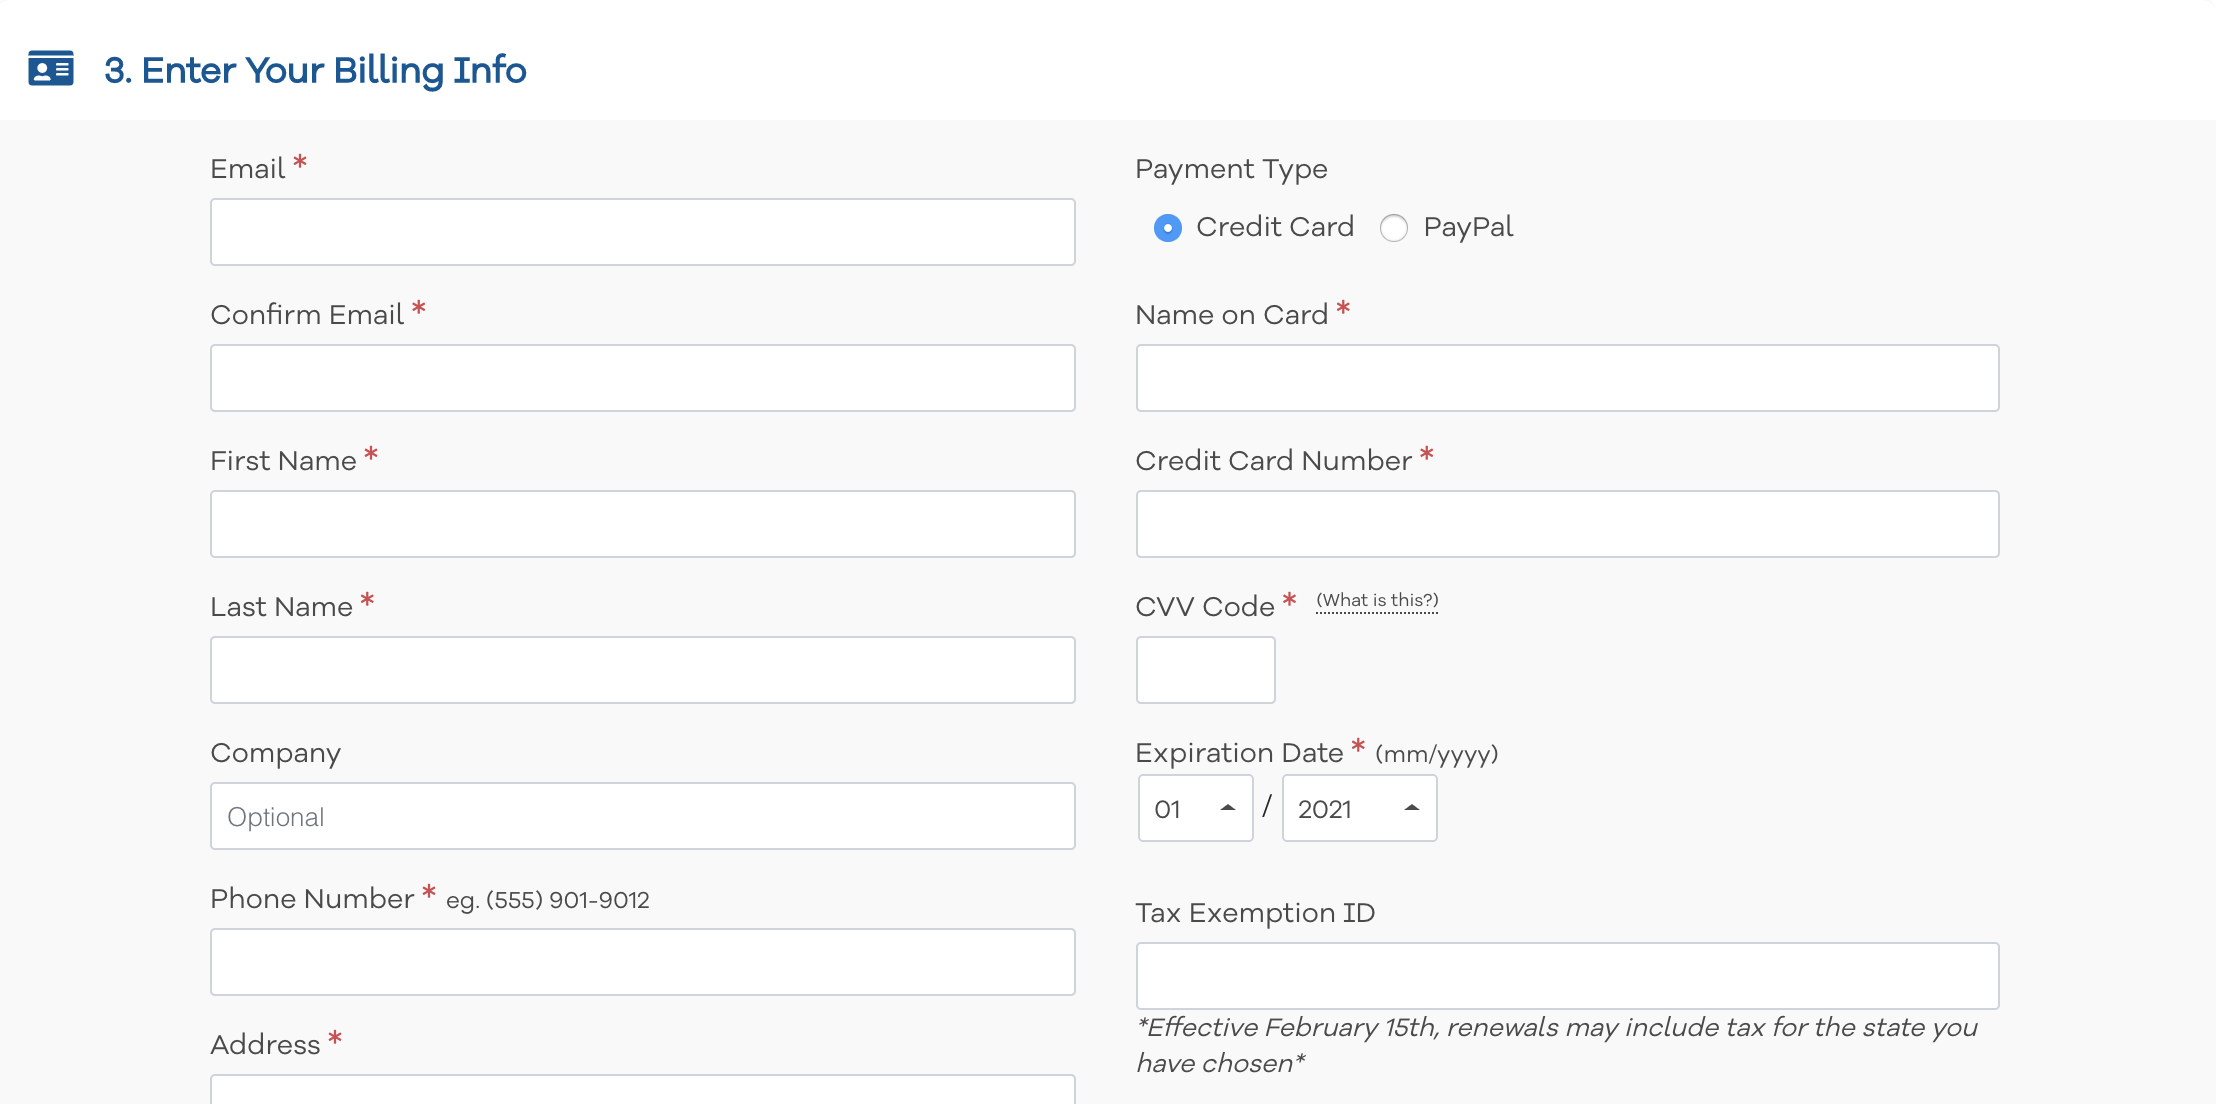
Follow the instructions carefully and complete your hosting purchase. Enter your payment information, review the Policies and Terms, check the box, and hit the green “Submit” button!
When you have done, it will take few moments to create your account. Simply go to your email inbox and check for the HostGator order confirmation email to get started.
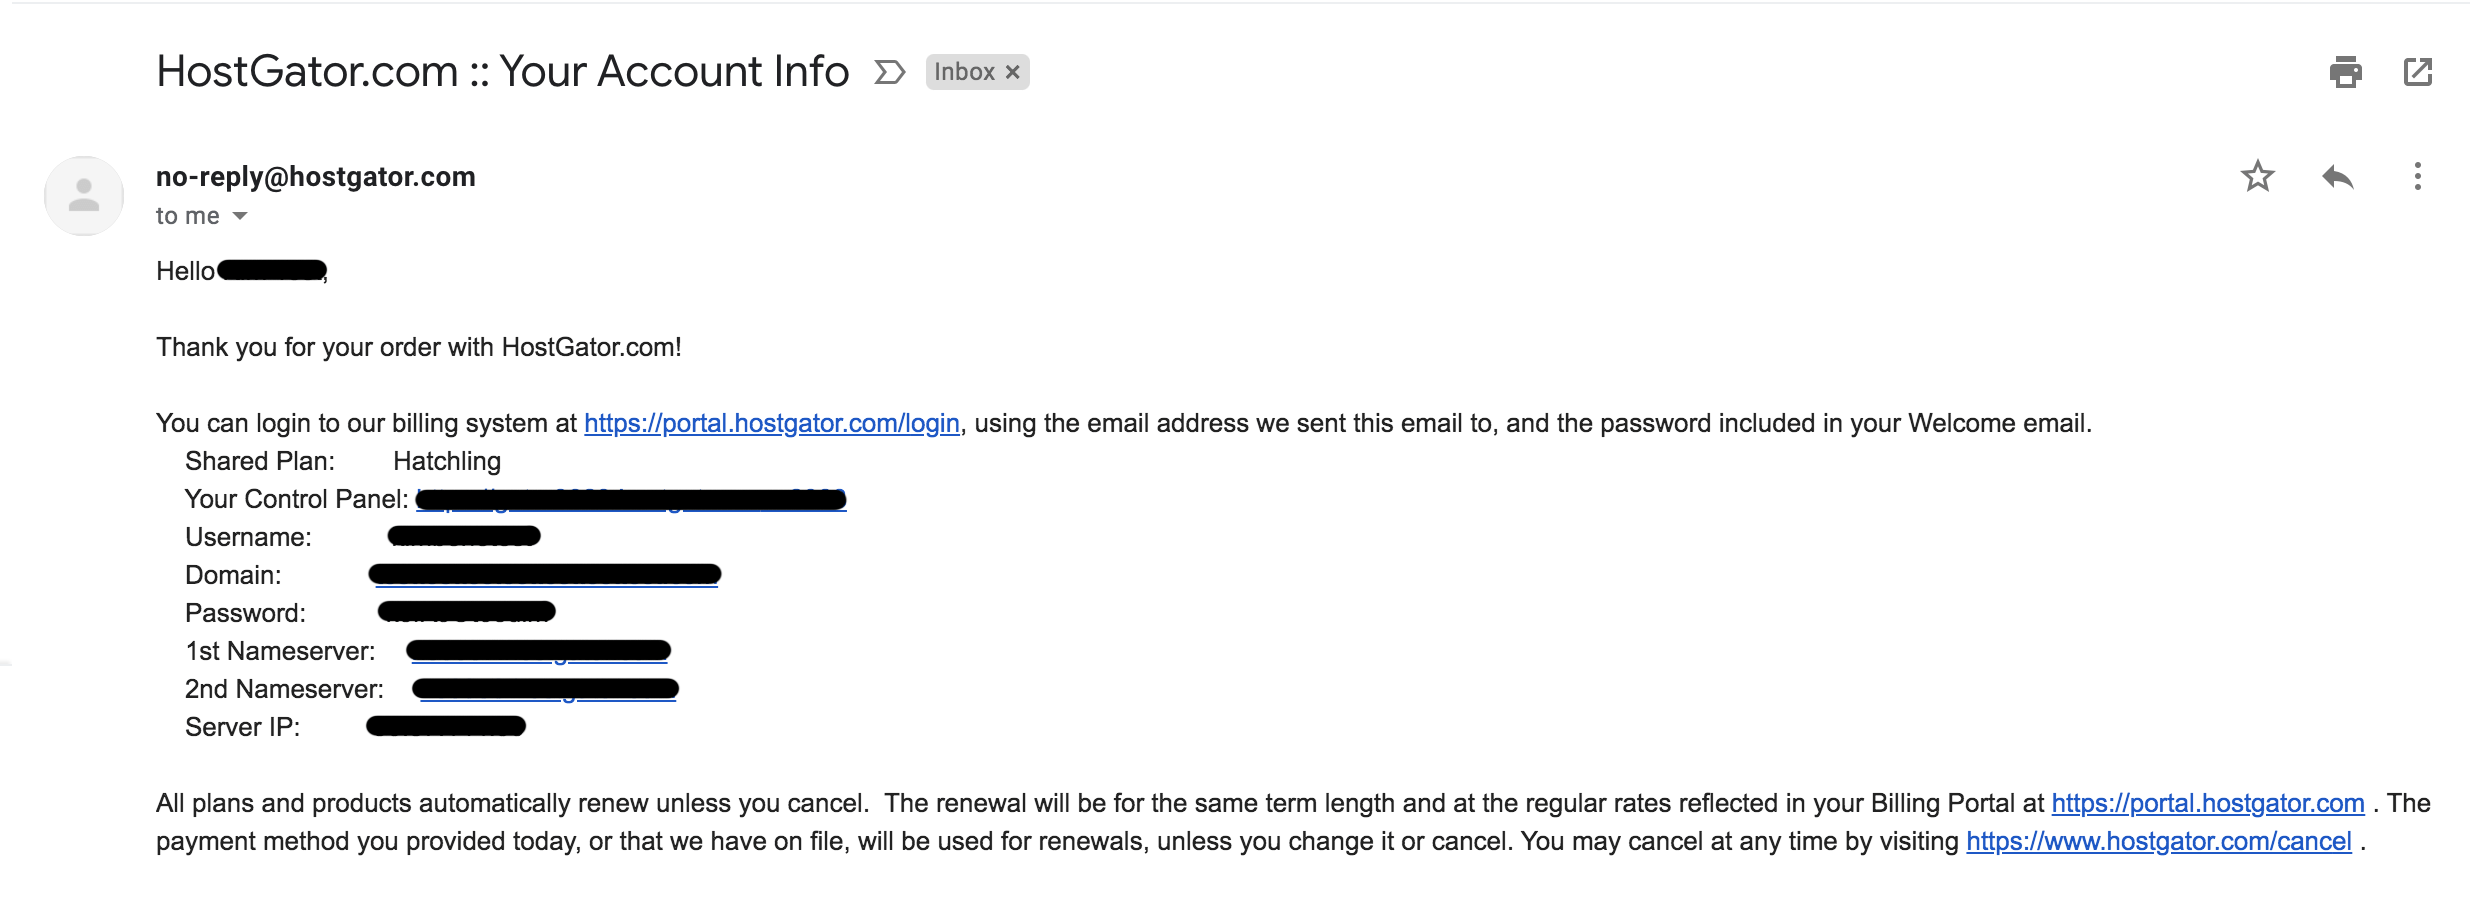
Once you’ve it, you’re good to go!
Just a quick note: If you feel that process is quite hard for you, don’t worry. You can purchase your preferred hosting plan from Hostgator and visit fiverr.com to hire a top-rated developer to get your things done.
5. Install WordPress
Now you’re an owner of a brand new HostGator hosting account. Just click the login link on the confirmation email you received and log in to the HostGator customer portal with your credentials.

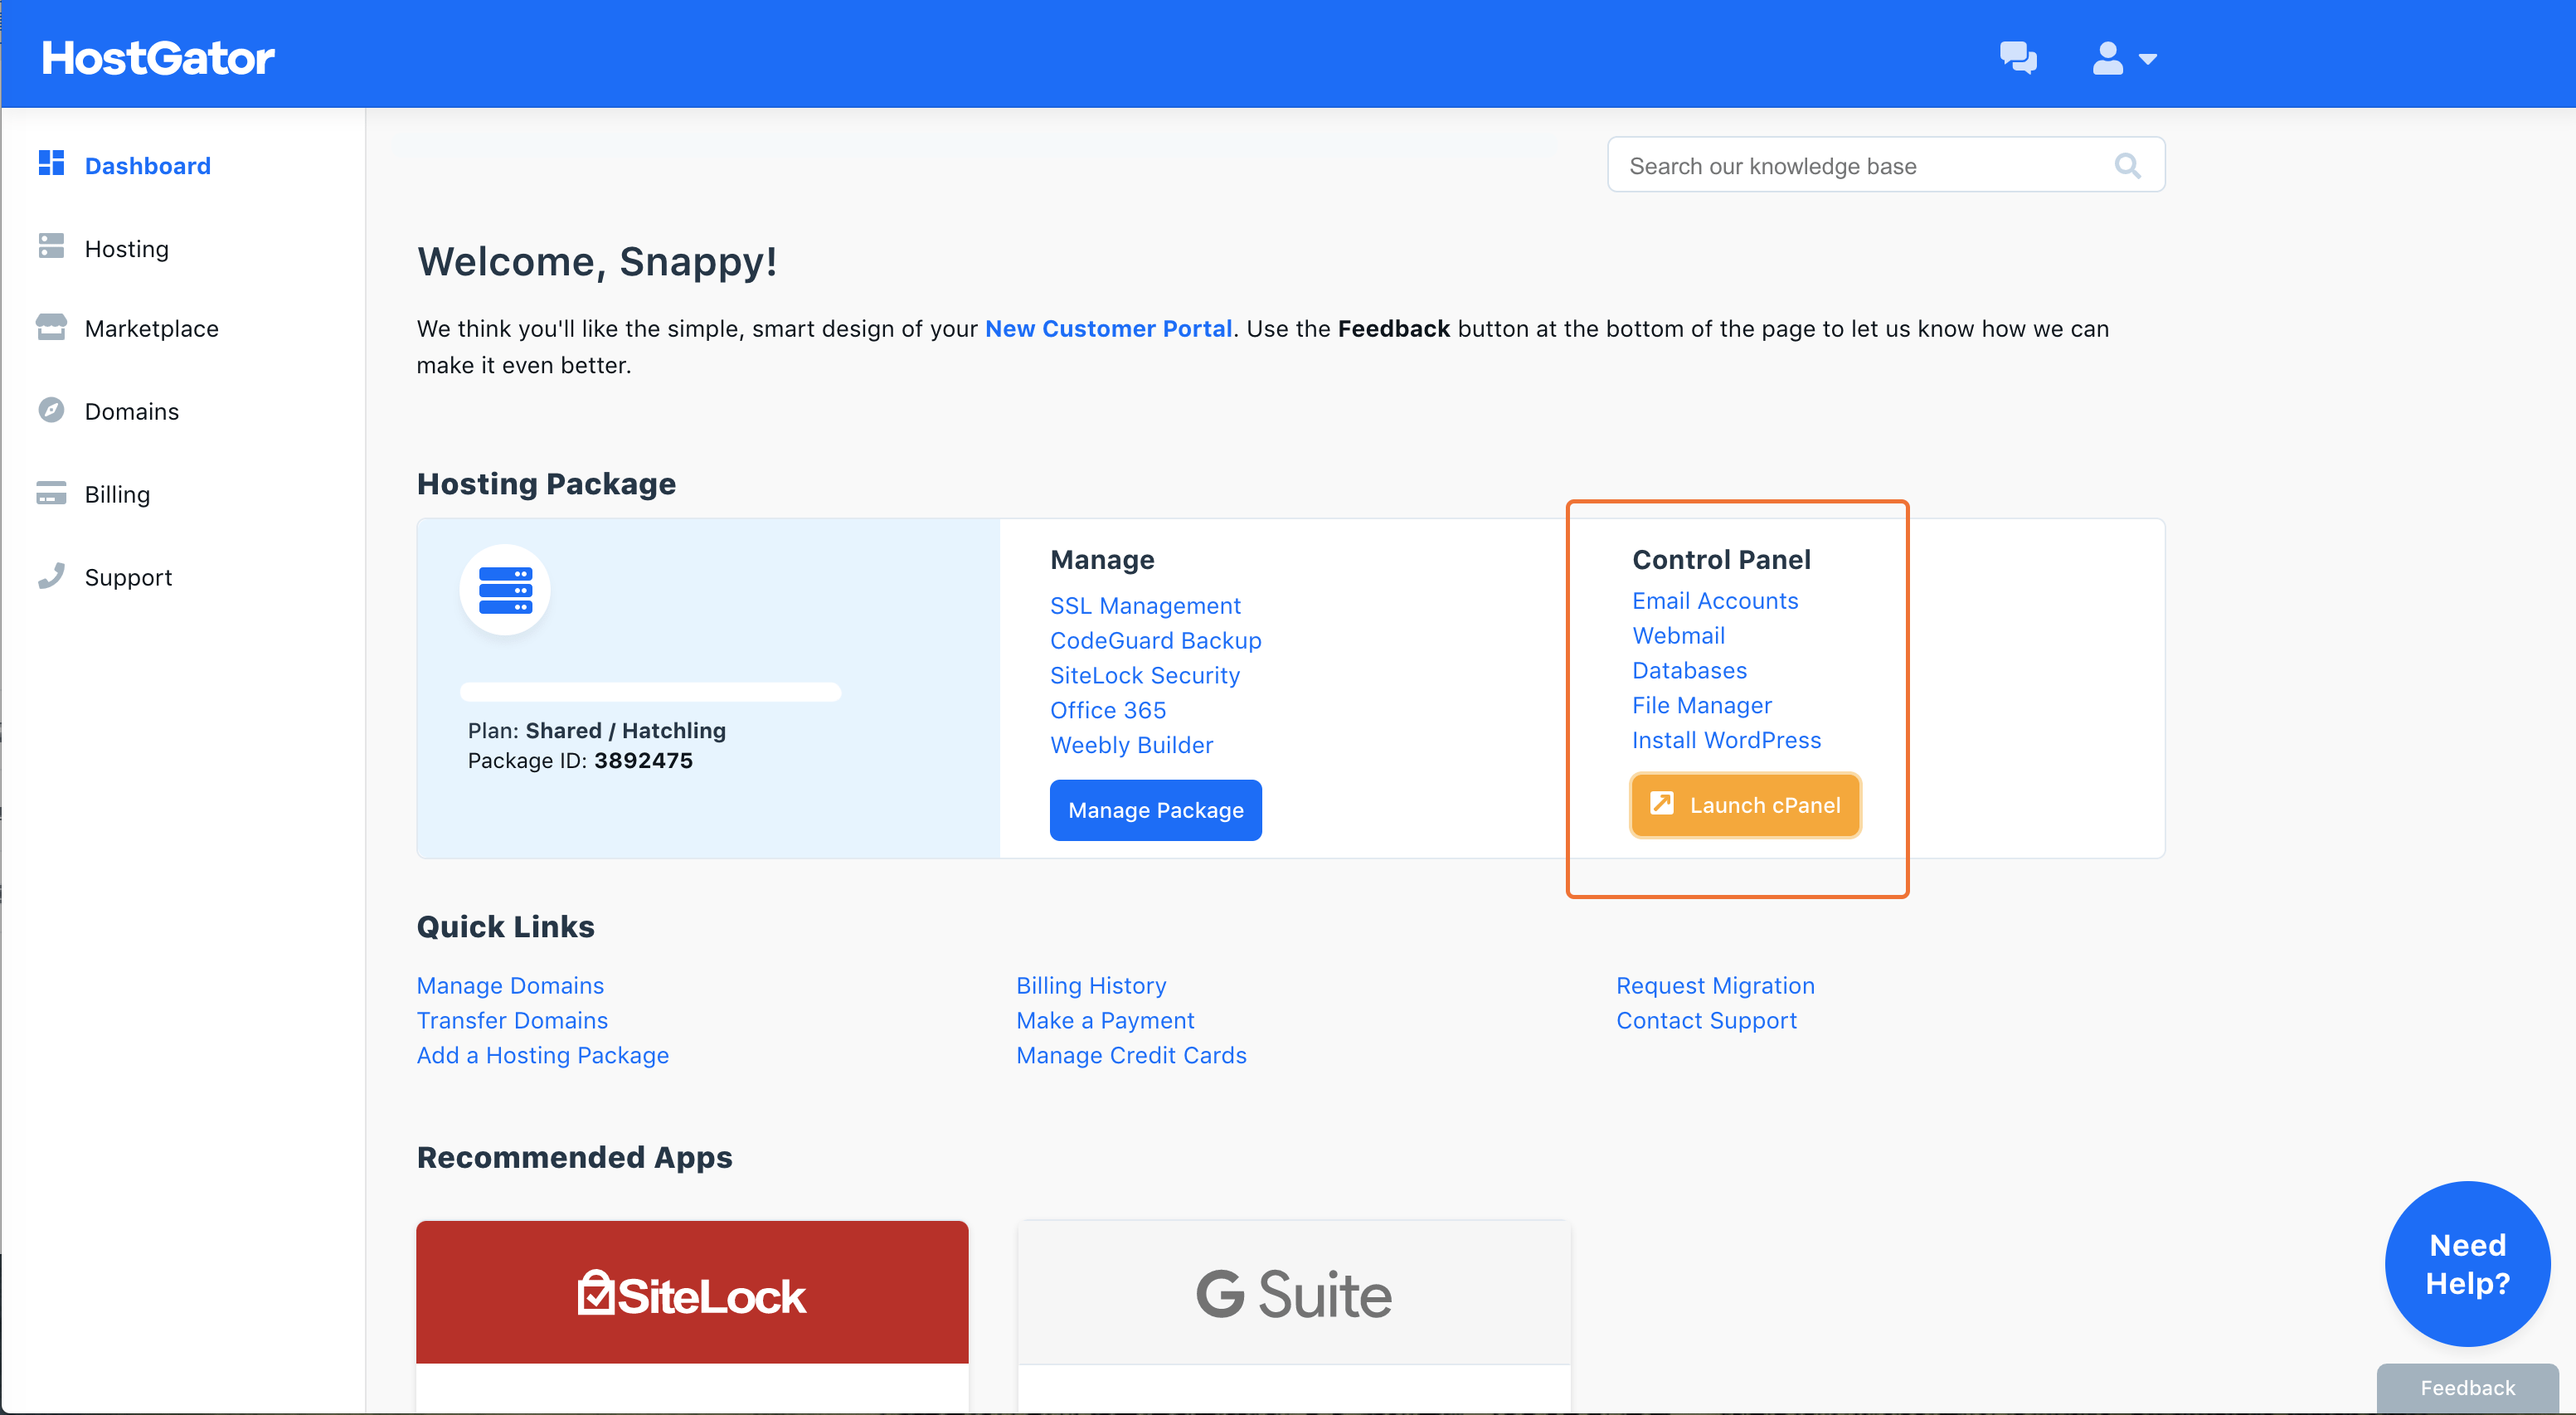
Once you’ve logged in successfully, it will take you to the HostGator dashboard, so this is the place you can manage your hosting-related settings.
To start building your blog, you need to access the Cpanel to Install WordPress first. Simply click the “Launch Cpanel” button from the dashboard.
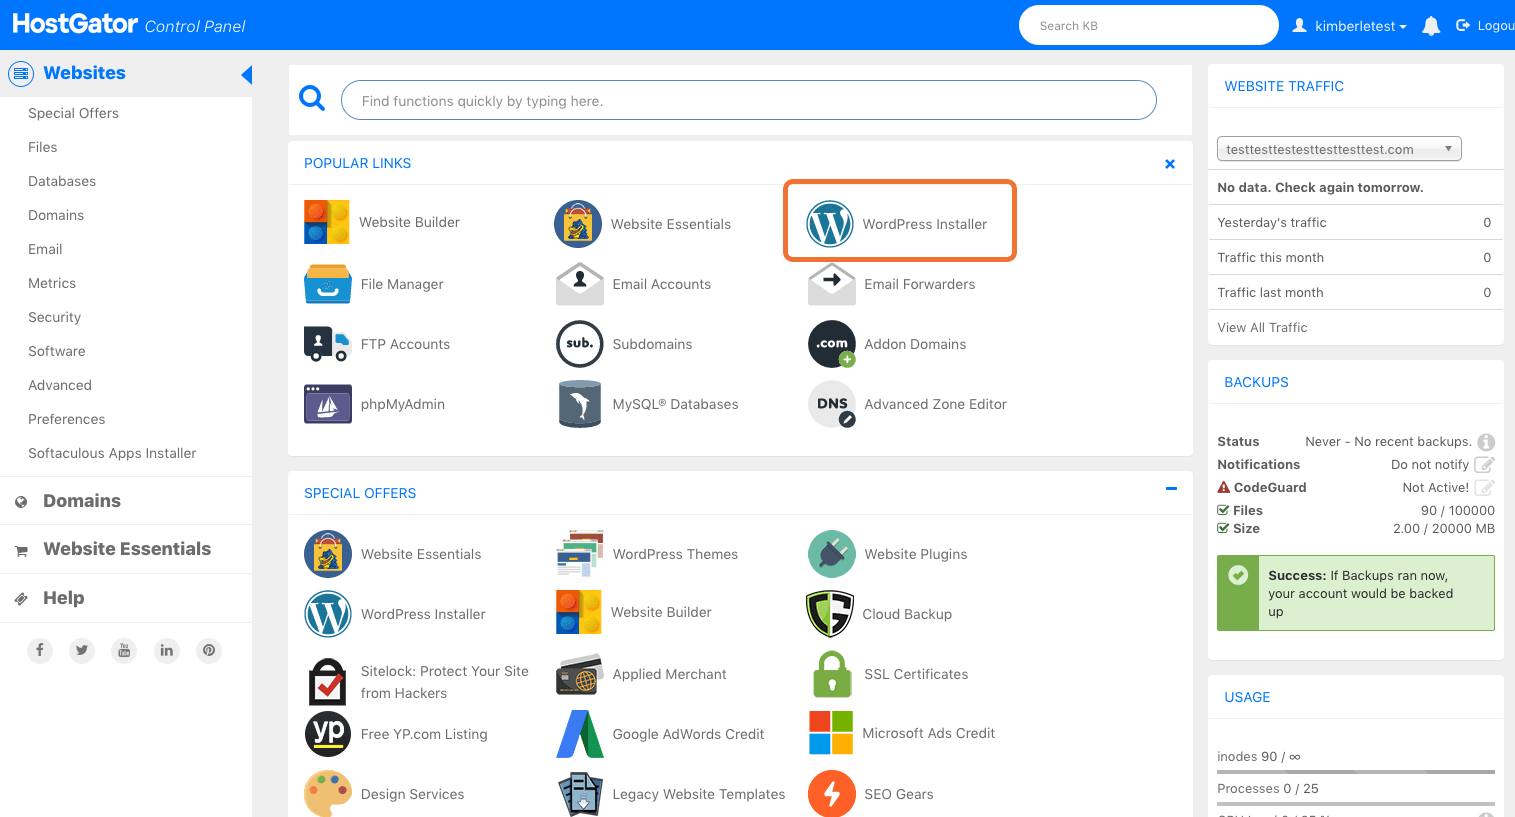
When the Cpanel has launched click “WordPress Installer” to get started.
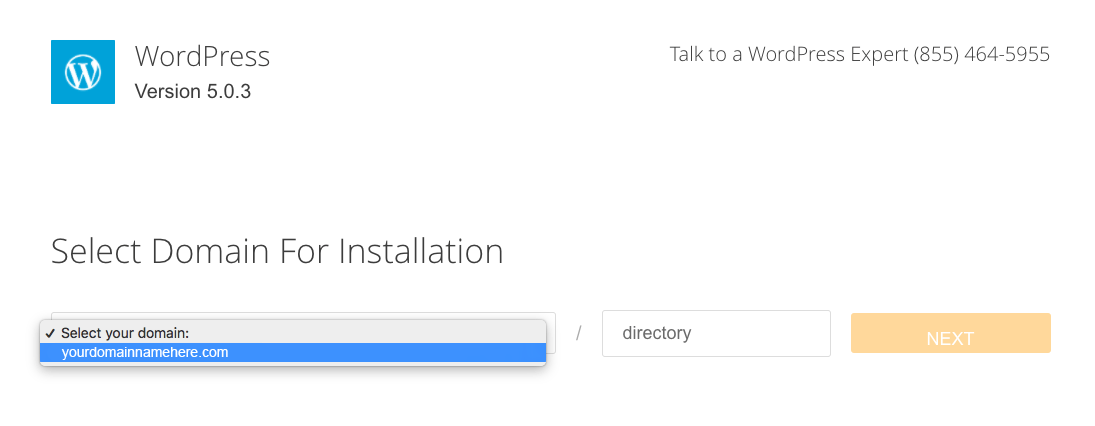
In this step, choose the domain you needed to be WordPress installed. it’s would be your new domain name.
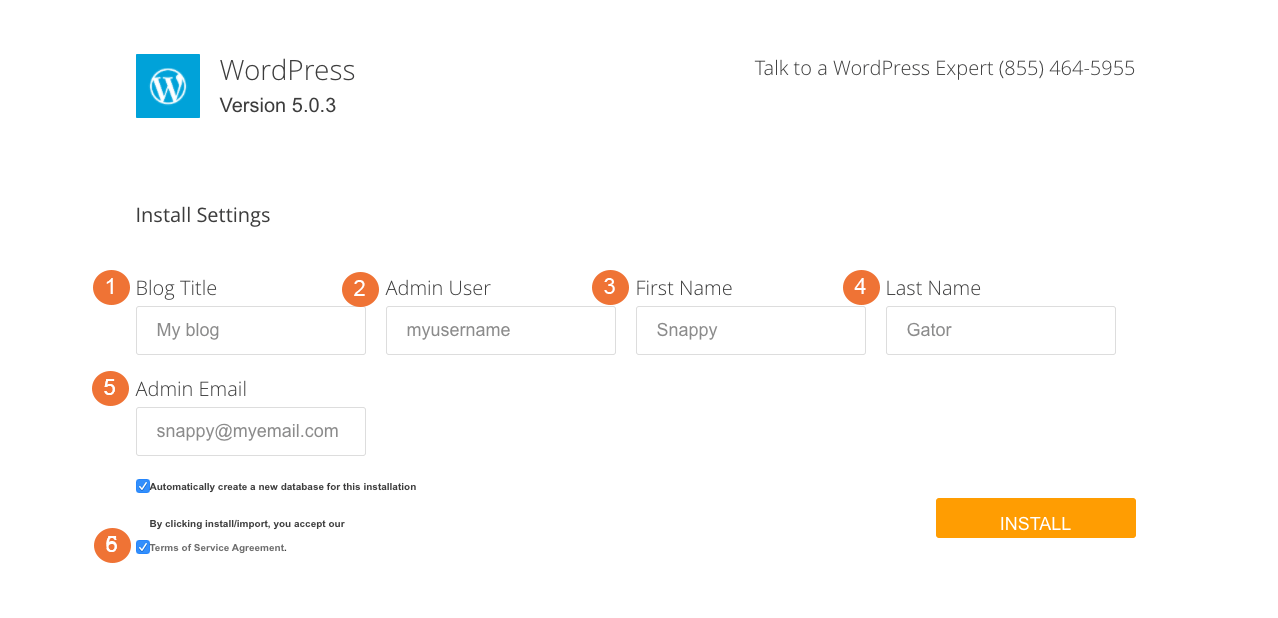
In this window, you need to provide new login details to your WordPress installation. The admin username can’t be changed once you enter here so make sure to give a username and password you can easily remember. Those credentials will be always required to login into the WordPress dashboard.
Once you’ve done with it all, click “Install” to start the installation process.
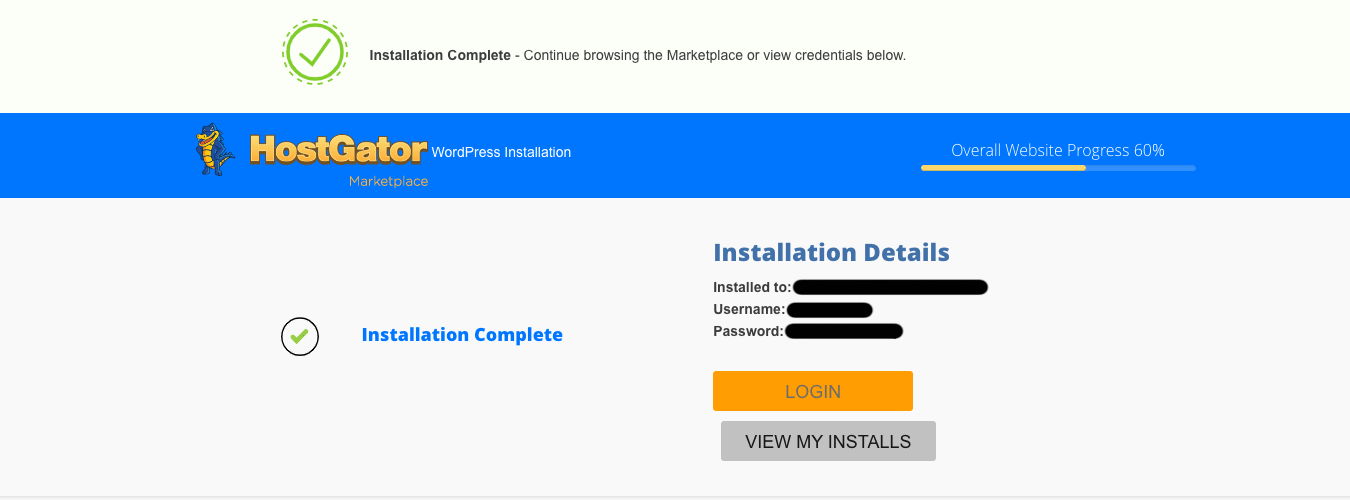
When the install has completed, click “Login” to access your WordPress dashboard.
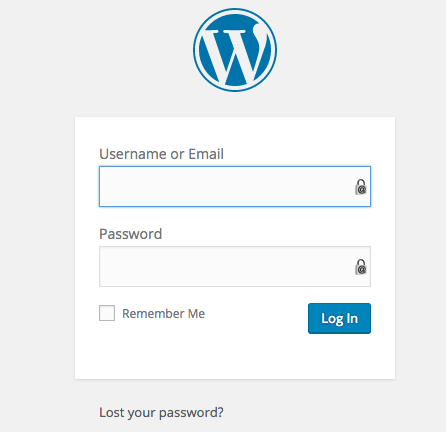
It will take you to the WordPress login page and use the login credentials you provided when installing WordPress. Or you can check your WordPress login page through youdomainname.com/wp-admin.
And, oh! Congratulations, you just have a self-hosted WordPress blog on HostGator!
6. Start Your Blogging Journey
Once everything has been done, you can start building your WordPress blog. Just a thing to remember, you should have two sets of login details:
- WordPress logins to access the WordPress dashboard (the place you’ll write your posts, and manage your blog.)
- HostGator logins to manage your hosting account-related settings and pay your hosting bill.
However, we have to spend more time on the WordPress dashboard, remember both passwords, and you will need your WordPress username and password to log in to the WordPress dashboard most of the time.
You can log in to your WordPress dashboard from anywhere using the link yourdomainname.com/wp-admin.
So, your WordPress dashboard will look like this:
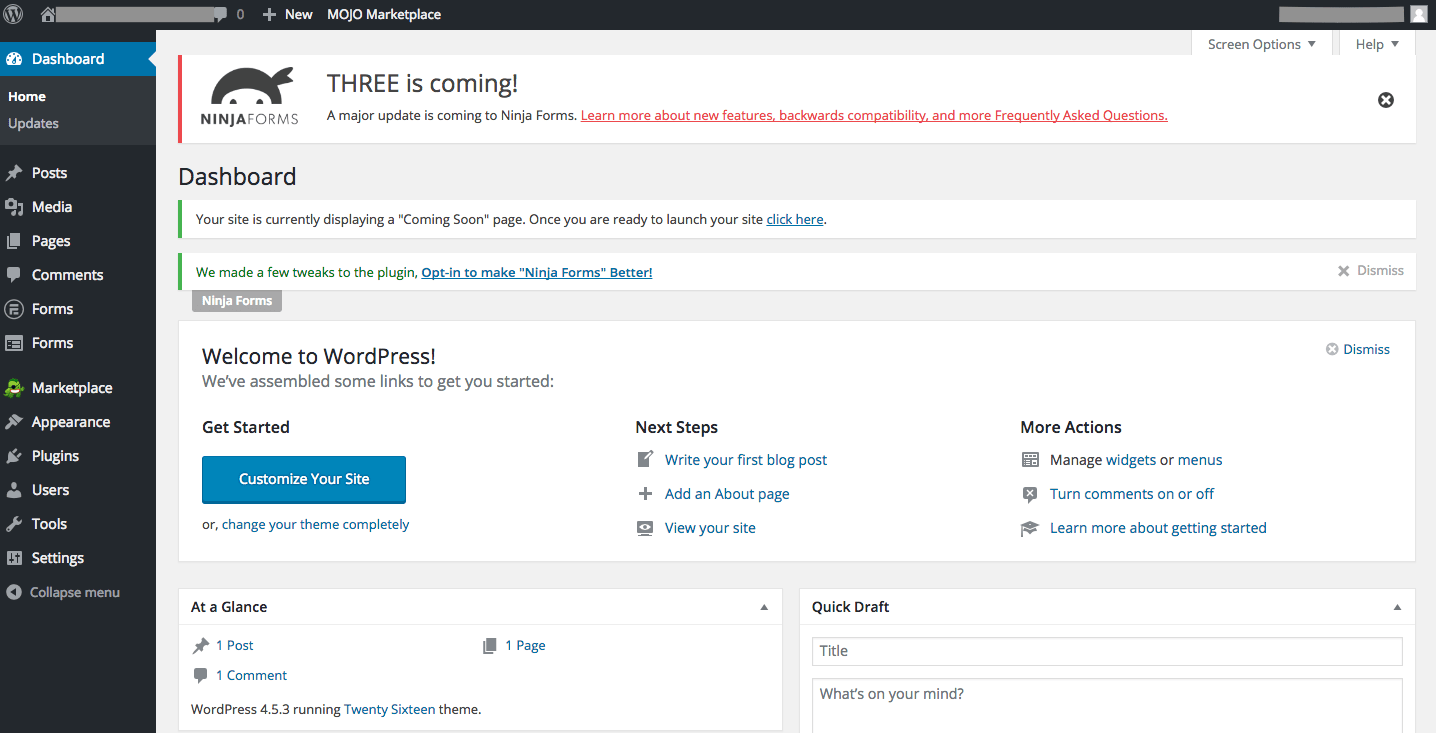
So, that is the process of installing WordPress. I hope you are all done with the previous steps and also I hope now your blog is alive now.
Now you can start building your blog by choosing a great theme and plugins to start customizing it.
The posts section allows you to publish blog posts on your blog and the pages section enables you to add pages to your blog.
If you want to learn how the WordPress dashboard is working for you, just head over to my step-by-step guide to learning WordPress from scratch!
Here are a few basic recommendations to make your WordPress blog stand out:
WordPress Themes: I can recommend choosing the Astra WordPress Theme for better and easy customization. or You can choose highly customizable themes like the Avada WordPress theme to make your blog more catchy.
WordPress Plugins: I recommend installing the Yoast SEO plugin. It helps you to write SEO-friendly blog posts to get more readers from search engines like Google. Moreover, you should install “WordFence” or “Sucuri” for security, for better blogging.
WordPress Page Builder: Page builders can help you to create and design your website’s pages in drag and drop editor. Using the Elementor page builder offers that everything in one place to make stunning web pages.
WordPress eCommerce Plugin: If you want to sell something on your blog, this WooCommerce plugin helps you to sell both physical goods and digital goods to local and global customers with your preferred payment methods.
Now it’s your turn!
While you using WordPress, you can use sites like wpbeginner.com to search for easy WordPress solutions.
They have a bunch of tutorials to improve your learning curve.
Happy blogging!

I hear you on those free platforms. Before I was able to purchase hosting, I was using wordpress.com. I needed to upgrade to install plugins. Now I see how much freedom I get being self-hosted
Definitely, Jazz. Being self-hosted offers much more freedom. We also need to keep learning new things to stand out.
Hey Minosh,
If you want to start a blogging business then WordPress is the only platform that you should start your blog on.
And this post is easy to follow and will help newbies to start their blog. Thanks for sharing this easy guide.
-Liton
Yes, exactly! You’re welcome Liton. 🙂
Thank you. The post is easy to follow. I’m planning to build a site for game custom content, and currently stuck at step 3, thinking about a catchy domain 😀
You are welcome Aiden! 😀 Good luck!
muito bom encontrar uns artigos assim cheio de valor !
Obrigado! 😀