
Are you looking to monetize your blog and earn some extra income?
There are several ways to make money through blogging, but one of the most popular methods is by displaying ads.
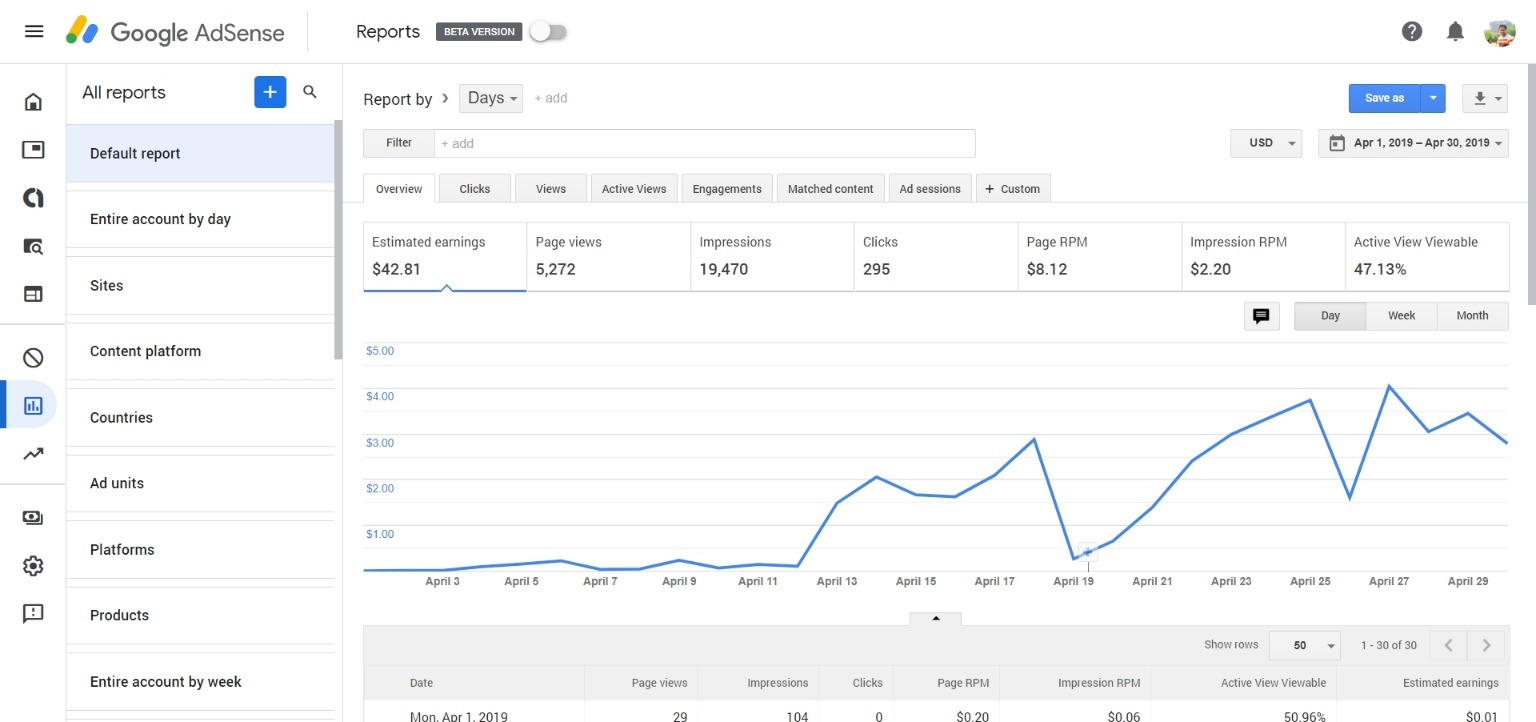
And when it comes to displaying ads, Google AdSense is the go-to platform for many bloggers.
However, getting approved for AdSense can be a bit tricky. In this post, we’ll explore some tips and tricks to help you get approved for AdSense and start earning money from your blog.
So buckle up and let’s dive in!
Disclosure: Our website is reader-supported. If you purchase any product through our partner links, we may earn a commission at no extra cost to you.
1. Choose the Perfect Domain Name
If you want to become a serious blogger, we suggest creating your own WordPress blog and purchasing a Top-level domain (TLD) for it.
It’s an important step in getting your AdSense application accepted.
To get a domain name, just type in your preferred name in the tool below:
Or go to Namecheap’s website to buy a domain at a low price. Once you have a domain, you can link it to your Blogger or WordPress blog.
Remember to keep your domain brief and memorable, and consider using your name for a personal blog.
Again, it must be a top-level domain to be approved for Adsense.
2. Start Your Blog
Now that you have your own domain, it’s time to start creating your own blog.
With many blogging platforms available, we suggest you go with self-hosted WordPress.
It may require you to pay for hosting, but if you’re planning to make a profit from your blog, taking it seriously is key.
Ready, set, blog!
Learn how to start a blog, even if you have no experience.
3. Add a Contact Page
This page provides a space for your readers to leave feedback, send you an email, or request personal attention.
It’s a simple yet effective way to stay connected with your audience and foster a strong community around your content.
So don’t hesitate, take a few minutes to set up your contact page.
4. Add Legal Pages
If you’re looking to monetize your blog with Adsense, it’s crucial to have all the necessary legal pages in place, including About Us and Privacy Policy.

Adsense pays close attention to these pages, so adding them carefully can help you get approved quickly. It’s also a good idea to include these pages in your blog’s footer for easy access.
If you’re not sure how to generate these legal pages, you can use TermsFeed to help you out.
5. Ensure Your Blog is Clean
Keeping your blog clean is not just about getting your Adsense application approved. It’s more about providing a seamless user experience for your readers.
Avoid cluttering your website with annoying ads and popups. Instead, opt for a fresh and simple design, with elementary colors that are easy on the eyes.
Remember, user experience is key. So, choose a great theme for your blog and keep your readers coming back for more.
6. Keep Publishing Unique Content
The key to your success lies in the main part – writing your own content. It’s important to note that Adsense mainly looks at your content, so it’s crucial to avoid copying someone else’s work.
To ensure that your content is prepared for Adsense, make sure to read their policies thoroughly before applying.
We also recommended writing about 15-25 blog posts that meet Adsense’s policies. This is because your blog needs to keep updating with fresh content to attract and retain a good audience.
Remember, if you don’t have enough traffic, nothing will happen.
Keep it simple and write for your readers, not for AdSense. Focus on delivering valuable content that resonates with your audience.
7. Don’t Use Any Copyrighted Images or Text
To keep things simple, always keep in mind that you should never use any copyrighted content from someone else on your blog. Instead, opt for using your own images or free stock photos to add visuals to your blog.
And when using free images, don’t forget to give proper credits where necessary.
By doing this, you are not only being respectful of others’ work but also avoiding any legal complications that can arise from using copyrighted content without permission.
To make things even easier, we recommend using Canva.
It’s a user-friendly platform that allows you to create stunning visuals for your blog. Plus, they have a huge library of stock photos and graphics that you can use.
So go ahead and get creative, just remember to play by the rules!
8. Drive Traffic to Your Blog
To get your blog noticed, aim for 300-500 daily visitors. And don’t worry – you don’t need to spend a fortune on ads.
Just create quality content that stands out from the rest. If your content is unique and valuable, Adsense may even approve your application with lower traffic numbers.
Remember, quality is key. To drive traffic, try using SEO, Pinterest, and social media tools to organically increase your blog’s visibility.
Keep it simple – focus on producing unique, helpful content and the rest will fall into place.
9. Don’t Use Other Ads Before Getting Adsense
Before applying to Adsense, it’s important to make sure that you don’t have any ads from other networks displayed on your website.
If you’ve already added a bunch of ads, removing them is the way to go to ensure optimal page loading speed.
If you do, it’s recommended to remove them before proceeding.
But if you’re wondering where to fit Adsense ads into an ad-heavy blog, it’s best to prioritize the ad network that will bring you the best user experience and the most revenue.
10. Apply for the Google Adsense
When your blog has been up and running for about six months and has a good amount of traffic, it’s a good time to consider applying for Adsense.
Keep in mind that hitting the six-month mark is not a requirement, but it’s an important period for growing your blog.
If you feel your blog is ready for Adsense, you can easily apply through your own Google account.
Once you’ve submitted your application, it usually takes only 2-3 working days (or up to 7 days) to get approved. Just make sure to keep an active email inbox so you don’t miss any important updates!
Final Thoughts
AdSense can be a great way to make money from your blog, but it can be tricky to navigate the application process.
First things first, put yourself in your visitor’s shoes. What kind of fresh, valuable content would they want to see? Keep creating and updating your blog with this in mind.
We’d love to hear about your experience, so please feel free to share in the comments below.
And don’t forget to pass this on to your fellow bloggers!
Happy blogging!

18 thoughts on “10 Proven Steps to Get Adsense Approval (Beginner’s Guide)”